
A Troubleshooter's Companion for Winget and Windows 11
A Troubleshooter’s Companion for Winget and Windows 11
Winget is a command-line tool that can download and install app packages from MS Store and the apps listed in its repository. It saves a lot of time that would be otherwise wasted in searching the Microsoft Store or the web for a particular app, downloading it, and then manually installing it.
But some users report that Winget is not working on their PC. They face a “The system cannot execute the specified program” and cannot run any commands, This post will discuss multiple methods to resolve the issue and restore Winget to its working state. Let’s begin.
Reasons Why Winget Stops Working on Windows
Here are the following reasons why Winget is not working on your Windows PC:
- You are running an outdated version of the App Installer.
- Winget servers are down, or you don’t have an active internet connection.
- The app execution alias is not configured or inactive for Winget.
- App Installer failed to add the PATH environment variable automatically while installing.
Now, you know the reasons behind Winget not working issue. Try out these eight methods to resolve the issue and use your favorite package manager again.
1. Close and Reopen Winget in the Terminal App
Before moving on to advanced fixes, completely close the Command Prompt or PowerShell instance you are running on the PC. You can use the Task Manager to stop an unresponsive instance of either of these command-line tools.
After that, open Command Prompt or PowerShell with administrator privileges on your system. Type Winget and press the Enter key to check if Winget works now.
2. Check if the Winget Servers Are Down
Winget is an online tool that needs a robust internet connection to search for a package in various repositories and then download and install them. If the Winget servers are down or inactive, it won’t be able to fetch results from repositories. So, check if Winget servers are down using DownDetector or a similar website.
You can also check if your Windows PC can connect to the internet. Simply open a web browser and access a website or run a web-based app to confirm internet connectivity. If the servers are down, you will have to wait until they come up live again to use Winget.
3. Perform a Complete System Shutdown
Windows uses Fast Startup to hibernate kernel-level processes and if any of these glitch, they remain in that state after your power on the system. So, perform a complete shutdown to close and relaunch all the core services and then try to run Winget. Here’s how to do it:
- Press Win + R to open the Run dialog box. Type cmd and press Ctrl + Shift + Enter keys to open the Command Prompt with administrator privileges .
- Now, type the following command and press the Enter key: shutdown /s /f /t 0

- Your system will shut down. It will take longer than a usual shutdown because Windows will close everything.
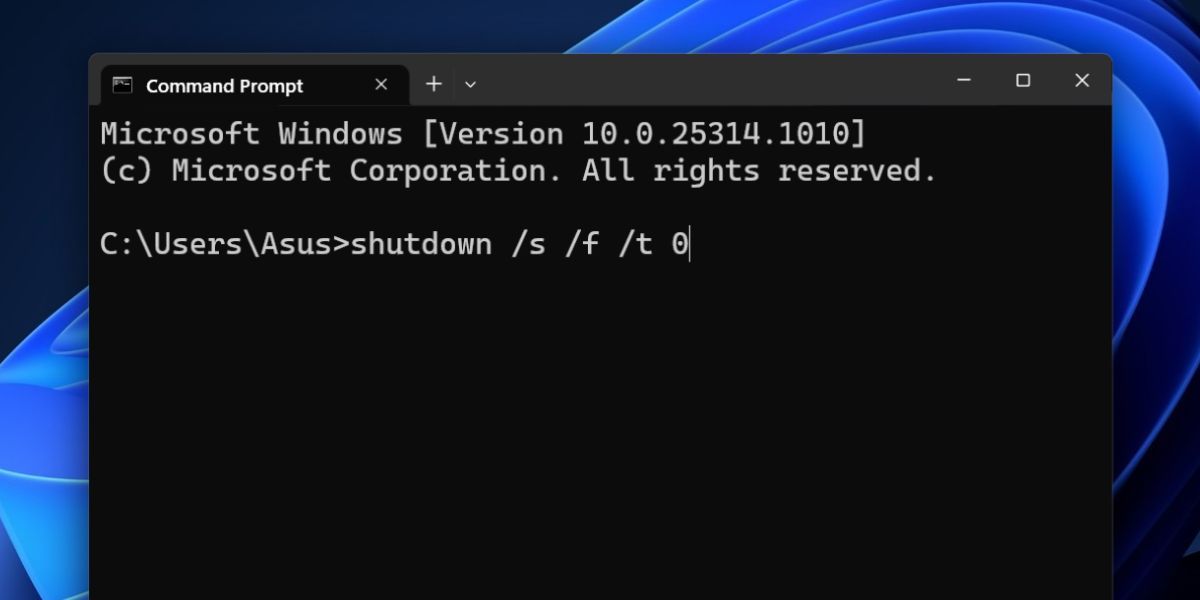
- Power on your system and try to run Winget using the Terminal app to check if it works now.
4. Update App Installer
Winget is a part of Windows 10 and 11 now and is shipped to PCs using the App Installer application. If you haven’t updated the App Installer in a while, you can face issues in running Winget and managing packages. Winget is included only in version 1.11.11451 or higher of the App Installer. If you have a version older than that, you cannot use Winget from the terminal.
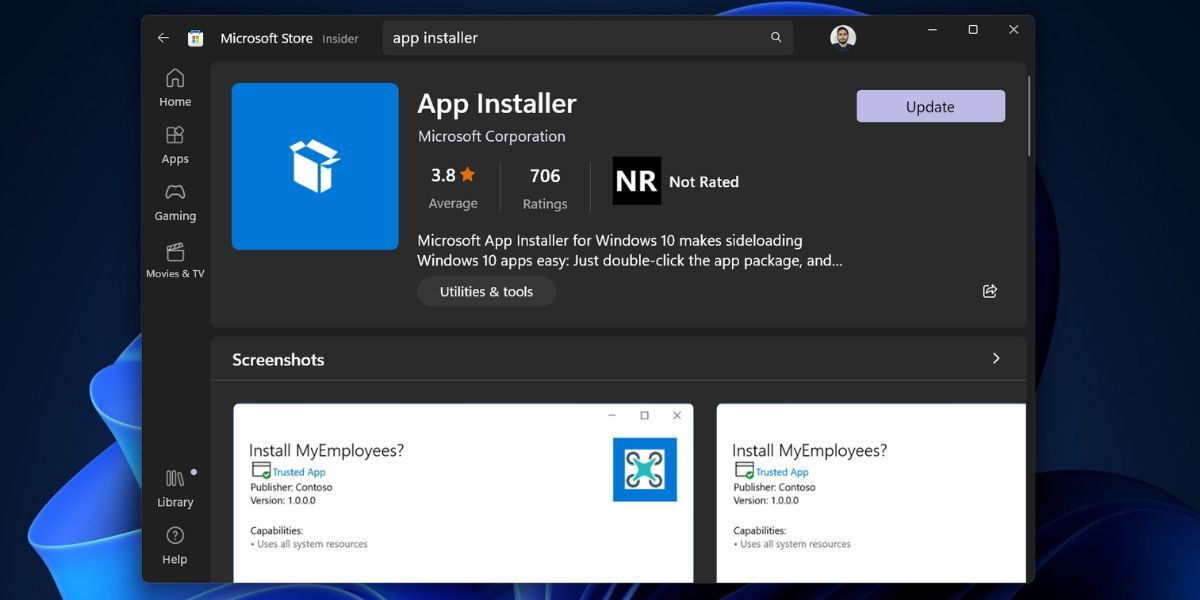
So, open Microsoft Store and check the library section for any pending updates for the App Installer. Manually search and install the update and check if Winget works now.
5. Enable the App Execution Alias
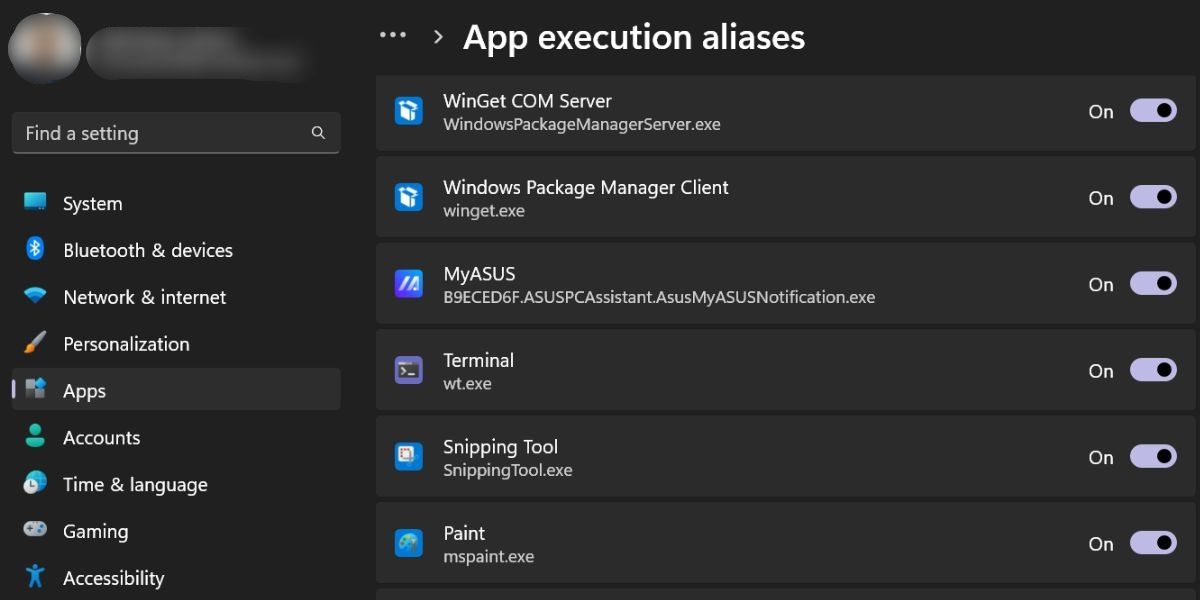
If the App Execution Alias for Winget is disabled, it won’t work when you try accessing Winget from the terminal. So, you must enable it in the app settings. Repeat the following steps:
- Right-click on the Start button to open the Power User menu. Click on the Settings app.
- Navigate to the left-hand side menu and click on the Apps option.
- Now, click on the Advanced app settings option. Then click on the App execution aliases option.
- Locate the Windows Package Manager Client option. Check the toggle next to it. If it is disabled, click on it to enable the app execution alias for the app.
- Close the Settings app.
6. Manually Add the Path Environment Variable
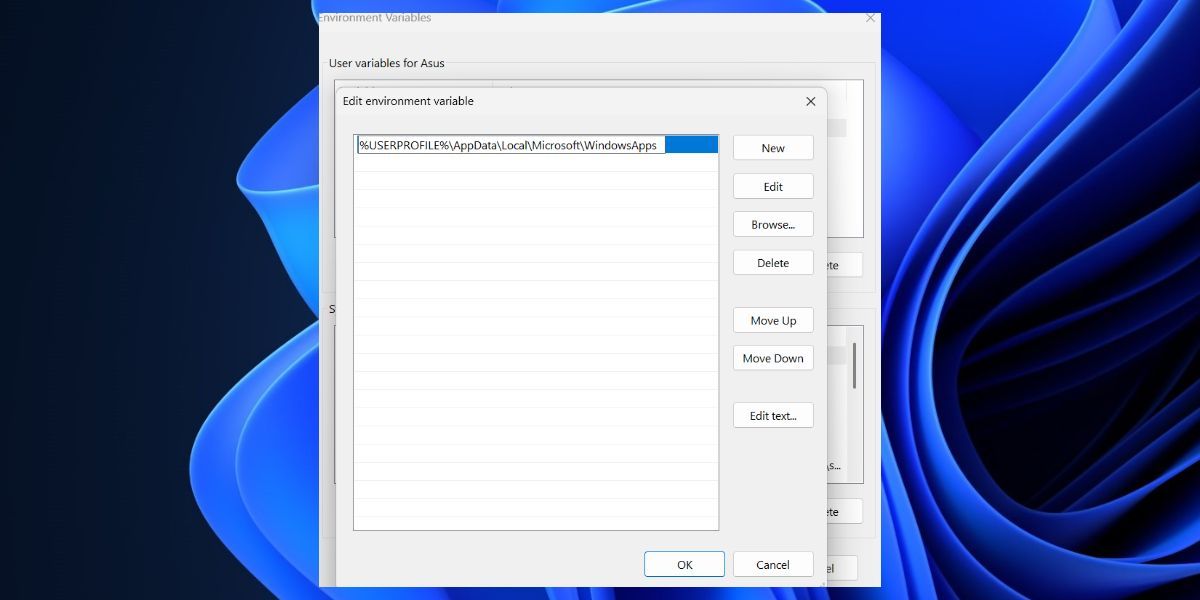
Ae wrongly configured Winget path can also produce errors. So, you must manually add the correct path in Environment Variables using the Advanced System Properties window. Repeat the following steps:
- Press Win + R to open the Run dialog box . Type sysdm.cpl ,3 in the text box and press the Enter key to open Advanced System Properties.
- Click on the Environment Variables button. Click on the Path entry and then click on the Edit button.
- Now, click on the New button and paste the following path: %UserProfile%\AppData\Local\Microsoft\WindowsApps
- Click on the OK button. Restart your PC.
- Open the Terminal app and check if Winget works or not.
7. Re-register Winget Using PowerShell
If Winget isn’t working on your PC, you can re-register it using PowerShell. Since it is a part of the App Installer which is a system app, it is possible to re-register it. Repeat the following steps:
- Press Win + R to open the Run dialog box. Type PowerShell and press the Ctrl + Shift + Enter keys at once.
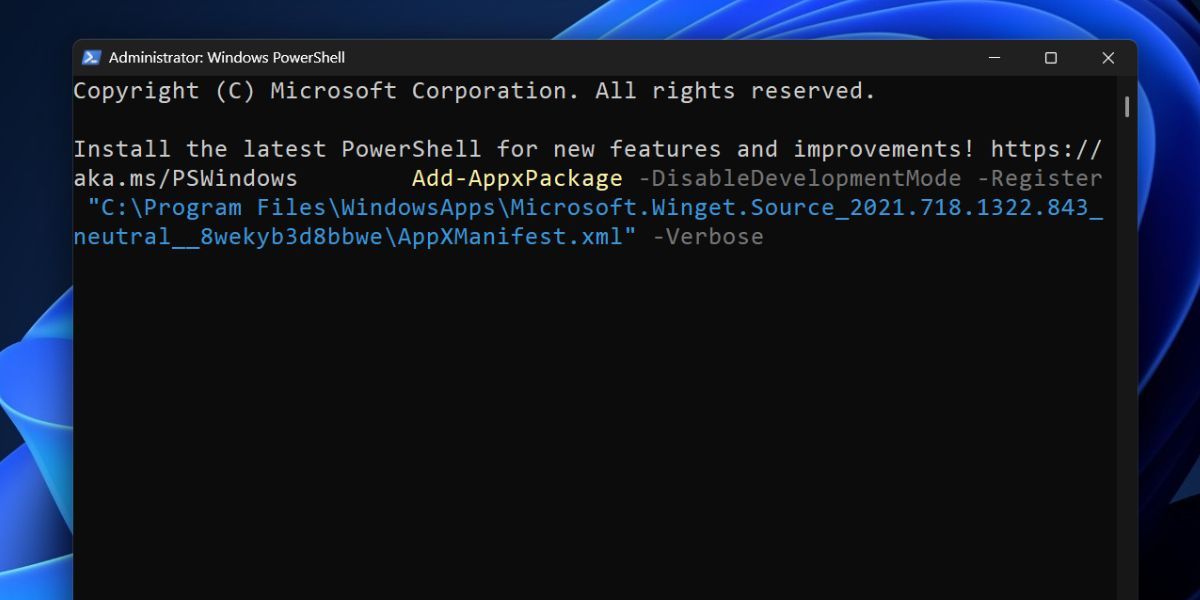
- The PowerShell window will launch with admin rights. Paste the following code and press the Enter key to execute it:
Add-AppxPackage -DisableDevelopmentMode -Register "C:\Program Files\WindowsApps\Microsoft.Winget.Source_2021.718.1322.843_neutral__8wekyb3d8bbwe\AppXManifest.xml" -Verbose - You won’t see any confirmation message after the command executes successfully. Close the PowerShell window and restart your PC.
8. Try Some Generic Windows Fixes
If none of the methods work for you, try our generic fixes like SFC and DISM scans that find and fix the system file corruption and service Windows Image components. You must run the SFC scan first and allow it to find and replace the corrupt system files, if any. After that, run the DISM scan in online mode.
After running these scans, you can use System Restore to revert the PC to a point in time when everything worked fine. Lastly, you can perform a complete system reset. You can choose the Keep my files option to preserve all your files while factory resetting Windows .
Make Winget Functional Again
Winget is a fantastic package manager that helps you control and manage app packages from the terminal. Ensure robust internet connectivity and check if the app execution alias is active for Winget. Manually reconfigure the PATH for Winget and re-register the App Installer using PowerShell. If you want a GUI version of Winget, you can try Winstall which helps you batch-install apps.
But some users report that Winget is not working on their PC. They face a “The system cannot execute the specified program” and cannot run any commands, This post will discuss multiple methods to resolve the issue and restore Winget to its working state. Let’s begin.
Also read:
- [New] Distinguishing Between YouTube Policies and CC Clauses
- [New] Leveraging KineMaster's Strengths for Video Magic & 10 Esteemed Competitors
- [Updated] Icy Images A Detailed Look at Monitoring Summer Snacks
- 2024 Approved Keyboard Warriors' Guide Games Similar to GTA V
- 2024 Approved Step-by-Step Guide to Edge’s PIP Functionality
- Advanced Techniques for Incor Written By Sarah Johnson
- Enable Microsoft's Windows Companion Through ViveTool
- Enhancing Clipper Functionality in Windows 11: A Strategic Plan for Improvement
- How Can You Retrieve Information From a Damaged Hard Drive? - Tips by YL Computing
- In 2024, Comprehensive Overview Utilizing Google's Automatic Transcription Service
- Navigating Windows Photos with Shortcuts
- Resolving Not a Microsoft-Verified App Warnings on PC
- Streamlining .NET on Windows with Ease (Max 156)
- Understanding the Impact of Windows 11'S Updated Support Plan
- Title: A Troubleshooter's Companion for Winget and Windows 11
- Author: Richard
- Created at : 2025-01-27 12:10:42
- Updated at : 2025-01-31 21:00:36
- Link: https://win11-tips.techidaily.com/a-troubleshooters-companion-for-winget-and-windows-11/
- License: This work is licensed under CC BY-NC-SA 4.0.