
Accessing Power Management: Hiding 'Dim Display'
Accessing Power Management: Hiding ‘Dim Display’
There are times when you need to step away from your PC, and if you’re gone long enough, the screen will automatically dim. Windows does this to preserve your battery, and you can adjust when your display should darken in the Power Options menu by editing the Dim display after option.
If for some reason you can’t see the Dim display after option in the Power Options menu, or it’s there and you want to remove it, you can use PowerShell or the Registry Editor to show or hide it. Here’s how.
How to Show or Hide the “Dim Display After” Option Using PowerShell
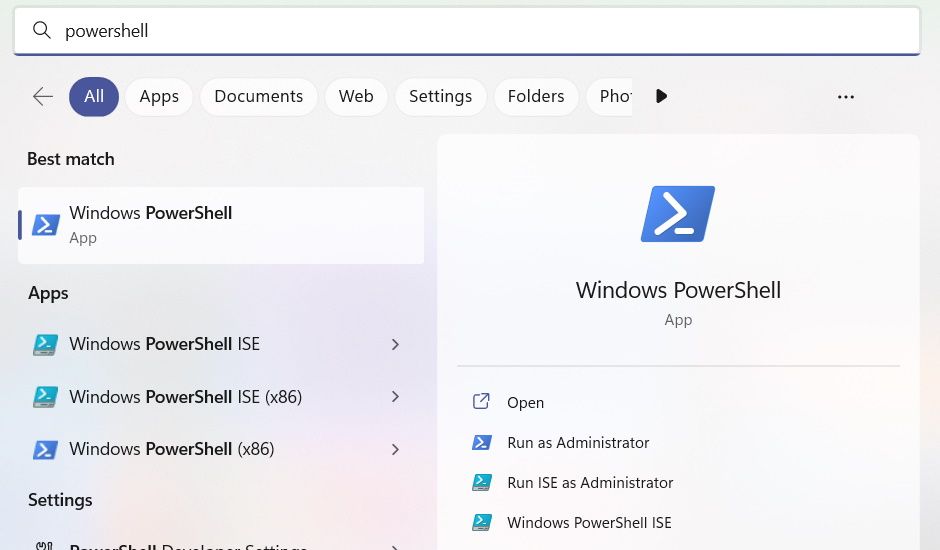
First, launch Windows PowerShell. There are many ways to open PowerShell on Windows , but the easiest method is to press Win + S to open Windows Search. Then, enter powershell in the search box and click on Windows PowerShell when it appears in the search results.
In PowerShell, enter the following command to show the Dim Display after option in the Power Options menu:
powercfg -attributes SUB_VIDEO 17aaa29b-8b43-4b94-aafe-35f64daaf1ee -ATTRIB_HIDE
To hide it, enter the following command:
powercfg -attributes SUB_VIDEO 17aaa29b-8b43-4b94-aafe-35f64daaf1ee +ATTRIB_HIDE
After entering the command you want, hit the Enter key on your keyboard for PowerShell to execute it. Afterward, the Dim display after option should appear or disappear accordingly in the Power Options menu.
How to Show or Hide the “Dim display after” Option Using the Registry Editor
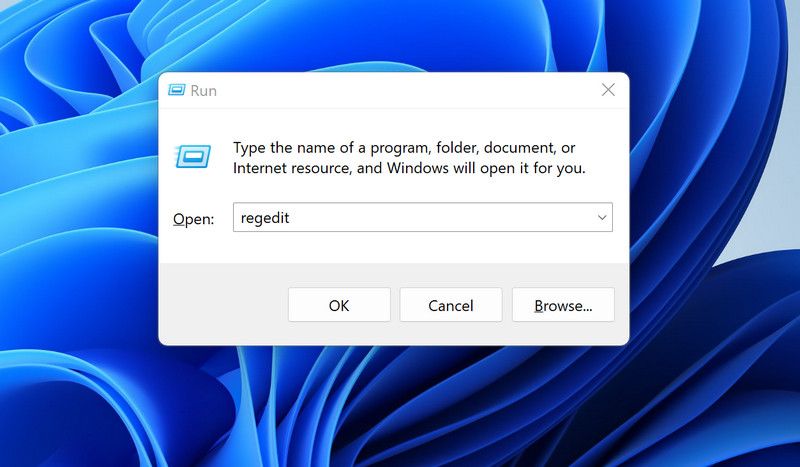
Considering how vital the Windows Registry is for the smooth operation of Windows, you might want to back up the registry before you edit it. Afterward, open the Registry Editor by pressing Win + R, typing regedit in the text box, and clicking OK.
Click Yes to bypass the UAC prompt.
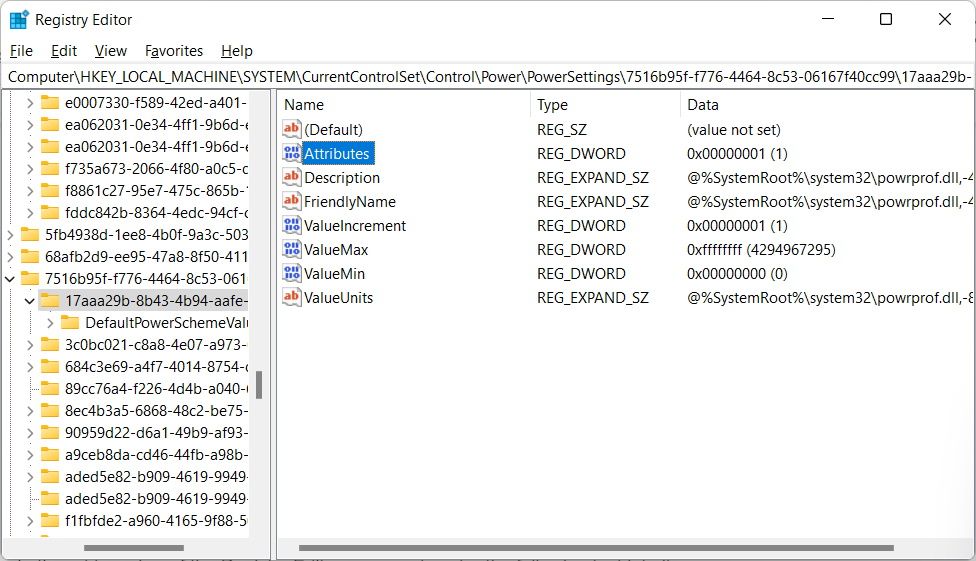
In the address bar of the Registry Editor, copy and paste the following text into it:
HKEY_LOCAL_MACHINE\SYSTEM\CurrentControlSet\Control\Power\PowerSettings\7516b95f-f776-4464-8c53-06167f40cc99\17aaa29b-8b43-4b94-aafe-35f64daaf1ee
On the right panel, double-click the Attributes entry to open it up for editing.
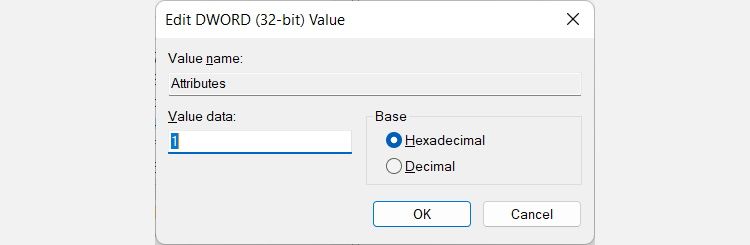
Then, in the Value data text box, enter 1 to hide Dim display after in the Power Options menu or 2 to show it.
Now you can open the Power Options menu (see how to open the power options on Windows 10 ) and check under Display to see if the Dim display after option is there or not.
Controlling the “Dim Display After” Option in the Power Options Menu
Now that you know how to show or hide Dim display after, you know what to do when you can’t find it in the Power Options menu or need to remove it. We recommend keeping it hidden and then bringing it up whenever you need it. This will make sure that no one messes with this important display setting when you’ve set it up perfectly.
Also read:
- [New] Fine-Tuning Focus on YouTube Threads
- [Updated] Elevate Your Video Productions 15 Top-Tier Free Music Websites for 2024
- [Updated] Elite Stabilization Solutions for Video Creators for 2024
- 7 Fixes for Unfortunately, Phone Has Stopped on Samsung Galaxy S23+ | Dr.fone
- Breached BitLocker: Hold Firm on Current Security
- Bridge the Gap: Addressing Continuous PS4 Controller Disconnection
- Bridging Tasks & Power in Win11 Shortcut Setup
- Bringing Back Original Settings to Windows 11 Touch Panel
- Bypassing Server Slips: Resolving MS Store Failures in 10/11
- Bypassing Win 11'S Inbuilt Mobility Control
- Captivating Creations: Top Editors for Videos on Your Win11 PC
- Essential Guidelines for Creating DJ Logos: Proven Dos and Don'ts
- Fixing Persistent Pandora Crashes on Motorola G54 5G | Dr.fone
- In 2024, How to Fix Motorola Edge 40 Find My Friends No Location Found? | Dr.fone
- Soundstage Excellence Critical Interface Tips for Podcasters
- Top Three AIs in Comparison: GPT and the Bing & Bard Face-Off
- Title: Accessing Power Management: Hiding 'Dim Display'
- Author: Richard
- Created at : 2025-02-13 17:54:26
- Updated at : 2025-02-16 01:53:18
- Link: https://win11-tips.techidaily.com/accessing-power-management-hiding-dim-display/
- License: This work is licensed under CC BY-NC-SA 4.0.