Achieving Excellence: Perfecting Your Console's Gamepad Functionality
Achieving Excellence: Perfecting Your Console’s Gamepad Functionality
If you are a dedicated PC gamer who spends a lot of time gaming, it might be a good idea to allocate some time for testing and calibrating your gaming controller. Doing so can help you achieve precise control, minimize input lag, and address any performance-related issues.
Here we walk you through the necessary steps for testing and calibrating your gaming controller on Windows.
How to Test Your Gaming Controller on Windows
Both Windows 10 and 11 include a tool that lets you test your gaming controller in a few easy steps. Here’s how you can use it to determine if your gaming controller needs calibrating.
- Press Win + S to access the search menu.
- Type control panel in the search box and press Enter.
- Use the drop-down menu in the top right corner to change the view type to Large icons.
- Select the Devices and Printers applet.
- Right-click on your controller under Devices and select Game controller settings from the context menu.
- Click the Properties button.
- Switch to the Test tab.

- Move the sticks in all directions and observe the movement on the screen. The indicator in the window should correspond to the direction you move the stick.

- Press the buttons and triggers on your controller to check if they are functioning correctly.
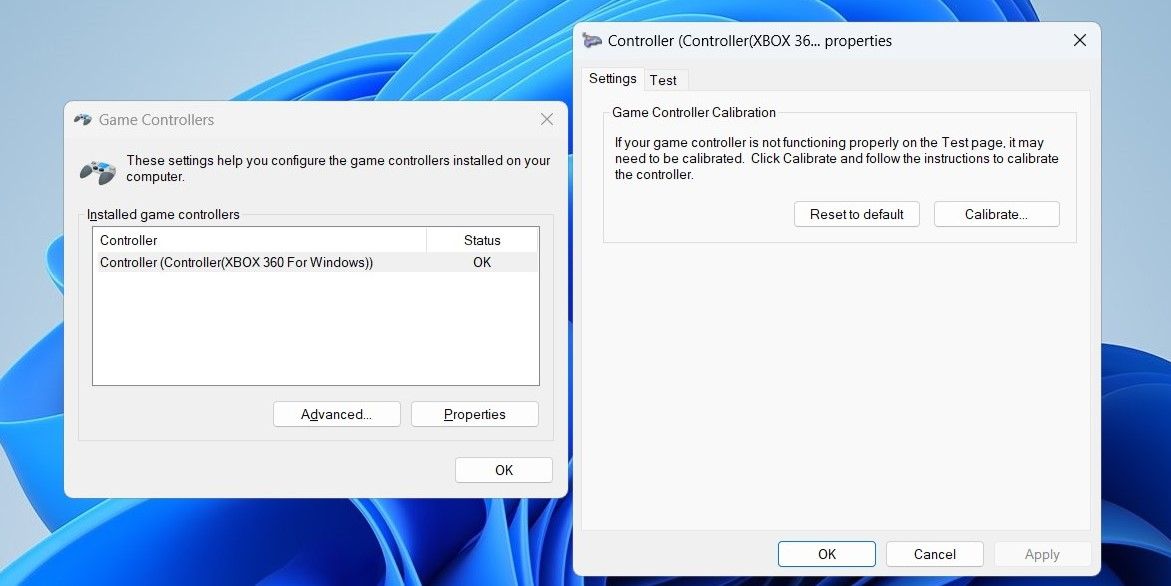
How to Calibrate Your Gaming Controller Using the Control Panel
By calibrating your gaming controller, you can fine-tune its sensitivity and responsiveness, resulting in better accuracy while gaming. You can calibrate your controller from the same menu where you initially tested it. Here are the steps you can follow.
- Open game controller settings on Windows.
- Select your controller from the list and click the Properties button.
- Under the Settings tab, click the Calibrate button.
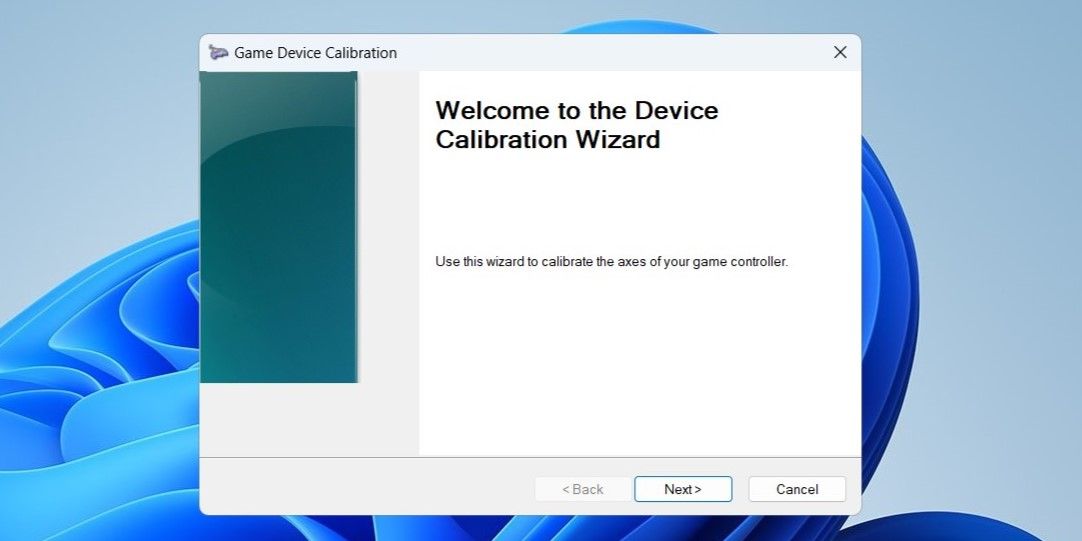
- Click Next to initiate the calibration process.
- Perform specific actions provided by the calibration wizard, such as moving the analog sticks or pressing buttons, to complete the process.
- Click Finish.
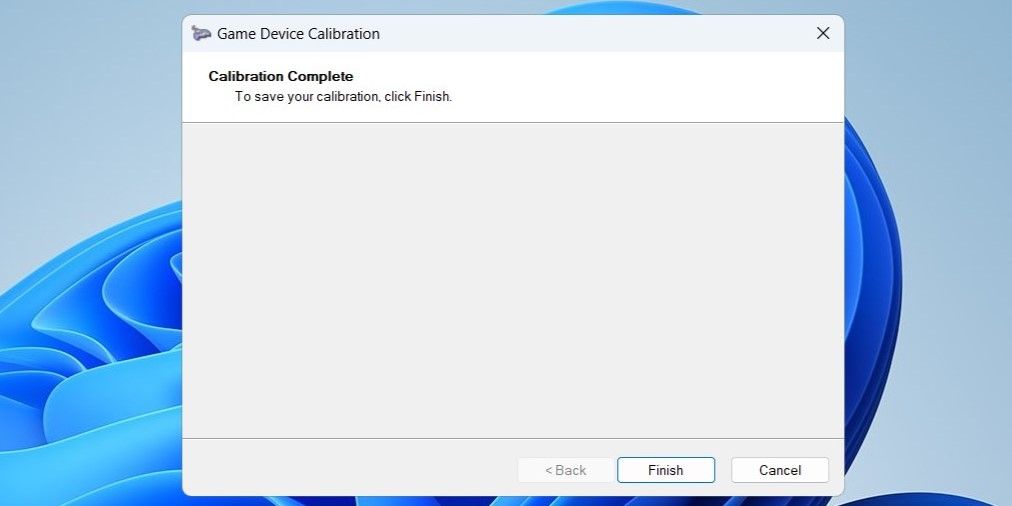
Once you calibrate your controller, you should experience improved accuracy and responsiveness during gaming sessions.
How to Calibrate Your Gaming Controller via Steam
Using the Control Panel isn’t the only way to calibrate your gaming controller on Windows. If you have installed Steam on your PC, you can also use Steam’s Controller Configurator to calibrate your controller. It supports a wide range of controllers, including both popular gaming controllers and generic input devices.
To calibrate your gaming controller via Steam’s Controller Configurator, use these steps:
- Open the Steam client on your PC.
- Click the Steam menu in the top left corner and select Settings.
- Use the left pane to switch to the Controller tab.
- Click the General Controller Settings button.
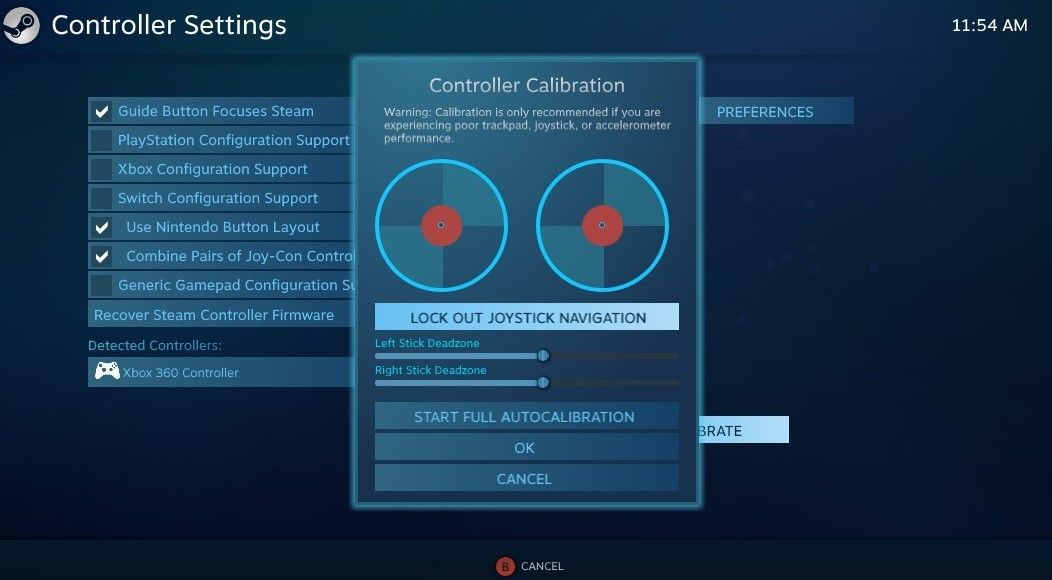
- Select your controller under Detected Controllers.
- Click the Calibrate button.
- Click the Start Full Autocalibration button.
- Follow the on-screen instructions to move the analog sticks in different directions and complete the calibration process.
How to Reset Controller Calibration to Default Settings on Windows
If the sensitivity of your gaming controller feels off, it’s possible that the calibration settings are to blame. In that case, you can consider resetting the controller calibration and start over. This should help resolve any minor sensitivity and calibration problems that might be responsible for the issue.
To reset controller calibration to default settings, use these steps:
- Press Win + R to open the Run dialog box .
- Type joy.cpl in the box and press Enter to open the game controller settings.
- Select your controller and click the Properties button.
- Under the Settings tab, click the Reset to Default button.
- Click OK.
Calibrate Your Gaming Controller for Peak Performance
While PC gaming controllers typically provide a plug-and-play experience, you may still need to calibrate them occasionally to enhance accuracy or address minor issues. The good thing is that testing and calibrating your controller on Windows can be done quickly, without consuming much time.
Here we walk you through the necessary steps for testing and calibrating your gaming controller on Windows.
Also read:
- [New] Content Creation Conundrum Where to Go for 2024
- [New] Dare to Be Noteworthy Top 30 Innovative TikTok Usernames
- [New] In 2024, Quick Content in a Facebook Frame
- [Updated] Capturing Adventure Top 5 Methods for Screening Minecraft on Apple Machines for 2024
- Click Without the Rush: Learn to Deactivate Mouse Acceleration Windows Style
- Correcting Steam Cloud Connection Problems
- Error Code 130 on Steam? Master the Fix with This Comprehensive Guide
- Guidelines to Correct Xbox Mic Issues in OS
- How to Fix Command Prompt Not Running as Administrator on Windows
- How to Fix Error Code 0Xc0000001 on Windows 11 or 11
- In 2024, Custom Coverage Made Simple Fast-Track Your YouTube Shorts Design
- Is the Worldwide Network Offline? Uncover FB Status
- Mastering the Art of Rectifying Device Is Unreachable Error in Windows
- My Spirituality of Nature | Free Book
- Simplifying Desktop Icon Update Process on Windows
- Stepwise Approach to Editing Windows Registry with Command Prompt
- The Ultimate Guide to Gifting Carbon Offset Credits This Festive Period - Tips From ZDNET
- Unlock the Secret to Getting Your Free MacBook Air M3 From Best Buy: Exclusive Tips Revealed!
- Why Upgrading Isn't Feeling Right for Many to Windows 11
- Title: Achieving Excellence: Perfecting Your Console's Gamepad Functionality
- Author: Richard
- Created at : 2025-02-01 00:52:08
- Updated at : 2025-02-02 16:19:22
- Link: https://win11-tips.techidaily.com/achieving-excellence-perfecting-your-consoles-gamepad-functionality/
- License: This work is licensed under CC BY-NC-SA 4.0.