
Bypassing Integrated Video on Windows 10/11
Bypassing Integrated Video on Windows 10/11
Your Windows computer probably has integrated graphics, especially if it’s a laptop. The problem with this type of GPU, which is built into the motherboard, is that it’s usually less powerful than a dedicated GPU. So, if you have a dedicated GPU, which is usually more powerful, it makes sense that you might want it to take over the graphical performance of your computer.
In this guide, we’re going to show you how to disable integrated graphics on your Windows computer.
How to Check If You Have A Dedicated GPU
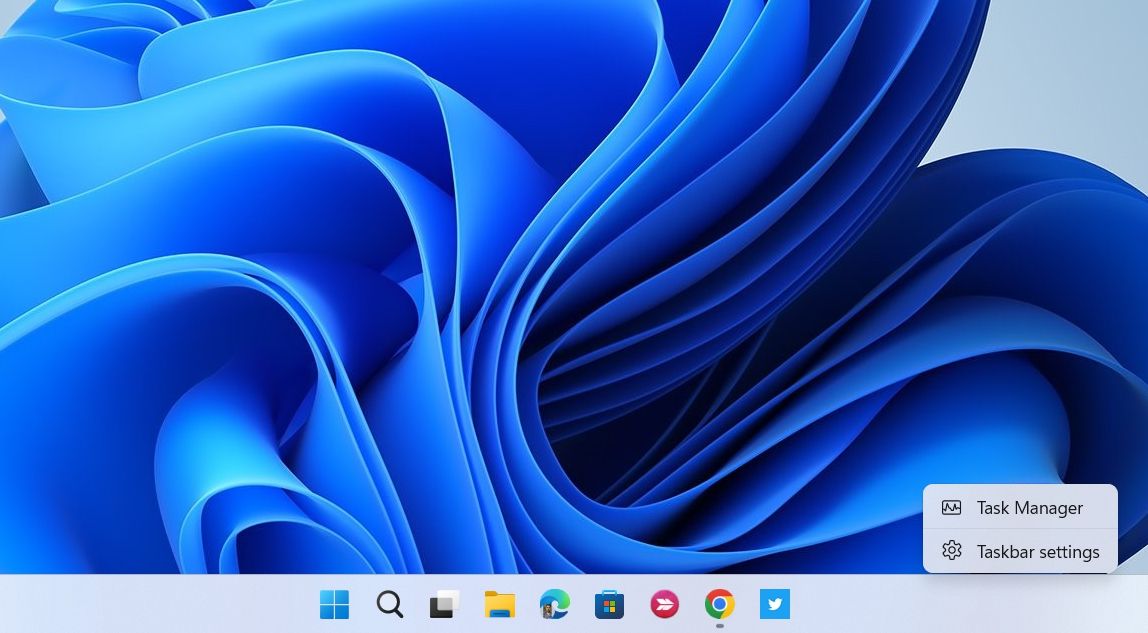
Before you disable your integrated GPU (iGPU), you need to verify that your computer has a dedicated GPU installed and that it’s working properly. To do that, right-click an empty part of the Taskbar and select Task Manager.
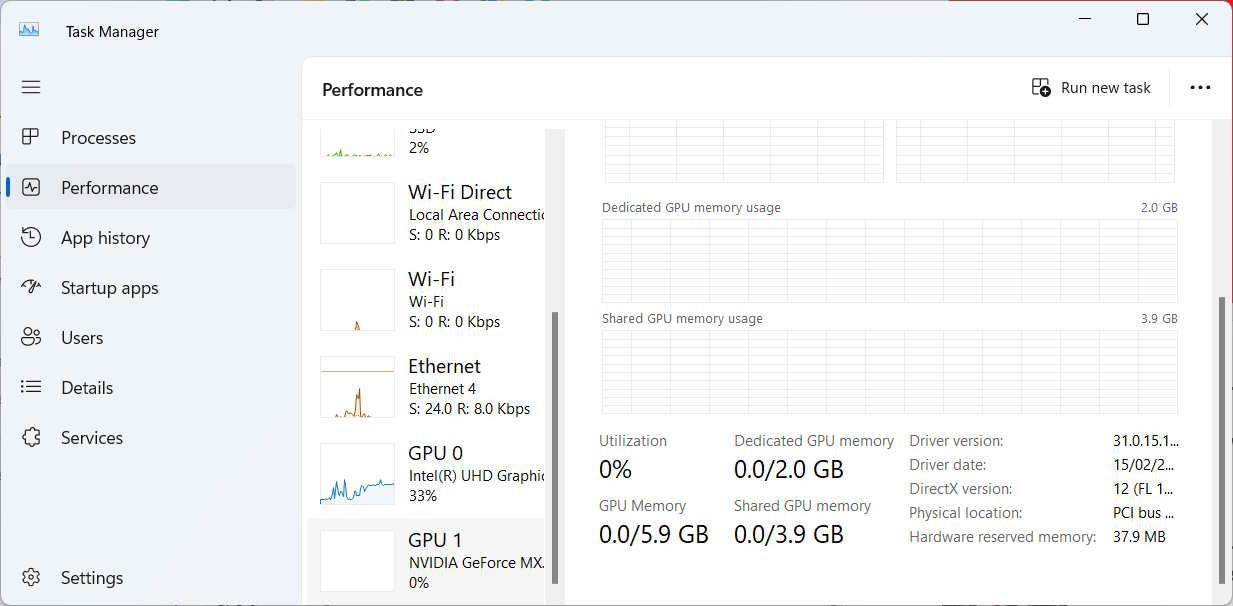
In Task Manager, select the Performance tab on the left and look at the number of GPUs available for your PC on the right. If there is more than one, then the other one is the dedicated GPU. In our case, GPU 1 is the dedicated GPU, and if we click on it and scroll to the bottom, we can see that it says Dedicated GPU Memory in the rightmost panel.
After you confirm you have an extra GPU on your computer, you can disable the iGPU.
How To Turn Off Your Windows Computer’s Integrated Graphics
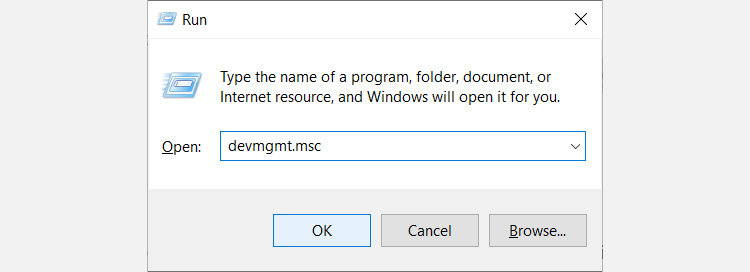
You can disable your iGPU in the Device Manager. To do that press Win + R to open Windows Run. Type devmgmt.msc in the text box and hit the Enter key to open Device Manager .
Expand the Display adapters section, right-click your integrated GPU, and select Disable device.
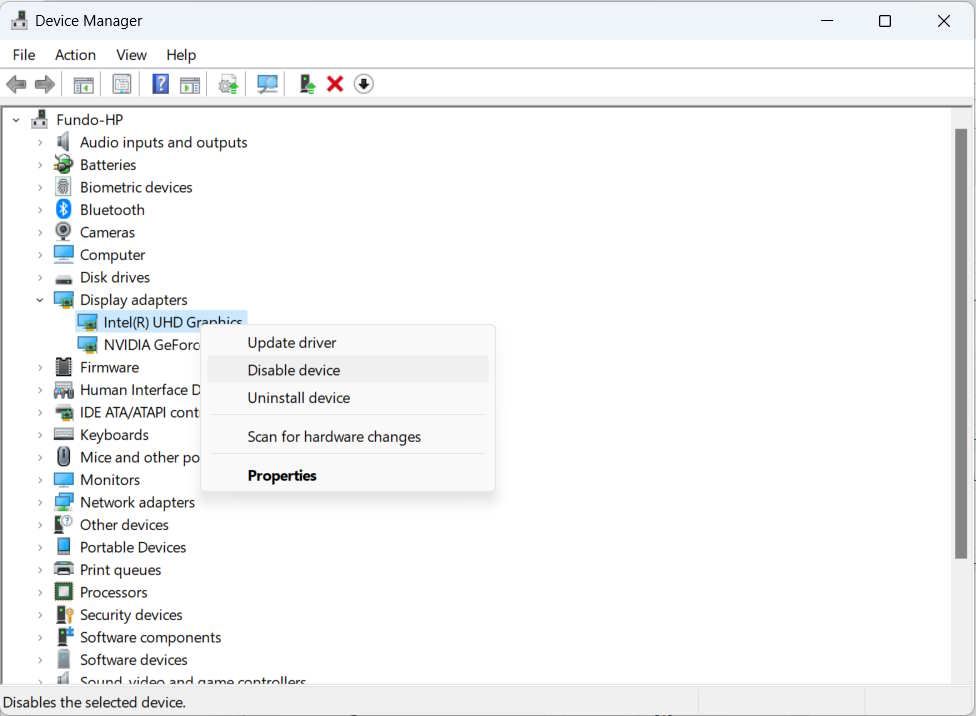
In the prompt that appears, confirm you want to disable the iGPU by clicking on Yes. That should turn off the integrated graphics on your Windows computer so that the system relies on the dedicated graphics.
Should You Turn Off Integrated Graphics?
While dedicated GPUs tend to be more powerful than iGPUs and can boost your computer’s graphical performance, that is not always the case.
So the decision to disable your integrated graphics is dependent on whether you have stronger dedicated graphics, and if you’ll be running a lot of graphics-intensive applications, such as games and design software. As we covered in our integrated vs. dedicated GPU guide, dedicated GPUs are ideal for more intense operations.
On the other hand, if you’re not running anything graphics-intensive applications, or you need to reduce power consumption on a laptop, you don’t need to disable the iGPU. Also, your Windows system might support switchable graphics, which allows it to decide which GPU to use depending on the application you’re running.
However, this may cause the iGPU to bottleneck the dedicated GPU in some scenarios if they’re both running applications and there aren’t enough system resources to go around.
Use Your Dedicated Graphics Card When You Need It
All in all, you’re better off using your dedicated graphics card, especially if you are into graphically demanding applications. But if your computer doesn’t have a dedicated GPU, disabling integrated graphics is not an option. The decision depends on what you’re ultimately trying to achieve on your Windows computer.
In this guide, we’re going to show you how to disable integrated graphics on your Windows computer.
Also read:
- [New] Eluding YouTube Ban Protective Measures
- [New] In 2024, Learn to Conduct Zoom Webinars A Newbie's Blueprint
- [New] Mobile Harmony 6 Essential Free Apps to Download YouTube Tracks
- [New] The Art of Subtle Sonic Softening Using Lumafusion
- 2024 Approved Elevate Youtube Presence Ideal Release Windows
- 3 Simple Methods for Optimizing Your Videos: Preparing Content for Instagram with Movavi
- 瀏覽器上無成本FLV變WMV改變 - 實現這一過程的Movavi方法
- Aktif Sanayi Sistemlerine Katkıda Bulunan Keygen Kullanabilir İçin Bir Yapıtır
- Cómo Transformar M1V en Archivo MP4 Sin Coste Mediante Herramientas Web Libres
- Descargar E Impresione M4R Archivos a Formato MP3 Gratuito Sin Costo Con Converter - Movavi
- Dicas Facilmente Executáveis: Desenvolva Seu Olhar Selvagem Com Fotos Expressivas
- Fix Baldur’s Gate Gameplay Hiccups: Ultimate Guide to Smooth Gaming Experience
- Fixing the Issue: How to Restore Functionality of Your Windows 11 Taskbar
- Gratis Moegenoefening Livestreamen Met Jeldende Videoprogramma - Movavi
- How to Fix Life360 Shows Wrong Location On Apple iPhone 15 Pro? | Dr.fone
- How To Get the Apple ID Verification Code From iPhone 14 in the Best Ways
- Inside Tom's Gear Hub: The Ultimate Guide to Cutting-Edge Technology
- Komt Een Kostenlose Conversie Aan: OGG-Adres Met Movavi Voor Online Activiteiten, Afvallend .au - Inlevering Gratis
- MOV到OGV無料線上轉換 - 利用Movavi轉換工具
- Title: Bypassing Integrated Video on Windows 10/11
- Author: Richard
- Created at : 2025-02-28 16:35:39
- Updated at : 2025-03-04 20:47:37
- Link: https://win11-tips.techidaily.com/bypassing-integrated-video-on-windows-1011/
- License: This work is licensed under CC BY-NC-SA 4.0.