Comprehensive Breakdown: Understanding Windows' ODBC System

Comprehensive Breakdown: Understanding Windows’ ODBC System
The Microsoft ODBC Data Sources tool helps you connect your apps to various database management systems. But how does this tool work, and what are the different ways to access it? Let’s dive in and find out.
How Does the ODBC Data Sources App Work?

ODBC (Open Database Connectivity) is a system that connects apps to database management systems. For example, if you use an app that accesses data in an SQL database, the ODBC Data Sources tool lets you connect that app to a different data source (such as Microsoft Excel).
Let’s now check out how you can use the ODBC Data Sources tool:
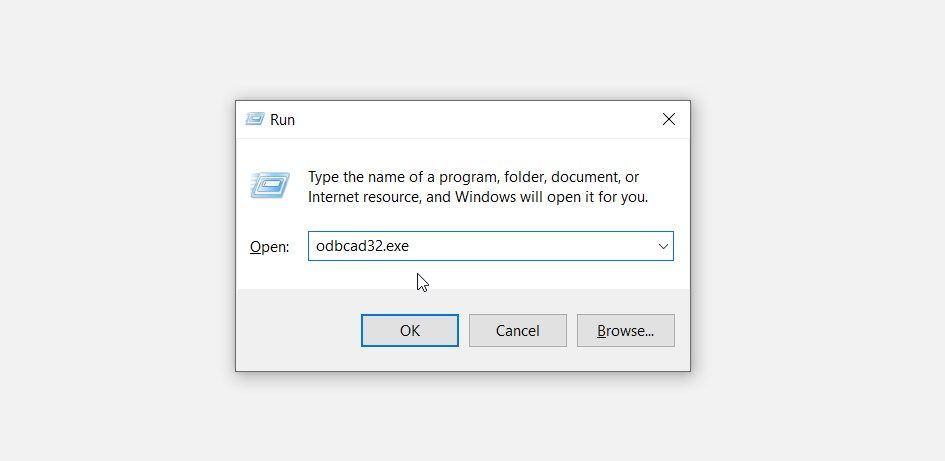
- Press Win + R to open the Run command dialog box.
- Type odbcad32.exe and press Enter.

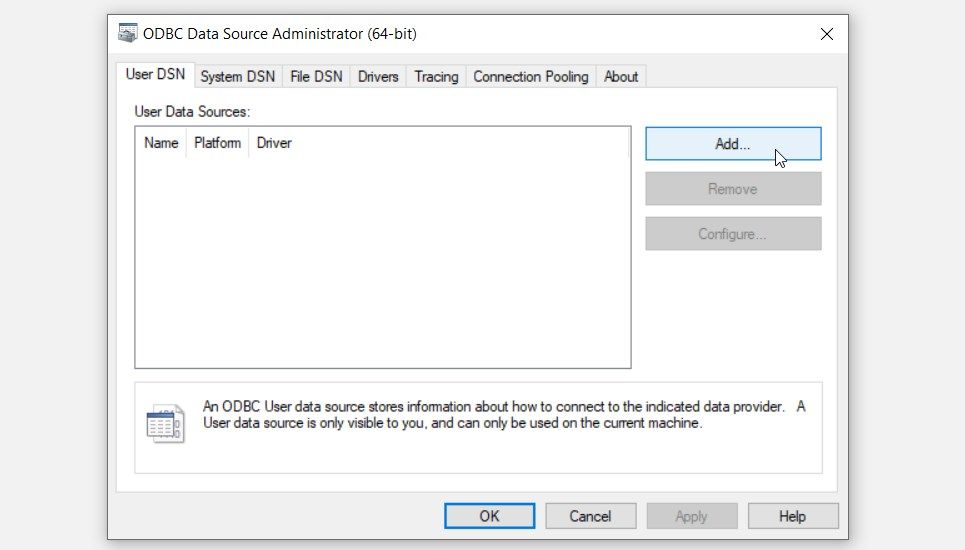
- Navigate to the User DSN tab.
A DSN establishes a connection to a target database through an ODBC driver. It can also help you pull information from a database.
- Click the Add button on the right to start creating a User DSN.

- On the next screen, select the relevant ODBC driver and click the Finish button. From there, enter the details of your data source in the next window.
- Follow the on-screen steps and then click the Finish button.
Once you’ve created a User DSN, you can explore some cool tricks with the ODBC tool. For example, you can check out how to connect your databases with VBScript by creating a VBScript ODBC Connection .
Want to discover the various ways to access the ODBC Data Sources tool? Let’s help you out!
1. Access the ODBC Data Sources App Using the Start Menu Search Bar

One of the easiest ways to access the ODBC Data Sources tool (or any other app) is by using the Start menu search bar.
Here are the steps you need to apply:
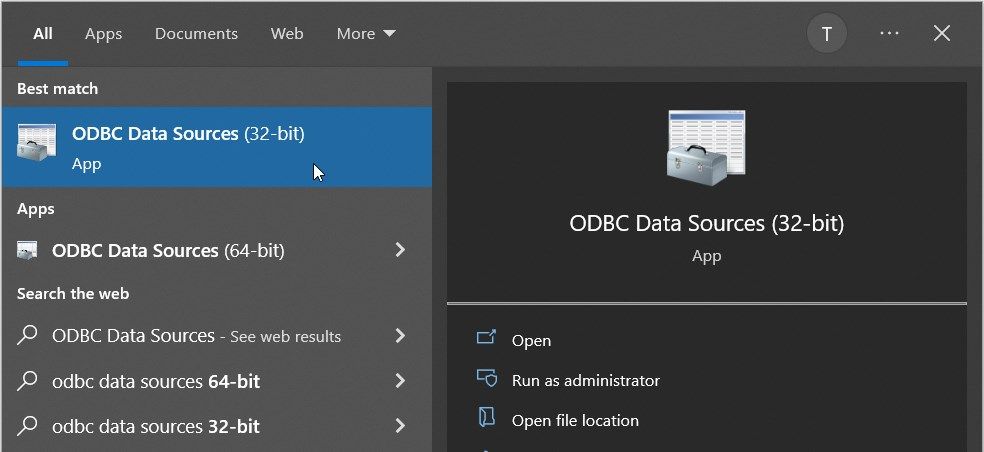
- Press Win + S to access the Start menu search bar. Alternatively, Press the Windows search bar icon on the taskbar.
- Type ODBC Data Sources and select the Best match.

2. Access the ODBC Data Sources App Using the Start Menu
You can also easily access the ODBC Data Sources tool from the Start menu. So, let’s check out the steps you need to apply:
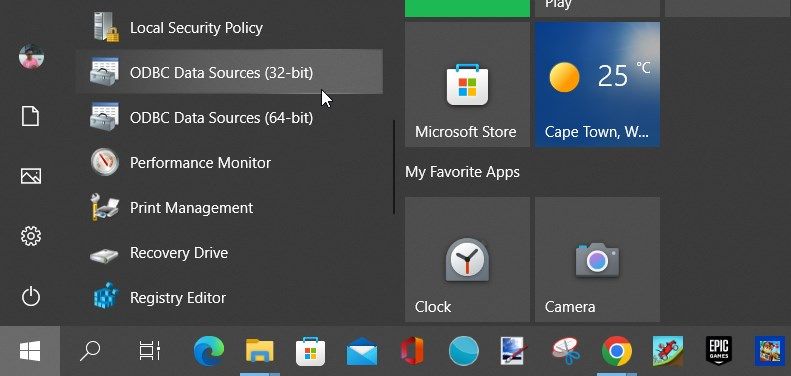
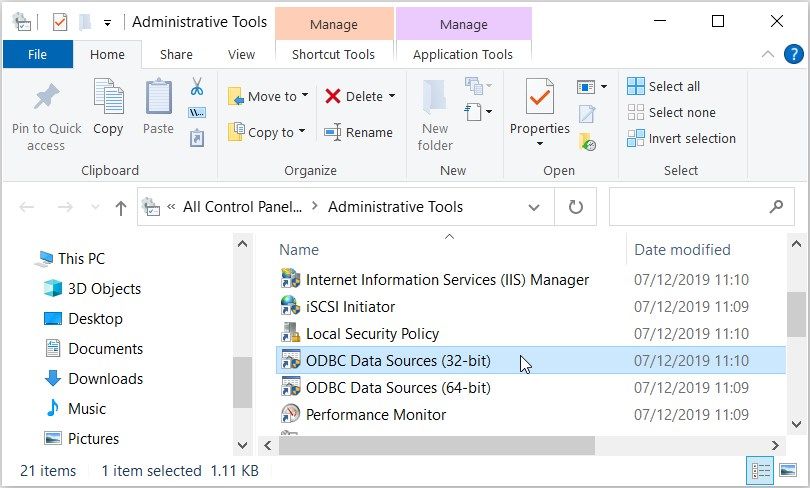
- Press the Windows key or click the Start Menu icon on the taskbar to access the Start menu.
- Select the Windows Administrative Tools folder from the menu items.
- Locate and select one of the ODBC Data Sources options.

3. Access the ODBC Data Sources App Using the Control Panel
The Control Panel is a handy tool that you can use for various purposes. For example, you can use it to troubleshoot system issues or configure some settings.
Interestingly, the Control Panel can also help you open most apps on your PC. So, let’s check out how you can use it to access the ODBC Data Sources app:
- Press Win + R to open the Run command dialog box.
- Type Control Panel and press Enter.
- Click the View by drop-down menu and select Large icons.
- Select Administrative Tools from the options.
- Double-click on one of the ODBC Data Sources options.

4. Access the ODBC Data Sources App Using the File Explorer Address Bar
The File Explorer address bar is a convenient tool that helps you locate your file or folder paths. But did you know that you can use this tool to access various apps?
Here’s how you can access the ODBC Data Sources app using the File Explorer address bar:
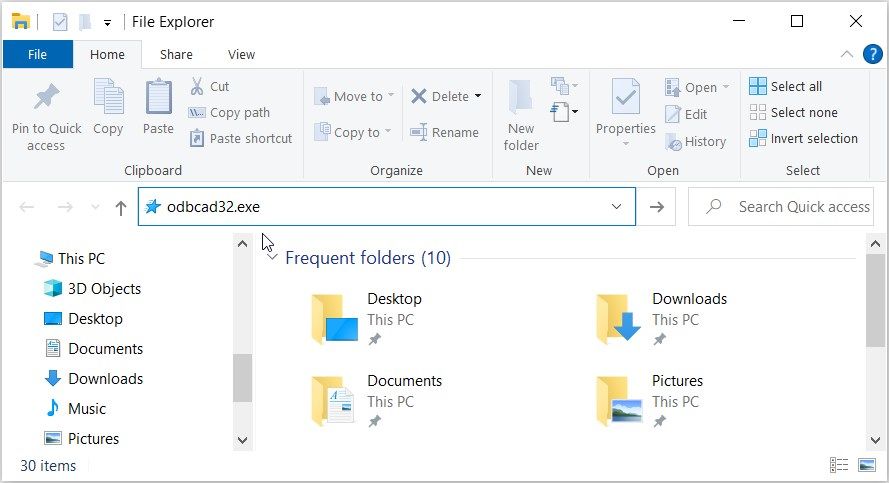
- Press Win + E to open File Explorer.
- Type odbcad32.exe in the address bar and press Enter.

5. Access the ODBC Data Sources App Using the Task Manager
The Task Manager is usually the first tool you might think of whenever you want to close faulty apps on your PC . But did you know that this tool can also help you access almost any app on Windows?
Here’s how you can open the ODBC Data Sources app using the Task Manager:
- Type Task Manager in the Start menu search bar and select the Best match.
- Click the File tab in the top-left corner of the screen.
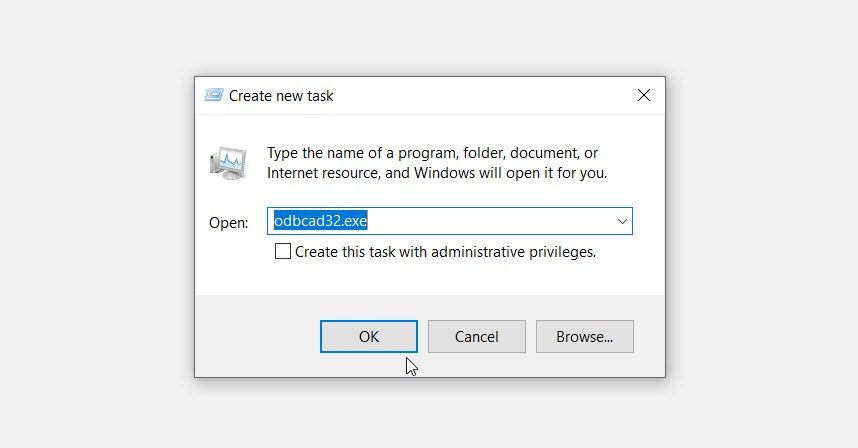
- Select the Run new task option.
- Type odbcad32.exe in the search box and press OK to open the ODBC Data Sources app.

6. Access the ODBC Data Sources App From the Windows System32 Directory
You can also open the ODBC Data Sources app by clicking the relevant file in the Windows System32 folder.
Here are the steps you need to apply:
- Press Win + E to open File Explorer. Alternatively, click the File Explorer icon on the taskbar.
- Select This PC on the left.
- Select the Local Disk (C:) option on the right.
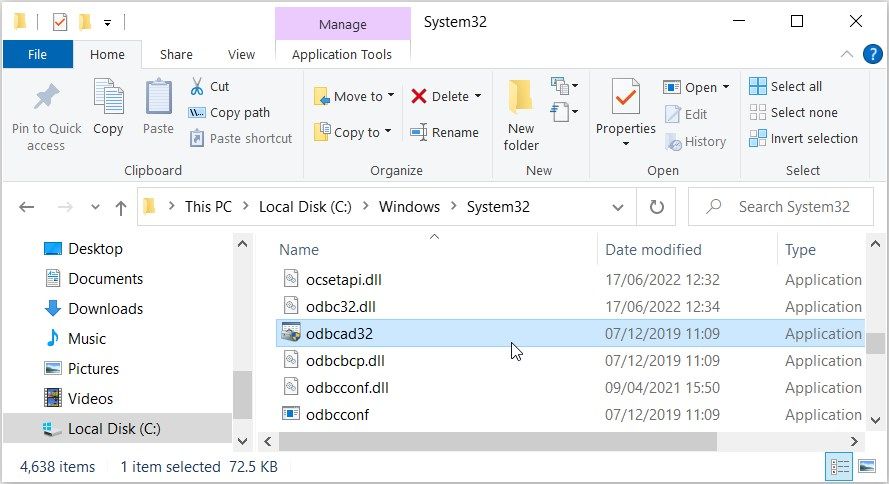
- Open the Windows folder, scroll down, and open the System32 folder.
- Double-click on the odbcad32 option to open the ODBC Data Sources app.

7. Access the ODBC Data Sources App Using the Command Prompt or PowerShell
The Command Prompt and PowerShell can also help you access the ODBC Data Sources app.
Let’s start by checking out the steps for opening the ODBC Data Sources app using the Command Prompt:
- Press Win + R to open the Run command dialog box.
- Type CMD and press Ctrl + Shift + Enter to open an elevated Command Prompt window.
- Type the following command and press Enter.
odbcad32.exe
Let’s now check out the steps for accessing the ODBC Data Sources app using PowerShell:
- Type Windows PowerShell in the Start menu search bar.
- Right-click on the Best match result and select Run as administrator.
- Type the following command and press Enter.
odbcad32.exe
8. Access the ODBC Data Sources App Using a Desktop Shortcut

Using desktop shortcuts is one of the best ways to access your apps. So, let’s explore how you can create an ODBC Data Sources desktop shortcut:
- Press Win + D to access the desktop.
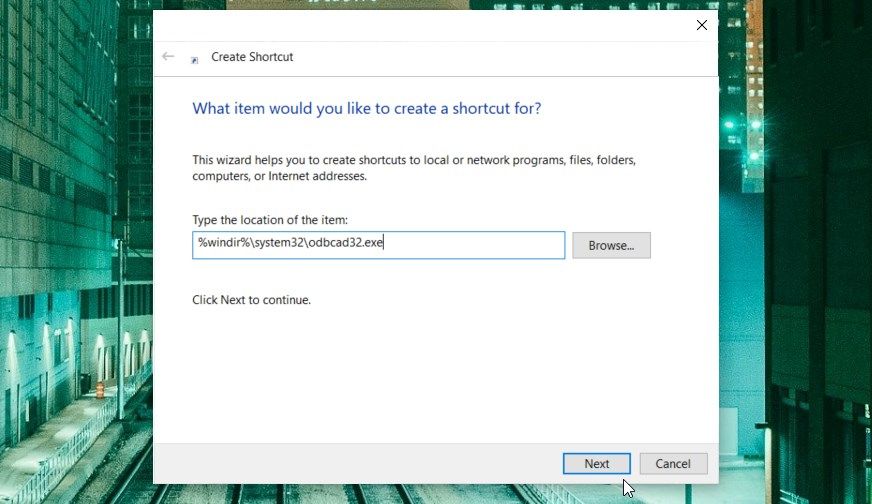
- Right-click on a blank space and select New > Shortcut.
- Type %windir%\system32\odbcad32.exe in the location box and press Next to continue.

Type ODBC Data Sources App in the “name” box and then click the Finish button. Now, you can easily access the ODBC Data Sources app using the desktop shortcut you’ve just created.
Accessing the Windows ODBC Data Sources App Is Quite Easy
Need a Windows tool that can help you connect your apps to various database management systems? Try the ODBC Data sources app! The good news is that this tool is free and easy to use.
And how do you access the Microsoft ODBC Data sources tool? Simply apply any of the methods we’ve covered. From there, you can start exploring some cool “database creation” tricks, such as creating a database in Microsoft Access.
Also read:
- [New] 2024 Approved Unlocking Free Content Creation Blending Text & Video
- 2024 Approved The Art of Shots Discover the Best Camera Angles for iPhones
- Best 7 Cost-Free AI Planning Tools & ChatGPT Substitutes to Craft Your Itinerary Fast
- Comprehensive Tutorial: Apple Maps on Windows
- In 2024, How to Unlock Poco X6 Phone without Google Account?
- In 2024, Latest way to get Shiny Meltan Box in Pokémon Go Mystery Box On Samsung Galaxy F54 5G | Dr.fone
- In 2024, Mastering Cartoon Expressions with Snapchat's Fun Filter
- Maximize Productivity: GitHub Desktop Tips for Windows 11 Users
- Tackling Steam Cloud Connectivity Woes
- Triggering Quick Help in Windows 11 OS
- Unveiling the Strengths of the X-Chair X4 Executive Chair: A Reliable Option for Office Environments
- Title: Comprehensive Breakdown: Understanding Windows' ODBC System
- Author: Richard
- Created at : 2024-11-22 16:22:08
- Updated at : 2024-11-27 17:05:21
- Link: https://win11-tips.techidaily.com/comprehensive-breakdown-understanding-windows-odbc-system/
- License: This work is licensed under CC BY-NC-SA 4.0.
