Decoding Mouse Properties: Guide to Win11 Controls

Decoding Mouse Properties: Guide to Win11 Controls
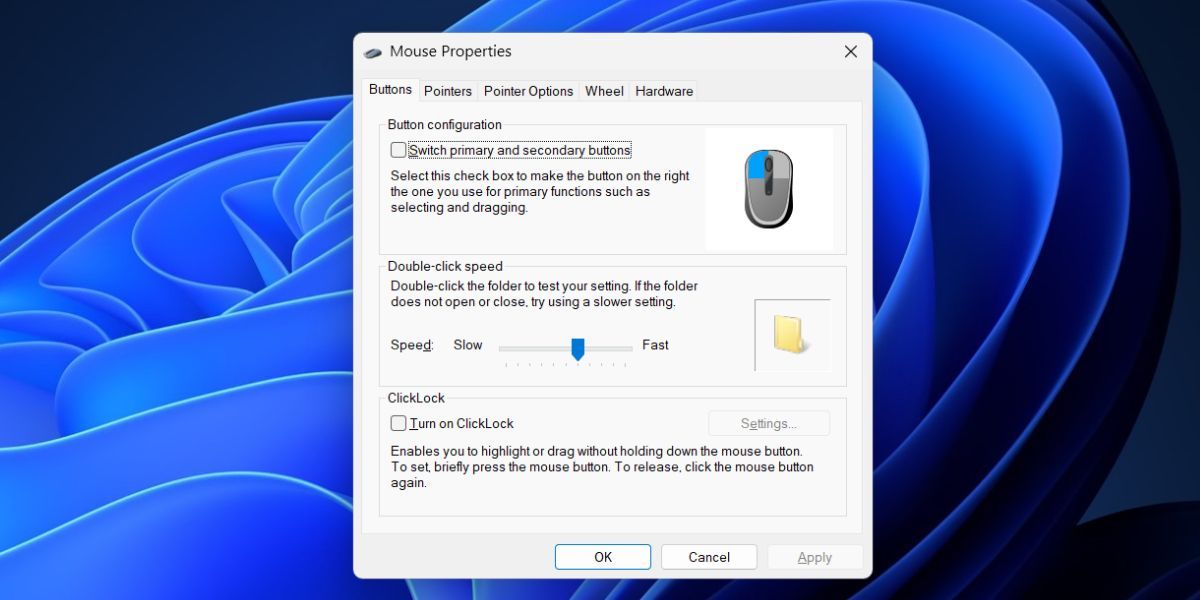
Most of us don’t bother changing the mouse properties and stick with the default settings in Windows 11. But there is full-fledged mouse customization available in Windows OS using which you can adjust button actions, pointers, mouse wheel, and apply visual tweaks as well. All of this is handled by the Mouse Properties applet which you will find in the Control Panel.
But it isn’t the only method to open the tool on Windows 11. We will list out ten ways using which you can launch the tool on your system and calibrate your mouse or trackpad. Let’s begin.
Disclaimer: This post includes affiliate links
If you click on a link and make a purchase, I may receive a commission at no extra cost to you.
1. Using the Start Menu
The Start menu is the heart and soul of Windows OS and in Windows 11 it is more powerful than before. It can perform a deep search of files, pull results from the web, and launch the pinned apps and system tools without opening File Explorer. Repeat the following steps:
- Press the Win key to open the Start menu.
- Type mouse settings in the search bar and press the Enter key to open the Settings app page.

- Or, you can type main.cpl in the search bar and press Enter to open the Control Panel applet.

2. Using the Control Panel
Before the Settings app came into the picture, Control Panel organized all the Windows tools under one shed. So, you can open the Mouse Properties applet using the Control Panel. Here’s how to do it:
- Press the Win key, type Control Panel, and press the Enter key.
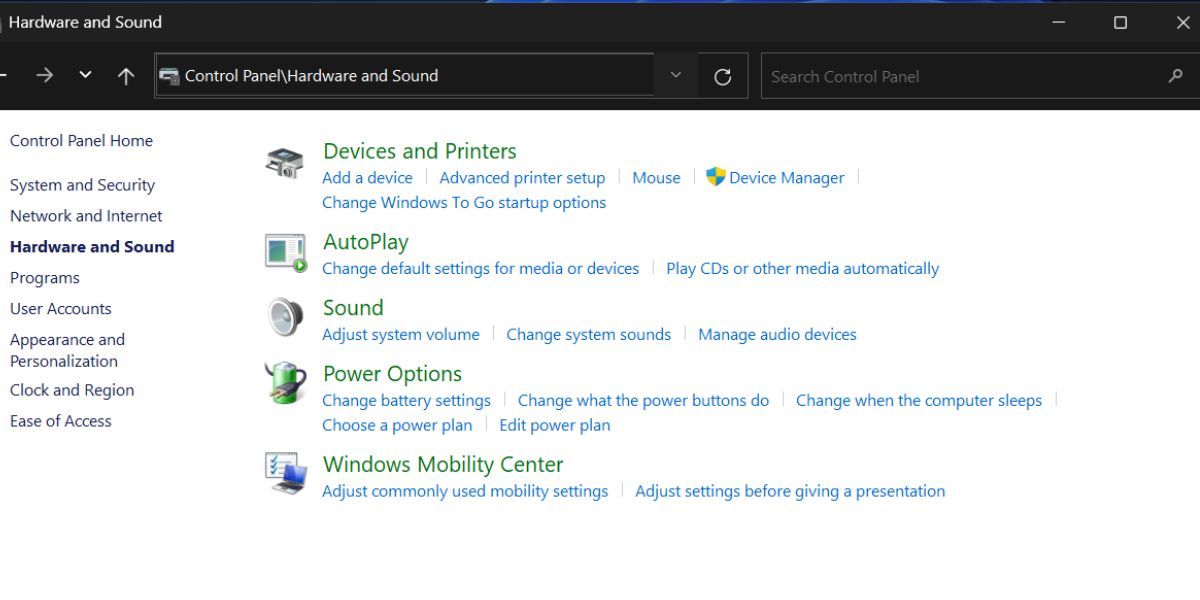
- On the Control Panel home page, click on the Hardware and Sound option.
- Now, locate the Devices and Printers section and click on the Mouse option.

- The Mouse Properties window will launch.
3. Using Settings App
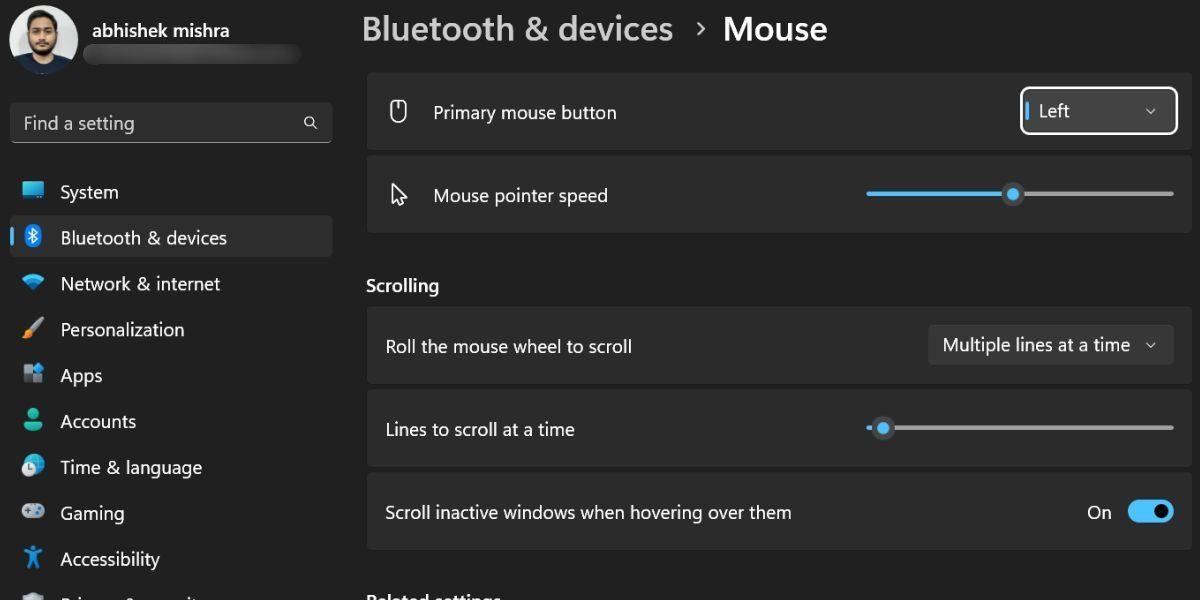
Windows 11 Settings app slaps a fresh coat of paint on the bland UI of Windows 10 and contains a dedicated section for Mouse customization. It is part of a larger push to move everything to the Settings app and reduce dependency from the Control Panel. Repeat the following steps:
- Right-click on the Start button to open the Power User menu. Click on the Settings option.
- Navigate to the left-hand side menu and click on the Bluetooth & devices option.
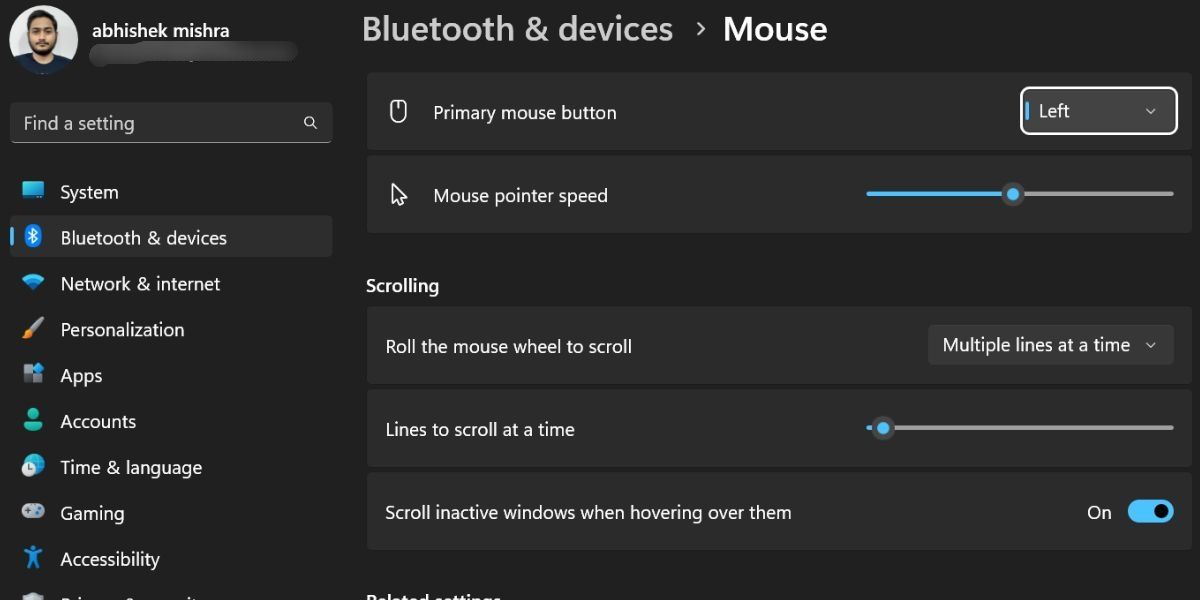
- Scroll down and click on the Mouse option.

You will only find some mouse settings on this page. The rest of them are clubbed under the Related Settings section which opens the Mouse Properties applet or redirects you to the Display or Accessibility section.
4. Using the Run Dialog Box
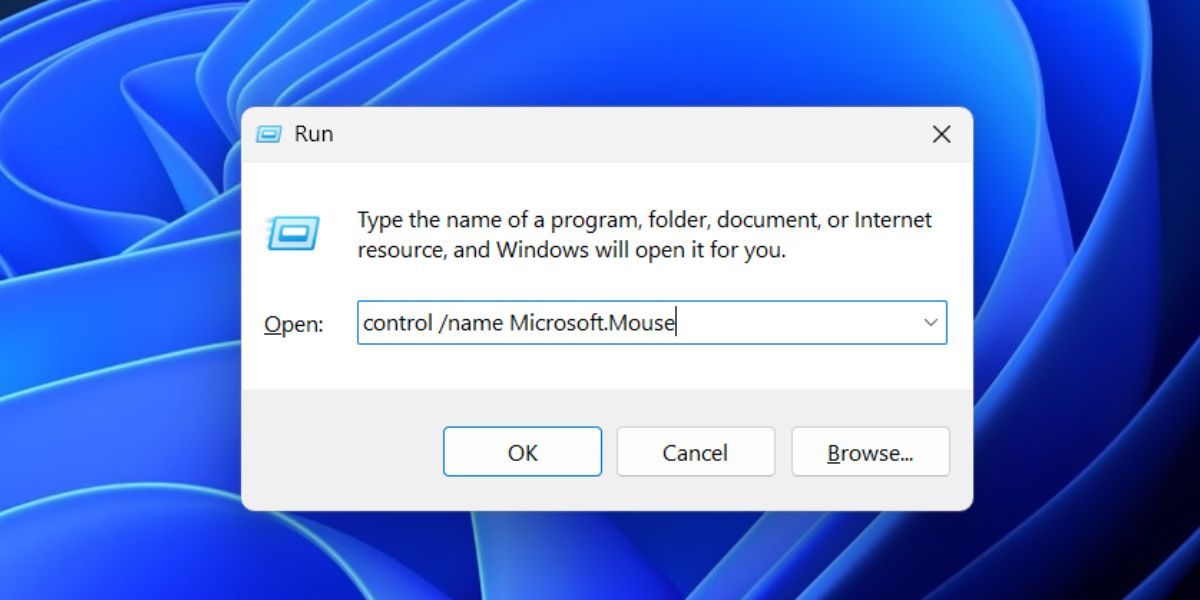
Windows Run Dialog Box can launch Windows tools and open folder locations if you enter the appropriate short codes or file names. You can launch the Control Panel version of Mouse Properties using the Run dialog box. Here’s how to do it:
- Press Win + R to launch the Run dialog box .
- Type control /name Microsoft.Mouse in the text box and press the Enter key to launch the Mouse Properties applet.

5. Using File Explorer
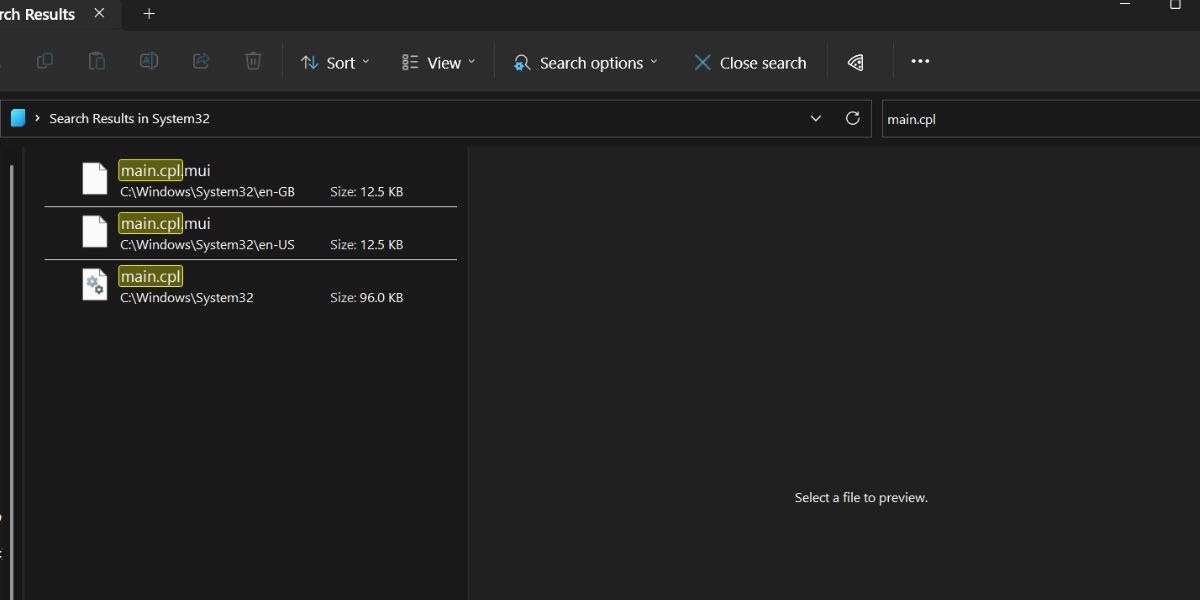
You can access the Mouse Properties tool using the System32 folder in the C drive. Despite being a .cpl file, you can launch it directly. Repeat the following steps:
- Press Win + E to launch the File Explorer .
- Click on the address bar and paste the following path: C:\Windows\System32
- Press the Enter key to access the System32 folder.
- Go to the search bar, type main.cpl, and press the Enter key.

- Double-click on the main.cpl file to open Mouse Properties tool.
6. Using Task Manager
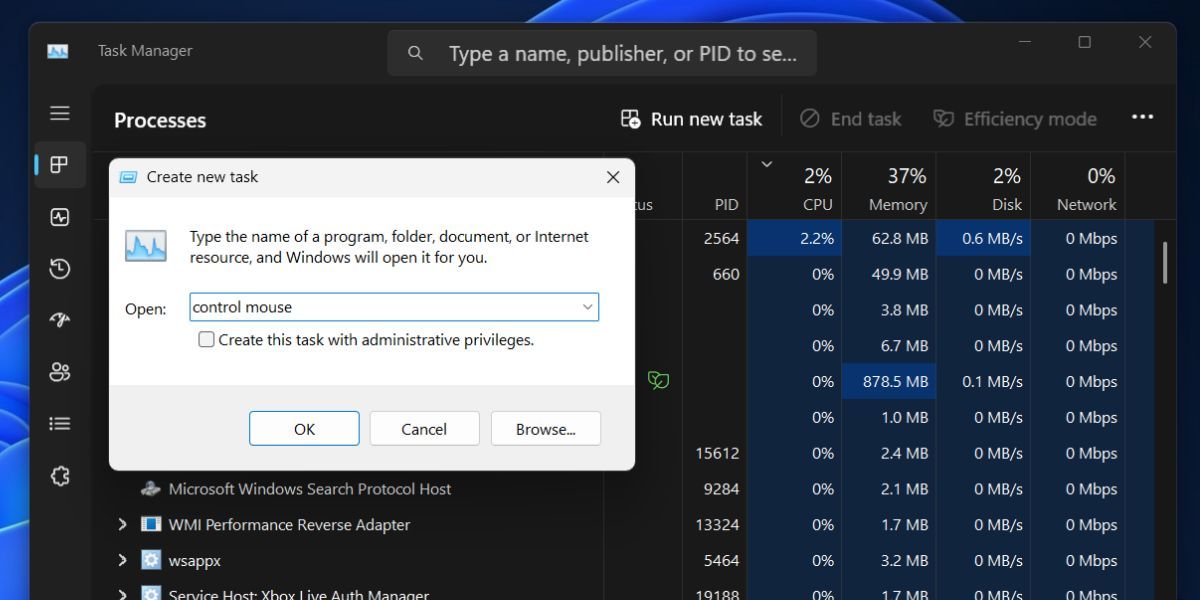
If the Control Panel app or File Explorer isn’t working , you can launch the Mouse Properties window using the Task Manager. Here’s how to do it:
- Right-click on the Start button to open the Power User menu. Click on the Task Manager option.
- Click on the Run new task button. Type control mouse in the text box and click on the OK button.

- The Mouse Properties window will launch.
- Close the Task Manager.
7. Using Command Prompt
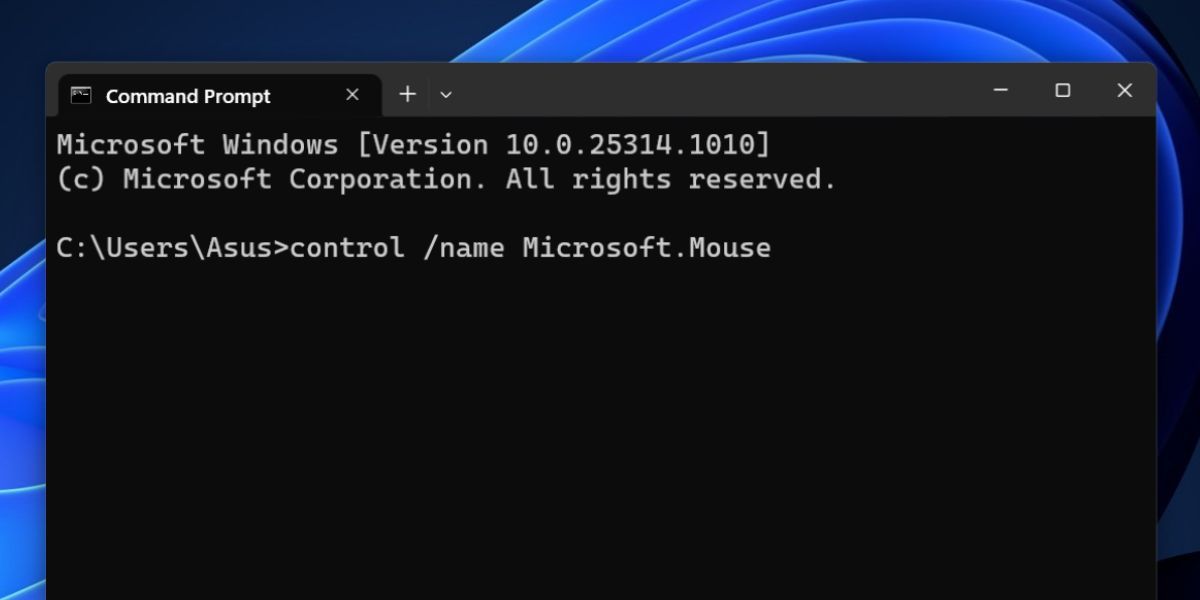
For terminal lovers, the GUI option sounds exhaustive for opening any app. So, you can open the Mouse Properties window from the command prompt. Here’s how:
- Press Win + R to launch the Run dialog box. Type cmd in the text box and press the Enter key to open the Command Prompt.
- Type control /name Microsoft.Mouse in the terminal and press the Enter key.

- Mouse Properties will open in a new window.
- Type exit and press Enter to close the Command Prompt.
8. Using PowerShell
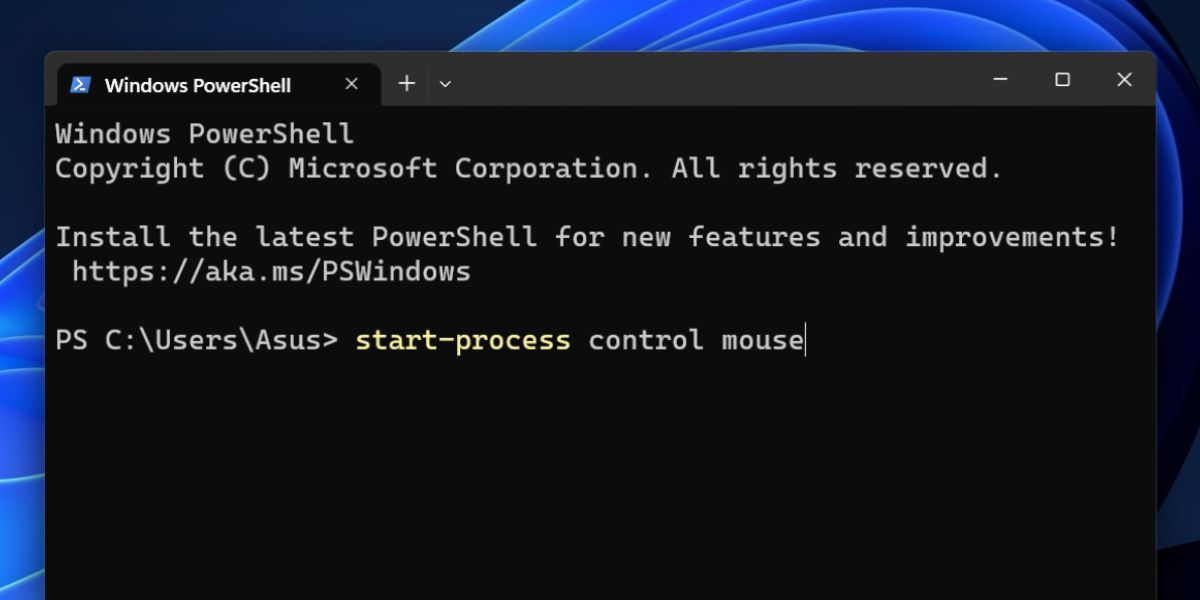
You can use the start-process cmdlet in PowerShell to launch an app or Windows tools. You don’t need to run PowerShell with administrator privileges for this method. Repeat the following steps:
- Press Win + R to launch the Run dialog box. Type PowerShell in the text box and press the Enter key.
- Type the following command in the PowerShell window and press the Enter key: start-process control mouse

- Mouse Properties tool will open in a new window.
9. Using a Desktop Shortcut
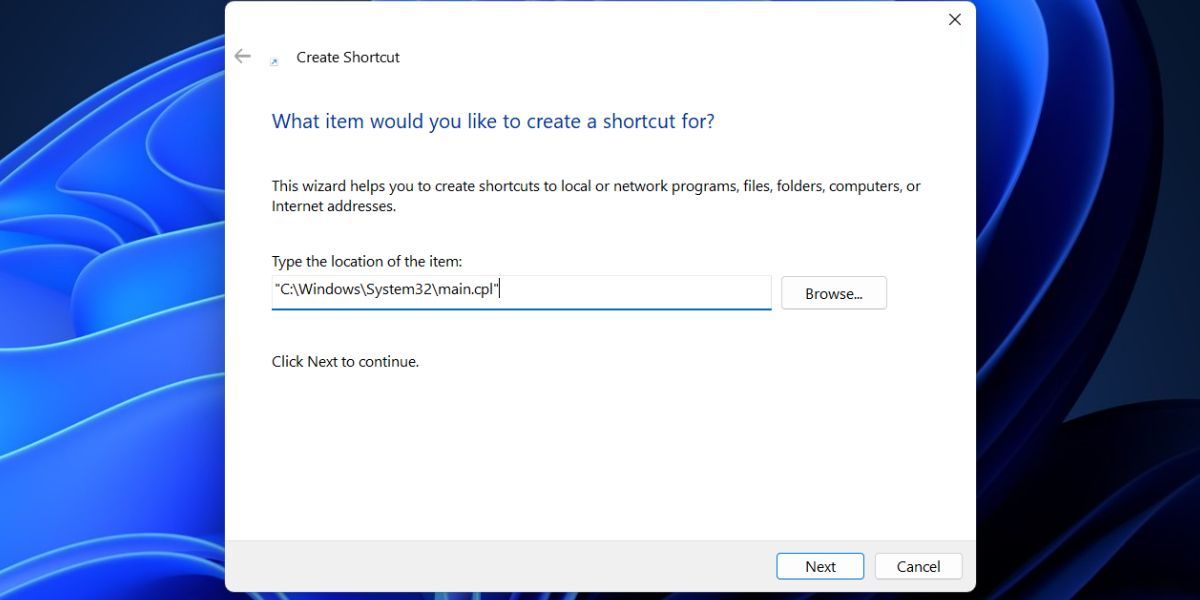
A desktop shortcut is a quicker way to adjust mouse settings, especially when there are multiple users on one Windows 11 PC. You can create the shortcut either by visiting the System32 folder or create an empty shortcut and mapping the address of the Mouse Properties tool to it. Here’s how to do it with the latter:
- Press Win + D to switch to the desktop.
- Move the cursor to the empty area on the desktop and right-click on it.
- Select the New > Shortcut option from the context menu.
- A new blank shortcut will appear on the desktop and the Create Shortcut window will open.
- Paste the following path in the text box and click on the Next button: “C:\Windows\System32\main.cpl”

- Now, type the name of the shortcut. We named it Mouse Settings. Click on the Finish button.
- You can double-click on the shortcut and adjust mouse settings.
10. Using a Keyboard Shortcut
Windows reserves keyboard shortcuts to open apps and settings. But you can create a custom shortcut to open the Mouse Properties window whenever you want. No need to open apps or Control Panel or navigate to the System32 folder. Here’s how:
- Press Win + D to switch to the desktop.
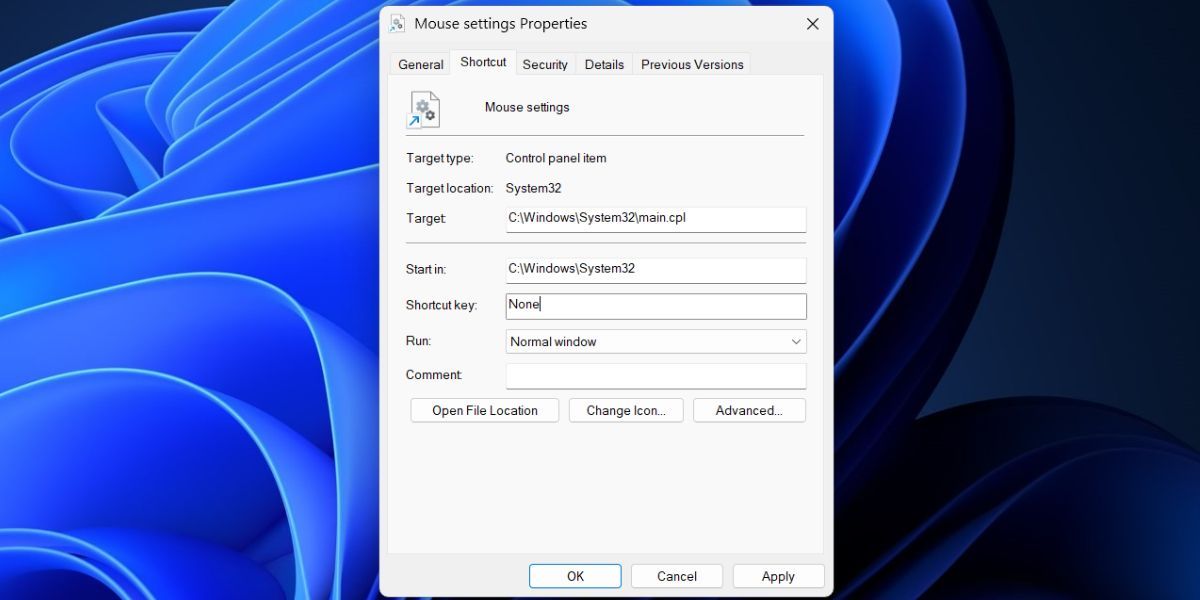
- Click on the newly created Mouse Properties shortcut to select it. Press the Alt + Enter keys to open its Properties.
- Locate the Shortcut key option. Now, press Ctrl + Shift + any key to create a custom keyboard shortcut. We used the “M” key, so our final combination becomes Ctrl + Shift + M.
- Click on the Apply button and then click on the OK button.

- Now, test the mapped shortcut key combination and check if it launches the Mouse Properties tool.
Gain Absolute Control Over Your Mouse on Windows
Mouse Properties is an applet, so you cannot pin it to the Taskbar or Start menu. But, you can launch it using the Run dialog box or Terminal or you can create a desktop shortcut. For the fastest access to the tool, map a shortcut key combination.
There are still some features that are missing from Windows, but you can use PowerToys Mouse utilities to fill the gap.
But it isn’t the only method to open the tool on Windows 11. We will list out ten ways using which you can launch the tool on your system and calibrate your mouse or trackpad. Let’s begin.
Also read:
- [New] Automate Playlist Retrieval From YouTube Directly for 2024
- [New] In 2024, The Art of Leading Lines in iPhone Visual Storytelling
- [Updated] Exploring VivaCut The Full 2024 Video Editing Review
- [Updated] Fundamentals of Managing Volume Increase in Projects
- [Updated] Metaversal Motivation A Curated List of Inspiring Quotes
- 2024 Approved Unveiling the Secrets of Effective HP Screen Capture
- Cut the Clutter with a Pure Start in W11
- Effective Notetaking Techniques for Windows Users
- Hide and Seek: The Secret of the Shutdown Icon
- How to Multitask Better on a Windows 11 PC
- In 2024, TomTom GoPro Alternative A 2023 Review
- Strategies to Overcome Disabled Windows Protection Barrier
- Tackling C1900101 in New Windows Installation
- Unraveling the History of Your Windows PC
- Windows Woes: Uncovering 7 Critical Risks of Inexpensive Auth Keys
- Title: Decoding Mouse Properties: Guide to Win11 Controls
- Author: Richard
- Created at : 2024-12-18 16:41:11
- Updated at : 2024-12-21 21:10:23
- Link: https://win11-tips.techidaily.com/decoding-mouse-properties-guide-to-win11-controls/
- License: This work is licensed under CC BY-NC-SA 4.0.
