Elevate Your Desktop Experience with Windows 11 Widgets

Elevate Your Desktop Experience with Windows 11 Widgets
By hittingWin + W in Windows 11, you can bring up the widgets board. You can also do the same by hovering over theWidgets button on the left side of theTaskbar . On the board, you can add or remove widgets and even customize and rearrange them however you like, but you can’t add them to your desktop.
Luckily, Windows has a third-party app called Widget Launcher that allows you to pin widgets to the desktop. Here’s how to use it.
How to Download Widget Launcher
Widget Launcher is available on the Microsoft Store. If you haven’t explored it before,the Microsoft Store has plenty of award-winning and innovative apps . For the time being, we’ll use it to download Widget Launcher.
If Microsoft Store is up and running on your PC, you should be able to download the app via the Widget Launcher page on the Microsoft Store . Just clickGet in Store app and Windows will handle the rest.
Otherwise, pressWin + S to open Windows Search and typestore in the search box. UnderBest match in the search results, click onMicrosoft Store to launch the app. Search forwidget launcher and install the app that appears.
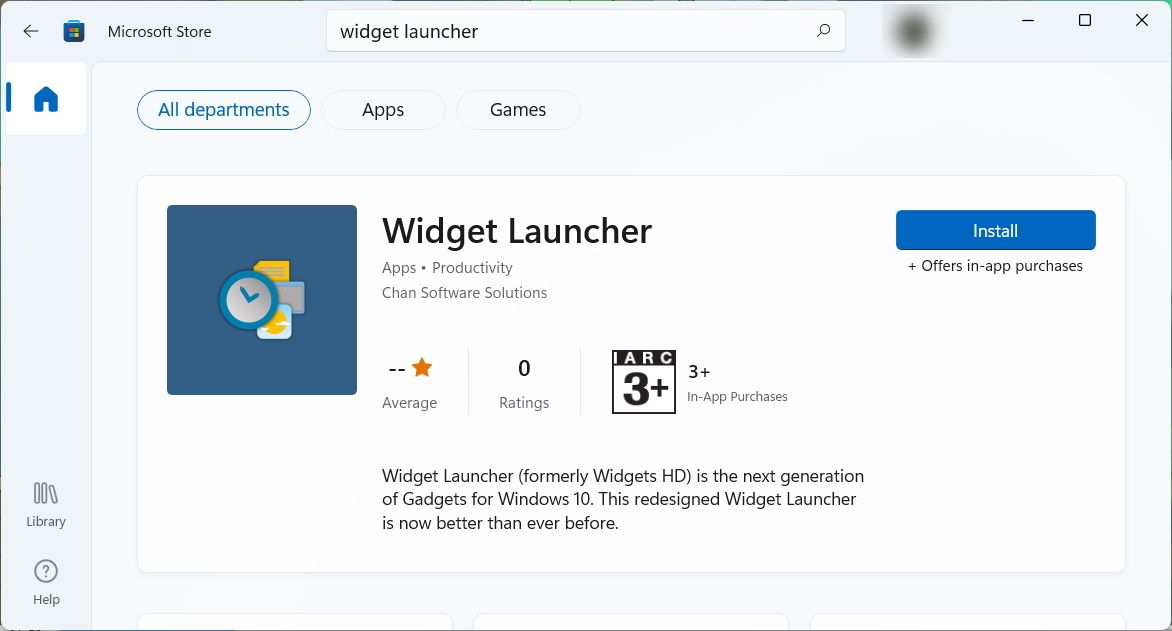
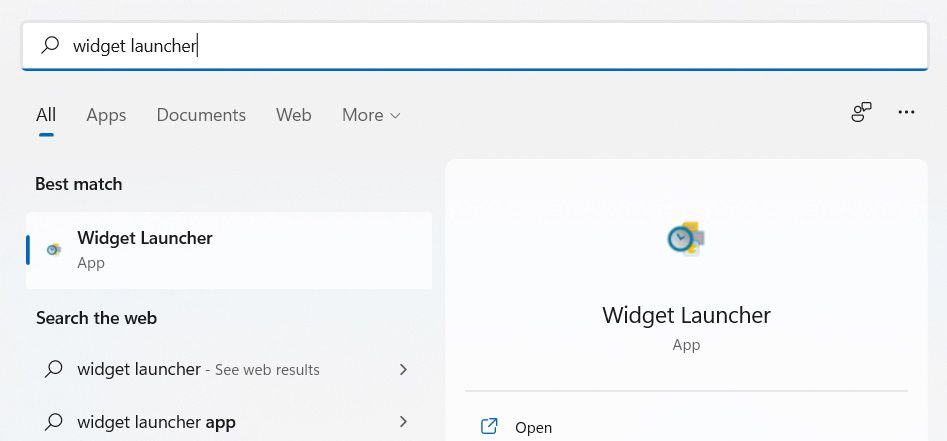
After the Microsoft Store downloads Widget Launcher onto your Windows 11 PC, clickOpen to launch the app. You can also open it by pressingWin + S , typingwidget launcher in the search box, and clicking on the app in the search results underBest match .
How to Add Widgets to Your Desktop With Widget Launcher
With Widget Launcher open, you’ll see a list of all the available widgets, such asWeather ,Clock ,Calendar ,Notes , andCPU Meter , in the middle panel. Click on the widget you want to add to the desktop.
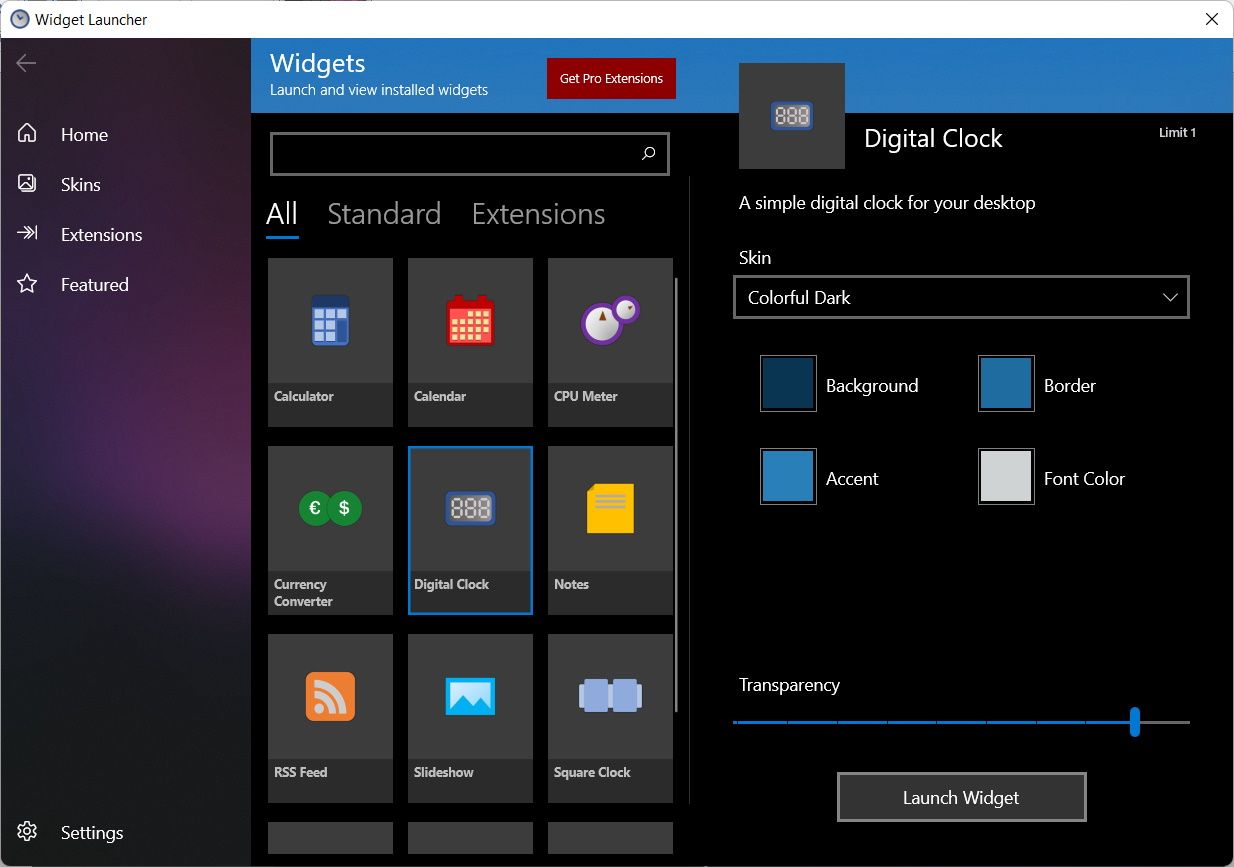
In the right panel, click onLaunch Widget , and the widget will now appear on your desktop. If you decide these widgets are enough for your needs, you can disable Windows 11’s widgets .
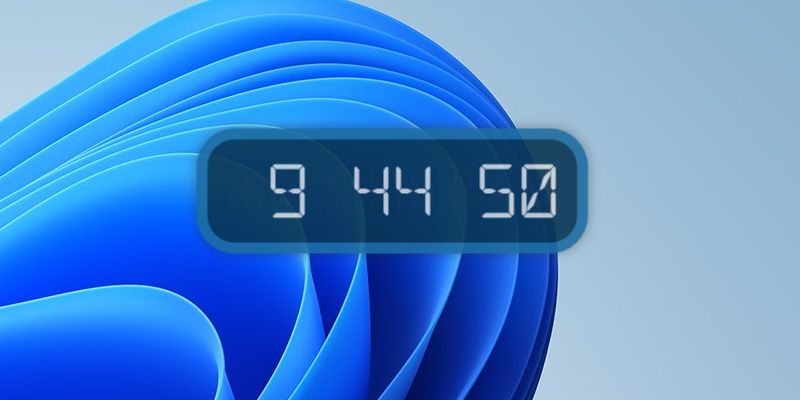
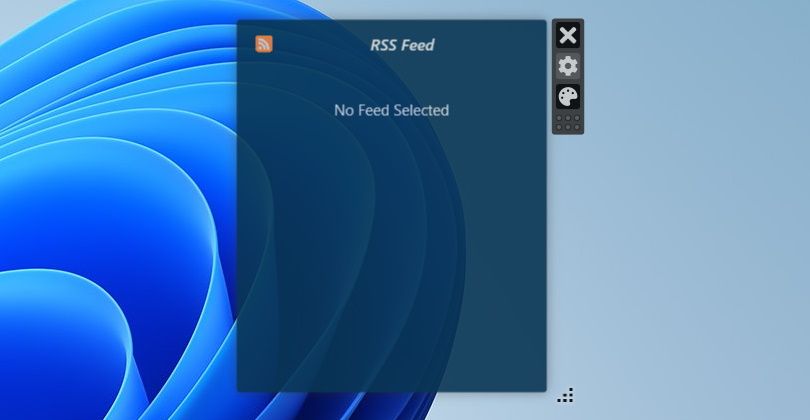
Some widgets, such asWeather ,RSS Feed , andSlideshow , will be blank when you first launch them. That’s because you need to tell them where to get the data they need to display.
Let’s take theRSS Feed widget, for example. To make it show the feeds you want, start by hovering over the widget and clicking on thegear icon in the small panel that appears on the right to openSettings .
 SwifDoo PDF Perpetual (2-PC) Free upgrade. No monthly fees ever.
Then, enter the URL to the website theRSS Feed widget will use to populate itself with feeds, and then clickOK . Now the widget won’t be blank anymore.
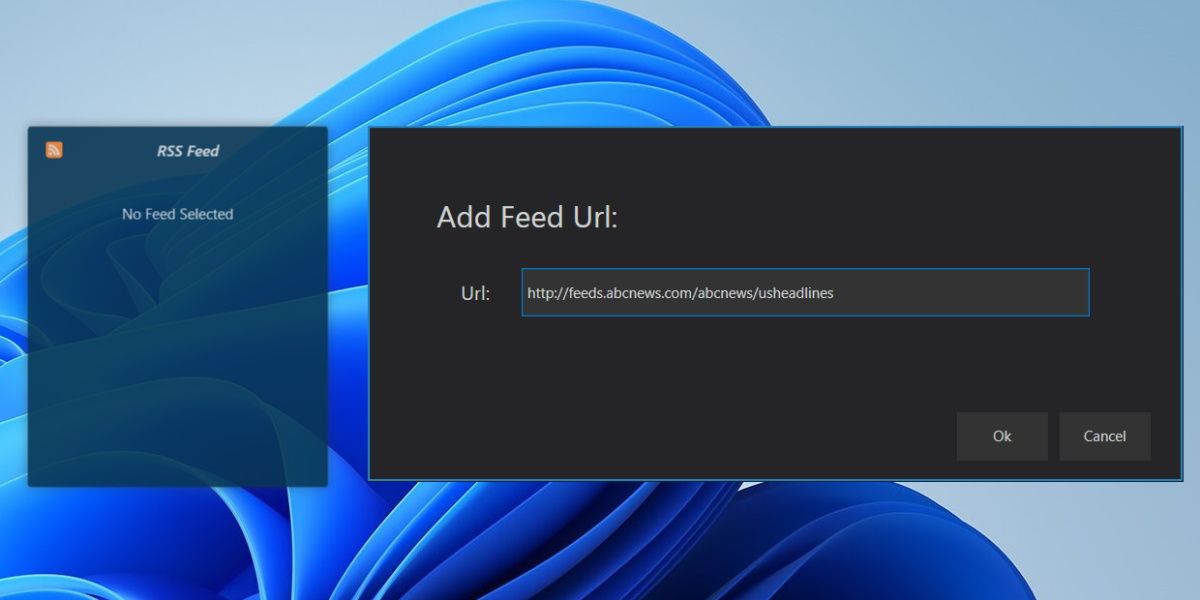
If this was theWeather widget, you’d need to add a location. And if it was theSlideshow widget, it would require a folder to find the images to display.
How to Enable “Widgets Always on Top” Mode
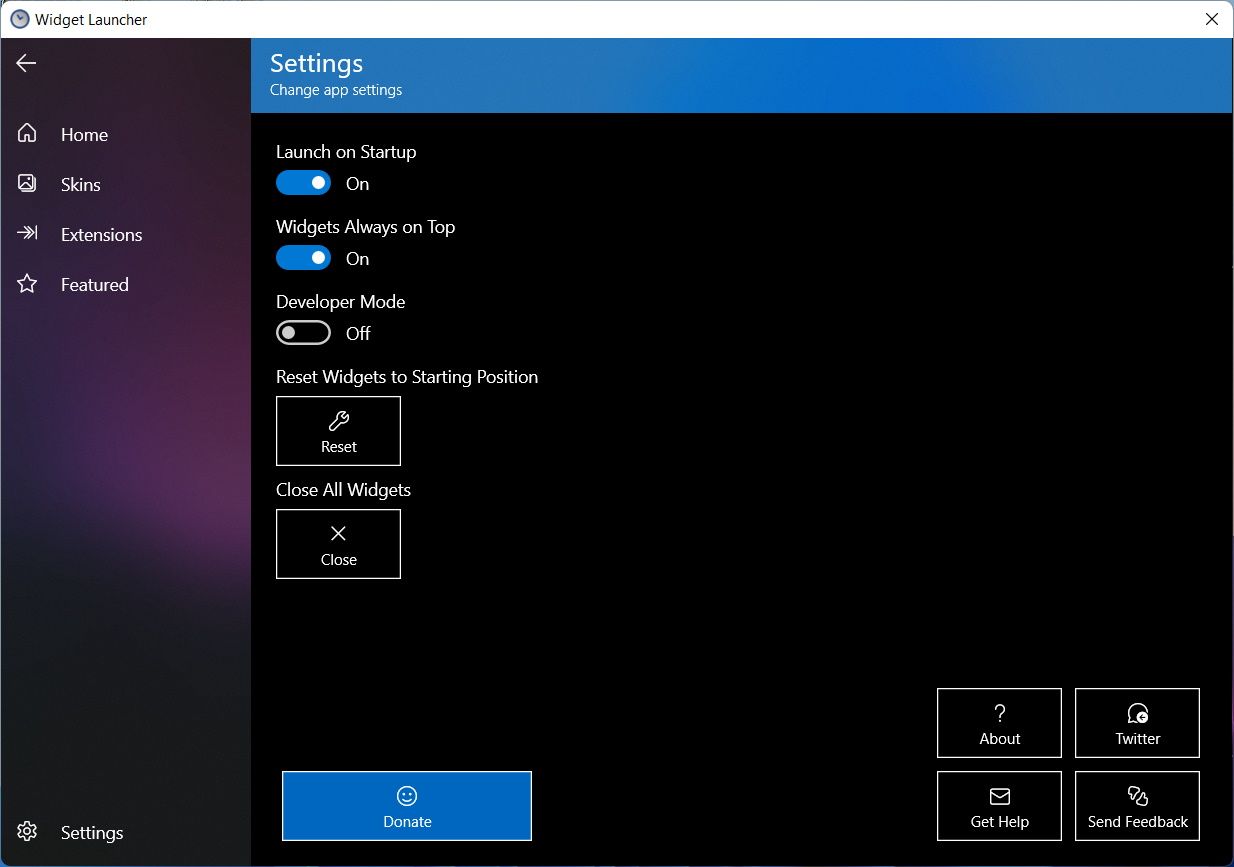
If you want to see the widgets every time no matter what window you’re on, clickSettings in the bottom left corner of the Widget Launcher app. Then, turn on the toggle forWidgets Always on Top .
It will help you to write dynamic data reports easily, to construct intuitive dashboards or to build a whole business intelligence cockpit.
KoolReport Pro package goes with Full Source Code, Royal Free, ONE (1) Year Priority Support, ONE (1) Year Free Upgrade and 30-Days Money Back Guarantee.
Developer License allows Single Developer to create Unlimited Reports, deploy on Unlimited Servers and able deliver the work to Unlimited Clients.
By default, Widget Launcher is set to launch the widgets during startup as well. You can prevent this by setting the toggle forLaunch on Startup toOff .
Enjoy Widgets on Your Windows 11 Desktop
If you want to add widgets to your Windows 11 desktop, Widget Launcher allows you to do that easily. That way, you can always see your favorite information right from your desktop. And if you want to see the widgets all the time, you can just set them to always be on top.
- Title: Elevate Your Desktop Experience with Windows 11 Widgets
- Author: Richard
- Created at : 2024-08-16 02:27:31
- Updated at : 2024-08-17 02:27:31
- Link: https://win11-tips.techidaily.com/elevate-your-desktop-experience-with-windows-11-widgets/
- License: This work is licensed under CC BY-NC-SA 4.0.


 KoolReport Pro is an advanced solution for creating data reports and dashboards in PHP. Equipped with all extended packages , KoolReport Pro is able to connect to various datasources, perform advanced data analysis, construct stunning charts and graphs and export your beautiful work to PDF, Excel, JPG or other formats. Plus, it includes powerful built-in reports such as pivot report and drill-down report which will save your time in building ones.