
Empower Your Windows Network with Python-Driven Transfers
Empower Your Windows Network with Python-Driven Transfers
Have you ever wanted to transfer files to other devices, but you didn’t have access to a flash drive or other storage device? With Python, you can create a temporary server that lets you transfer files between devices using just your web browser.
In this article, we’ll walk you through the process of setting up a Python server on your Windows operating system using the Command Prompt with just a few simple commands.
What Is a Python Server?
A Python server is an in-built web server that comes prepackaged with the Python library. You can implement a simple Python web server using the web server module in Python, such as the SimpleHTTPServer module or the HTTPServer module.
It is important to note that the web server we will create here can only be accessed on your local network via a private IP address, for example, 192.168.xx.xx or 10.10.xx.xx. But you can use this server to easily download files from one device to another as long as you are on the same network.
How to Set Up a Python Web Server for File Transfer on Windows
Setting up a Python web server is very easy. Before you start setting up, make sure you have Python installed. If you don’t, you can easily install Python on Windows in a few minutes.
Once you have Python installed, to set up your Python server, just follow these steps:
- Open File Explorer and navigate to the location of the folder or file you want to share.
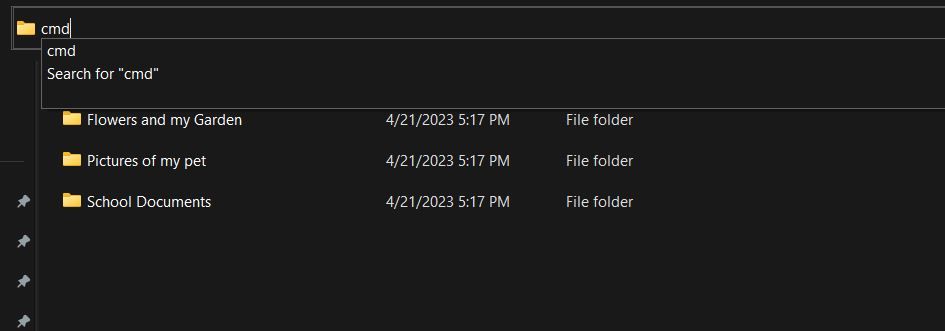
- In the Address Bar, double-click the file path and type cmd. This would open a Command Prompt window in that location.
 Alternatively, you can open the Command Prompt by pressingWin + R and typingcmd in the Run dialog box. Then navigate to your desired file or folder using the cd command in Windows .
 - You can get your private IP address by typingipconfig in your Command Prompt window.
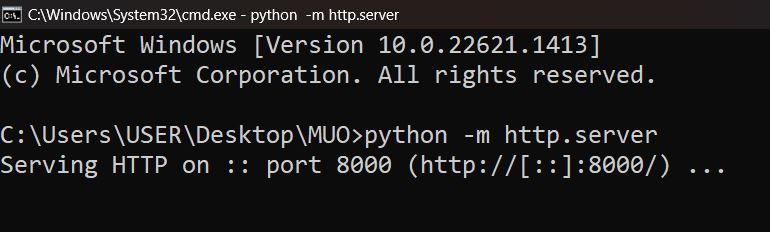
- To initiate the Python web server, execute this command:python -m http.server
Nero Burning ROM:
The ultimate burning program for all your needs!


 Nero Burning ROM:
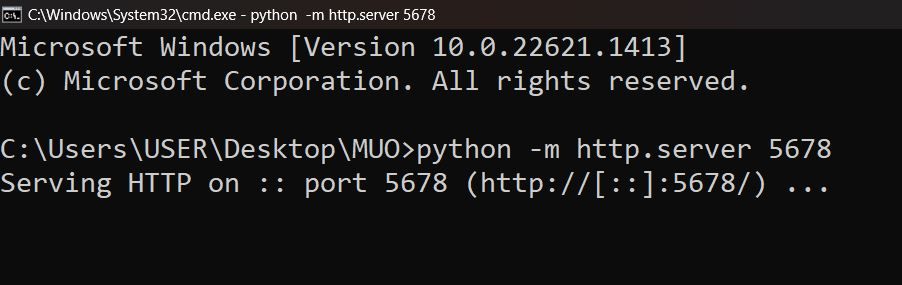
This would use the default port 8000. To specify a different port just type the port number next to the command. For example, to run the Python web server on port 5678, execute this command:
python -m http.server 5678

Now, you have a simple Python web server for file transfer up and running on your Windows device. To end the server, just pressCtrl + C .
 WinUtilities Pro
How to Download the Files From the Python Server
On the devices that you want to share the files to, open the browser and just type in the IP address of the device with the file. If you specified a port number, do this:ip_address:portnumber . For example,192.168.116.201:5678 . The result should look like a list of files and directories.

Use Python to Make Your Tasks Easier
Setting up a Python server for file transfer can be a powerful tool for streamlining your workflow and improving efficiency. Whether you are working on a small team or a large project, the ability to quickly and easily transfer files can make all the difference. Python is an easy-to-learn programming language that can be used to automate tasks and make you more efficient in your everyday life.
With a little bit of practice and experimentation, you can easily create scripts to automate repetitive tasks such as file organization, data analysis, web scraping, and much more.
- Title: Empower Your Windows Network with Python-Driven Transfers
- Author: Richard
- Created at : 2024-08-16 01:50:42
- Updated at : 2024-08-17 01:50:42
- Link: https://win11-tips.techidaily.com/empower-your-windows-network-with-python-driven-transfers/
- License: This work is licensed under CC BY-NC-SA 4.0.