Experience GPTClone at Home for FREE on Windows!
Experience GPTClone at Home for FREE on Windows
Offline AI chatbots are here, with new, increasingly versatile, and more optimized solutions popping up almost every day. Out of all of them, GPT4All is near the top.
There are many reasons to try it, like how GPT4All enables you to chat with your documents. No need to “train” it, use expensive servers, or dive into Python. You can simply “add your documents” to GPT4All as they are to “expand its knowledge pool” with your data.
Let’s see how you can install and use GPT4All on your Windows PC.
Why Use GPT4All?
There are many reasons to use GPT4All instead of an alternative, including ChatGPT.
- You can run GPT4All only using your PC’s CPU. No need for a powerful (and pricey) GPU with over a dozen GBs of VRAM (although it can help).
- GPT4All is a fully-offline solution, so it’s available even when you don’t have access to the internet.
- Being offline and working as a “local app” also means all data you share with it remains on your computer—its creators won’t “peek into your chats”.
- Since it only relies on your PC, it won’t get slower, stop responding, or ignore your prompts, like ChatGPT when its servers are overloaded.
- GPT4All allows you to add your documents to its “knowledge pool” effortlessly. It can then present information from them in its answers, turning it into a true personal assistant that “knows about your stuff” instead of a generic chatbot.
Is This Basically Like Installing ChatGPT Locally?
Whether you’re arguing with a chatbot or using a service like Copilot to help you write code effortlessly, you’re interacting with a large language model (LLM). If you’re unfamiliar with the term, check out our article on what LLMs are and how they work .
The LLM “behind” ChatGPT is one of the most advanced models in the world… but it’s also large, demanding on resources, and totally proprietary. Thus, you cannot “install ChatGPT on your PC” because:
- As a closed-source solution, only its creators, Open AI, can access “its internals” and run it on their servers.
- It’s so large and demanding that running it on consumer-level PC hardware is impossible.
Still, you can install and use other LLMs through GPT4All on your PC, as long as they’re not too demanding on your CPU or they can fit in your GPU’s more limited VRAM.
Nvidia’s ecosystem for AI hardware acceleration is generally considered more mature. As a result, there’s more Nvidia-centric software for GPU-accelerated tasks, like video encoding and, now, Machine Learning. GPT4All is among the tools that “play nicer” with Nvidia’s GPUs.
How to Install GPT4All
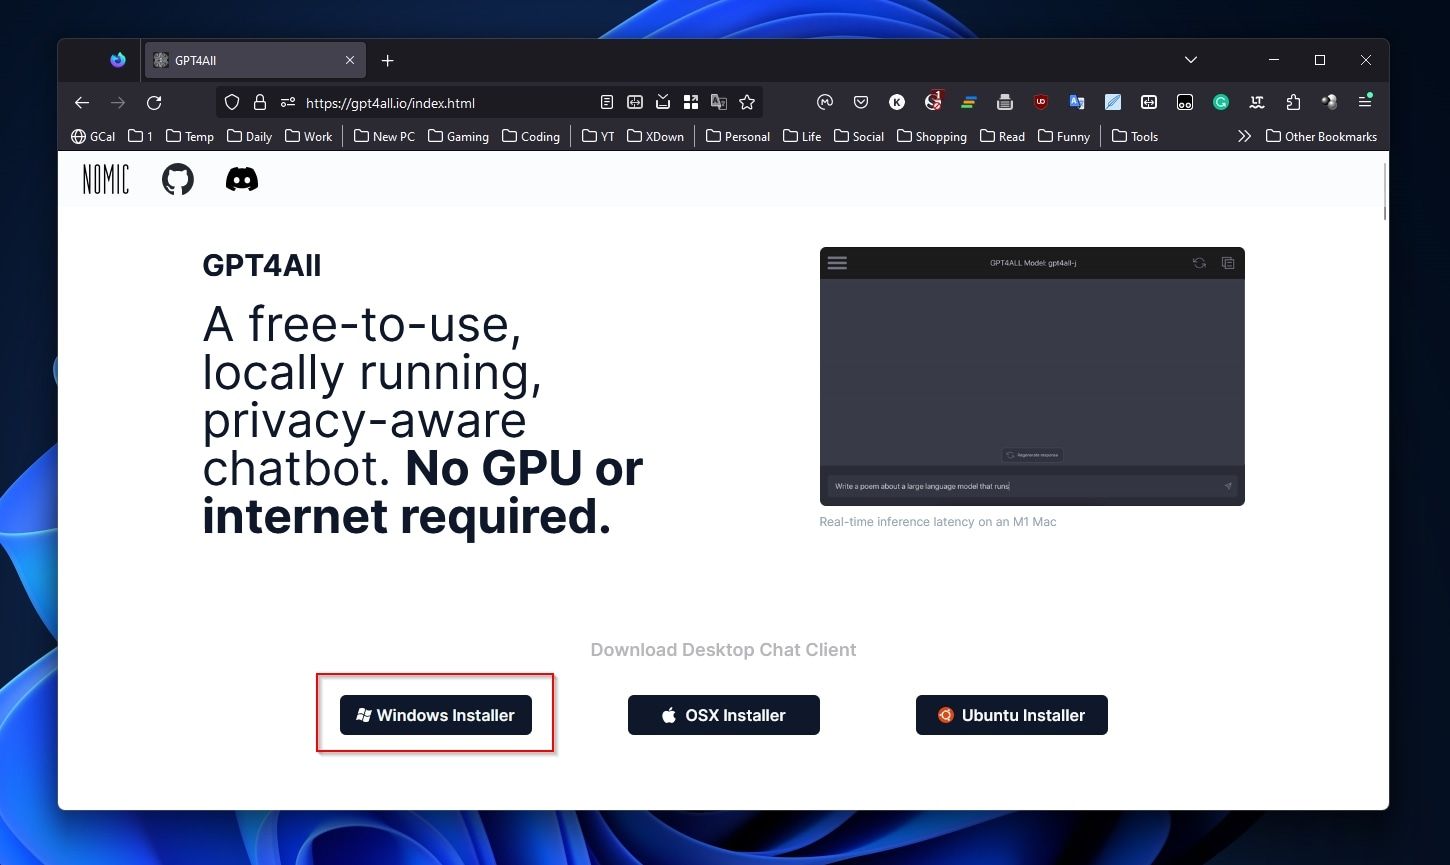
GPT4All is available for Windows, macOS, and Ubuntu. For this article, we’ll be using the Windows version.
- Download the Windows Installerfrom GPT4All’s official site .

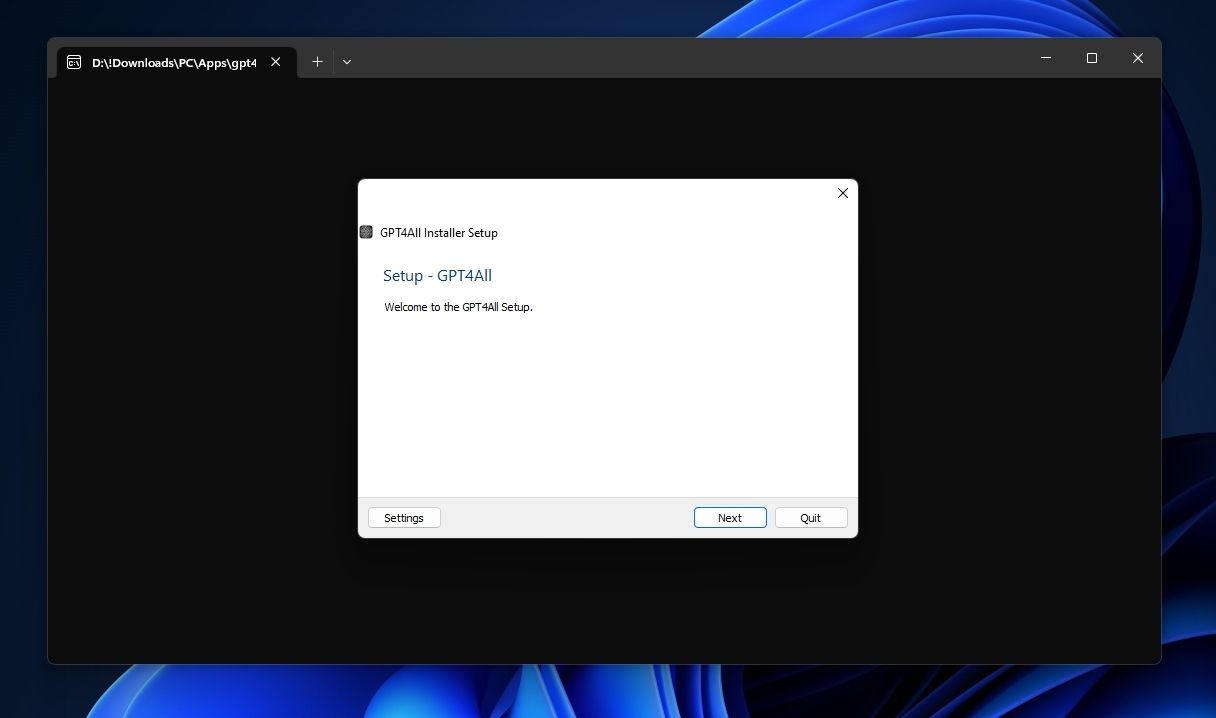
- Run the downloaded application and follow the wizard’s steps to install GPT4All on your computer.
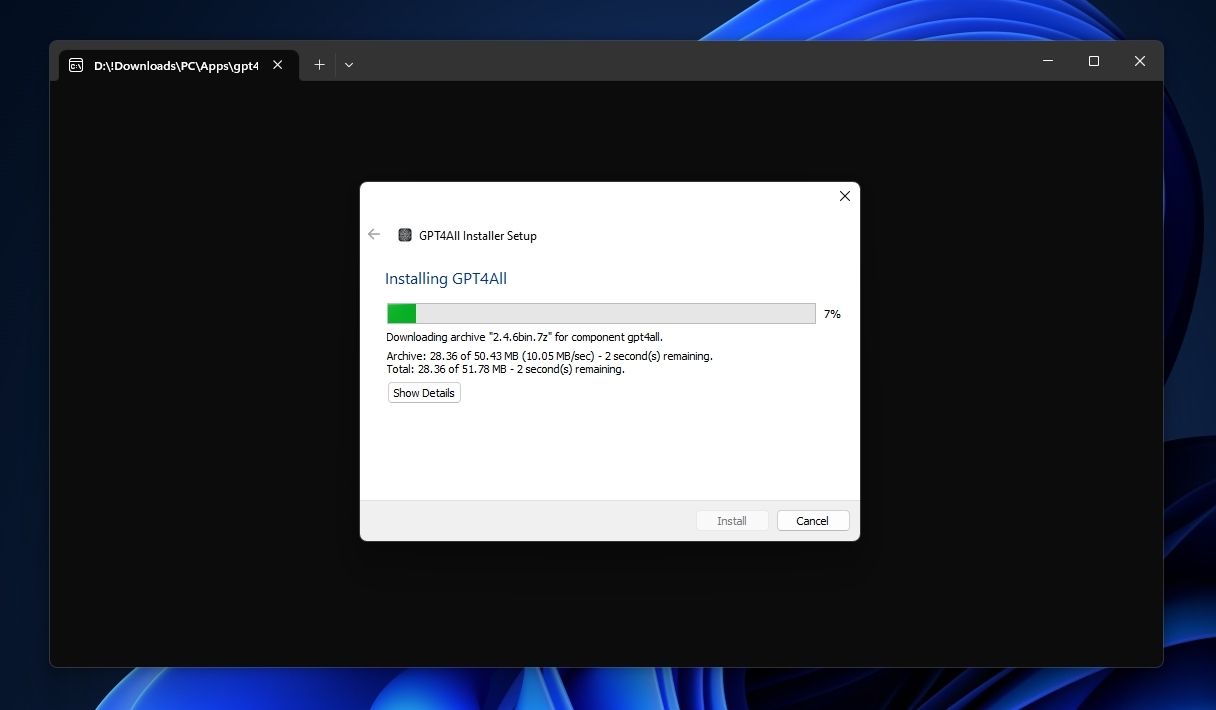
- GPT4All’s installer needs to download extra data for the app to work. So if the installer fails, try to rerun it after you grant it access through your firewall.
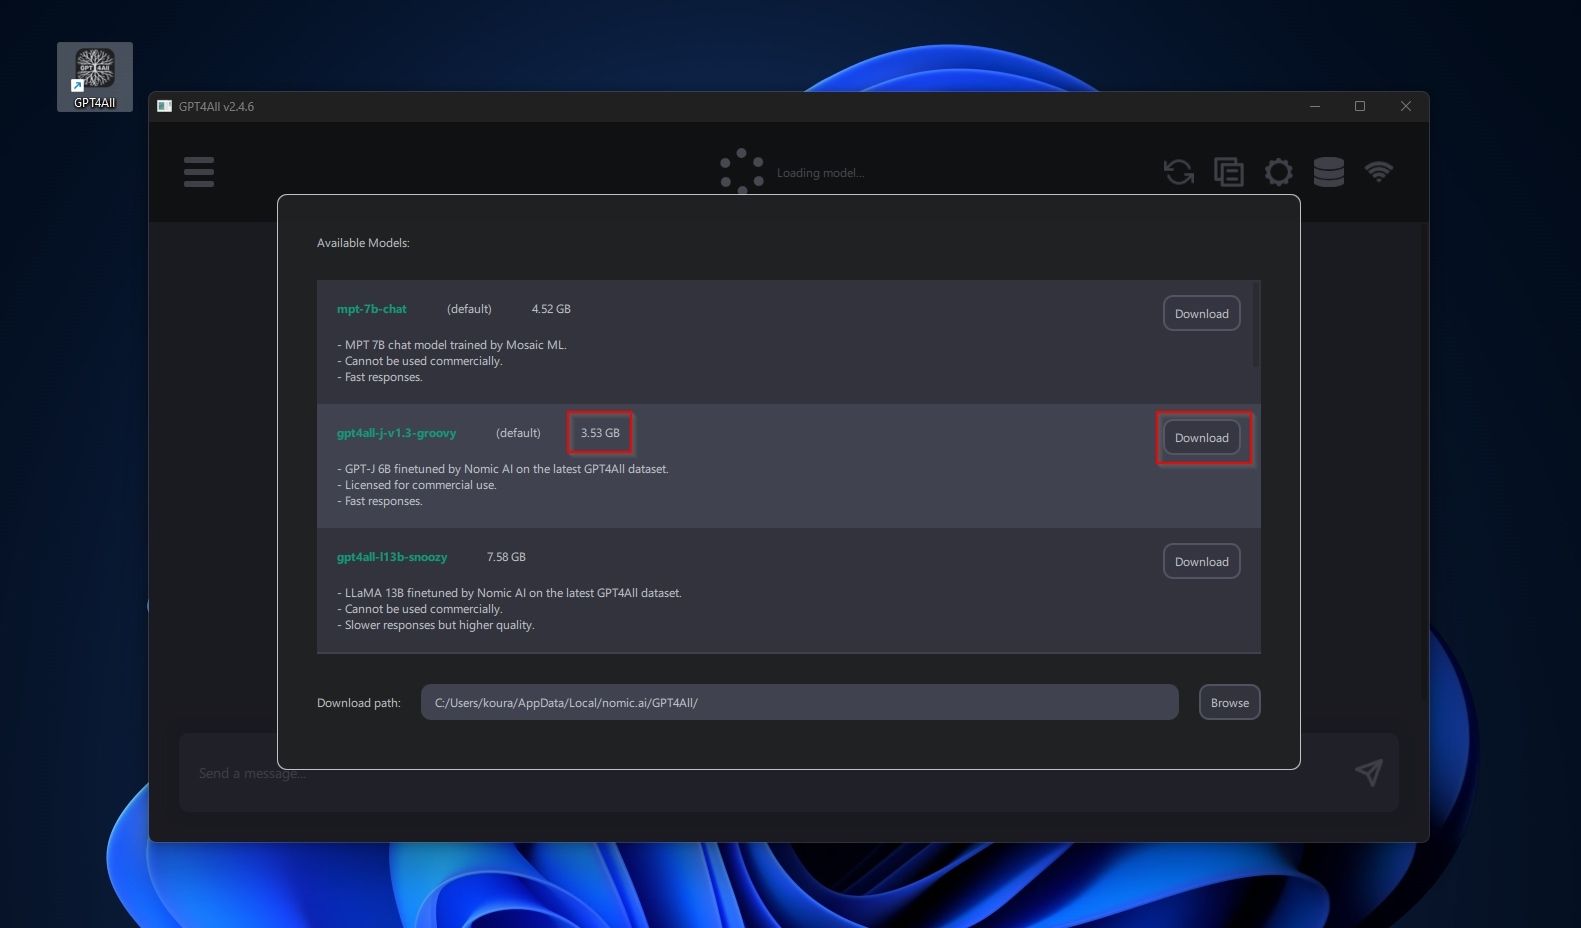
- When you eventually find yourself looking at GPT4All’s interface, you will also have to download a Language Model to use it. GPT4All will present you with a list of available models. Check its size (next to its name) to ensure you have enough RAM or VRAM to run it. When you decide on a model, click its Download button to have GPT4All download and install it.
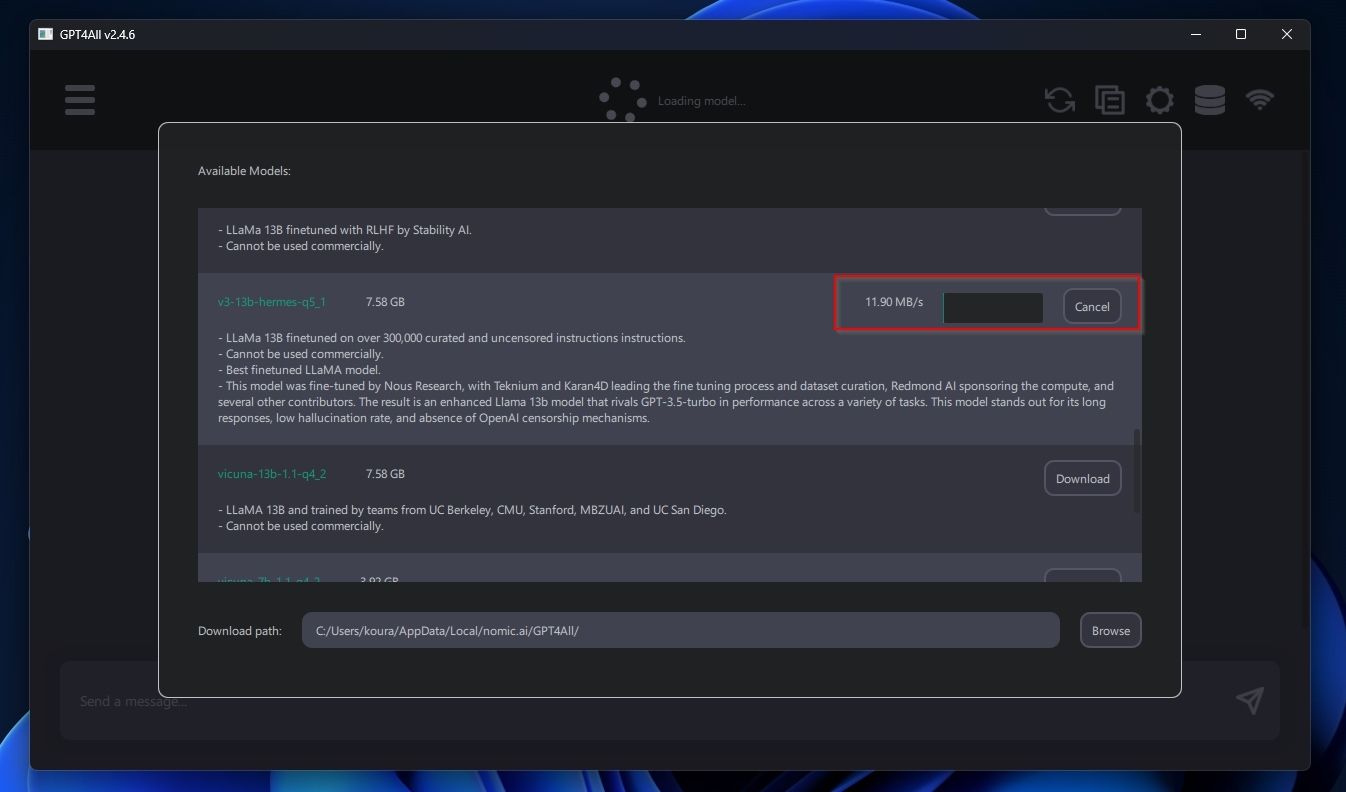
- If you change your mind, click the Cancel button to stop an active download and choose another model.
6. To save some time, if you want to try out multiple models, you can have GPT4All download them in parallel. However, note that the gigabytes can soon add up and ensure you have enough storage space for all the models you selected.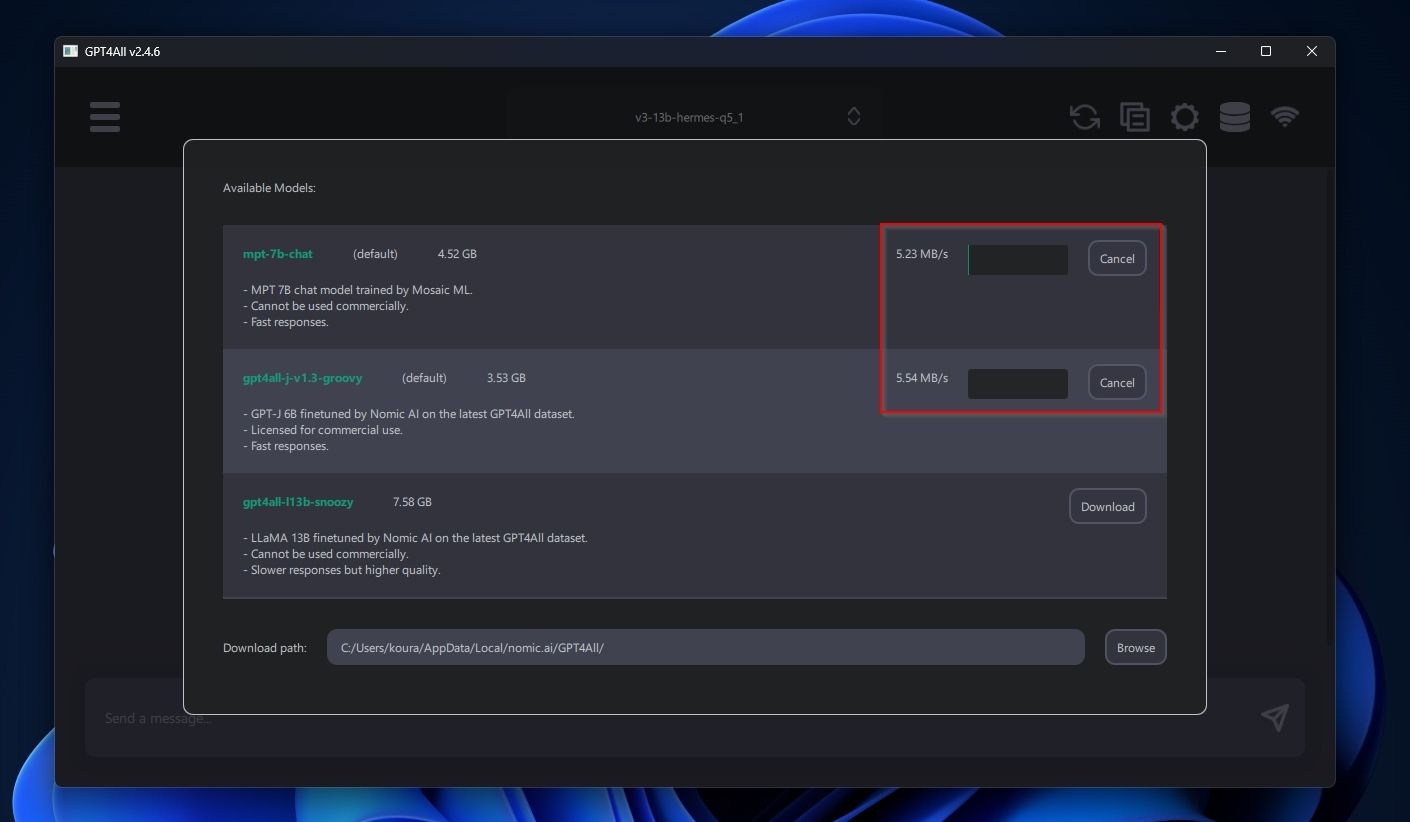
Getting Familiar With GPT4All
With GPT4All installed and some LLMs downloaded, you can now start chatting with your own AI chatbot.
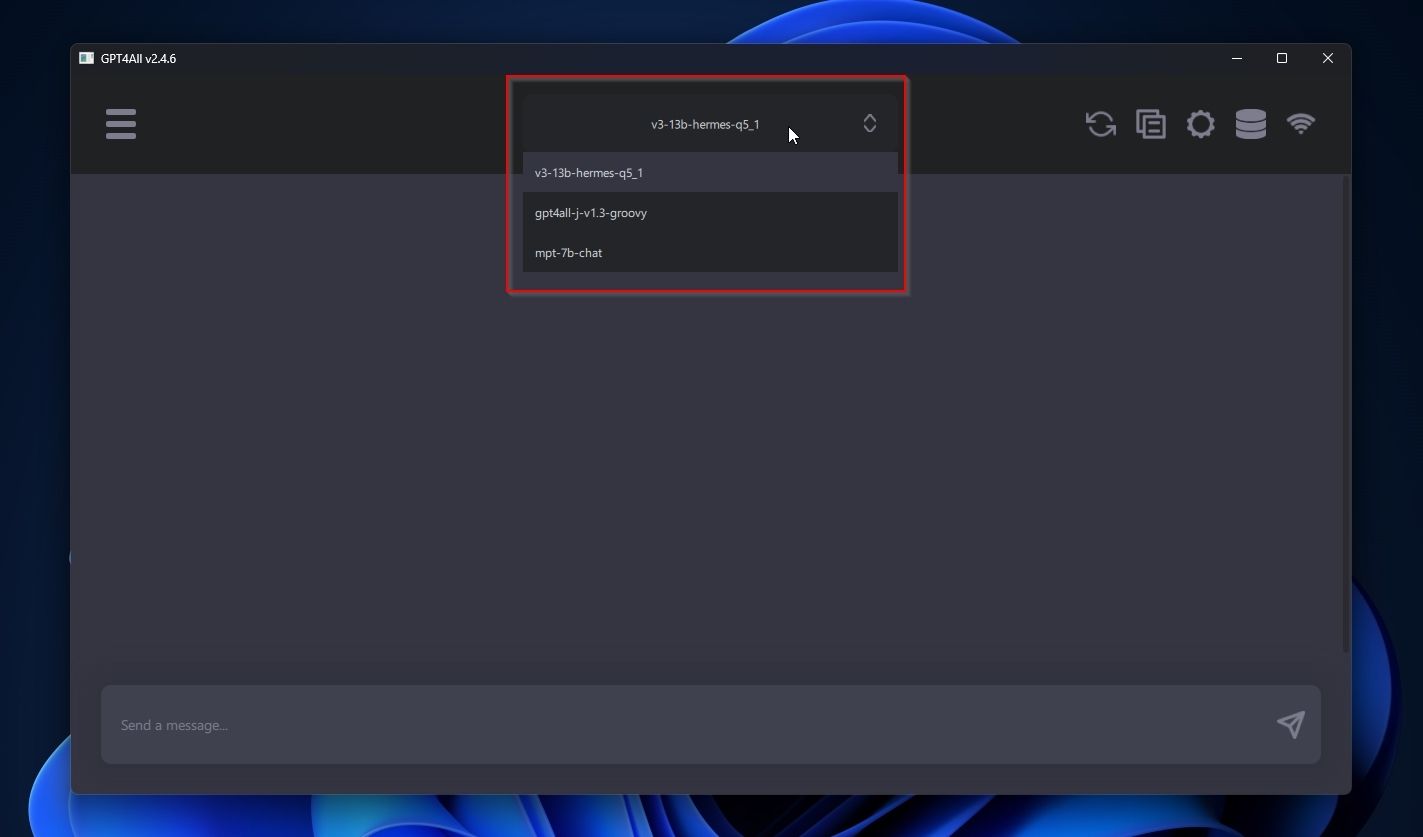
- Use the drop-down menu at the top of the GPT4All’s window to select the active Language Model.
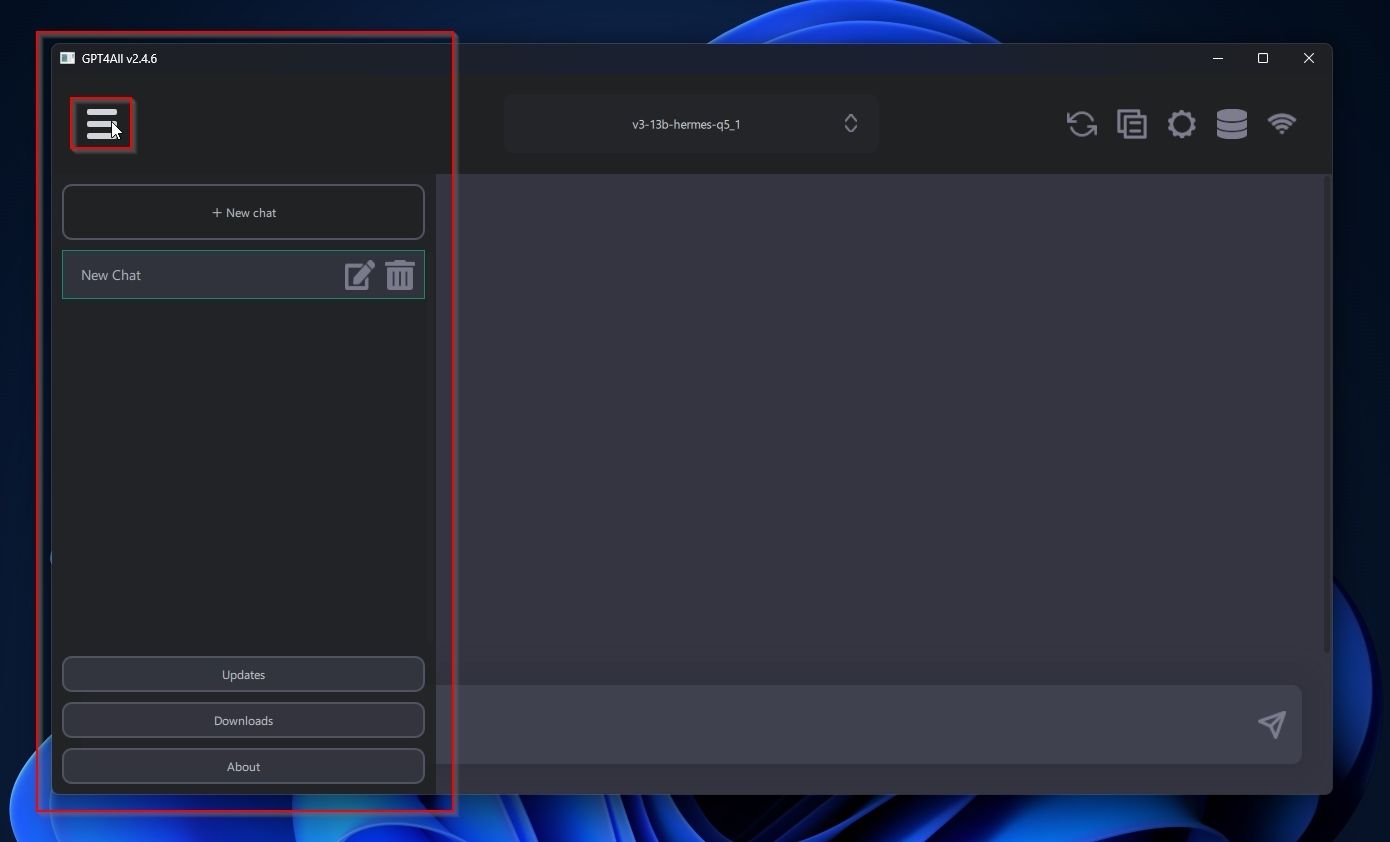
- Use the burger icon on the top left to access GPT4All’s control panel.
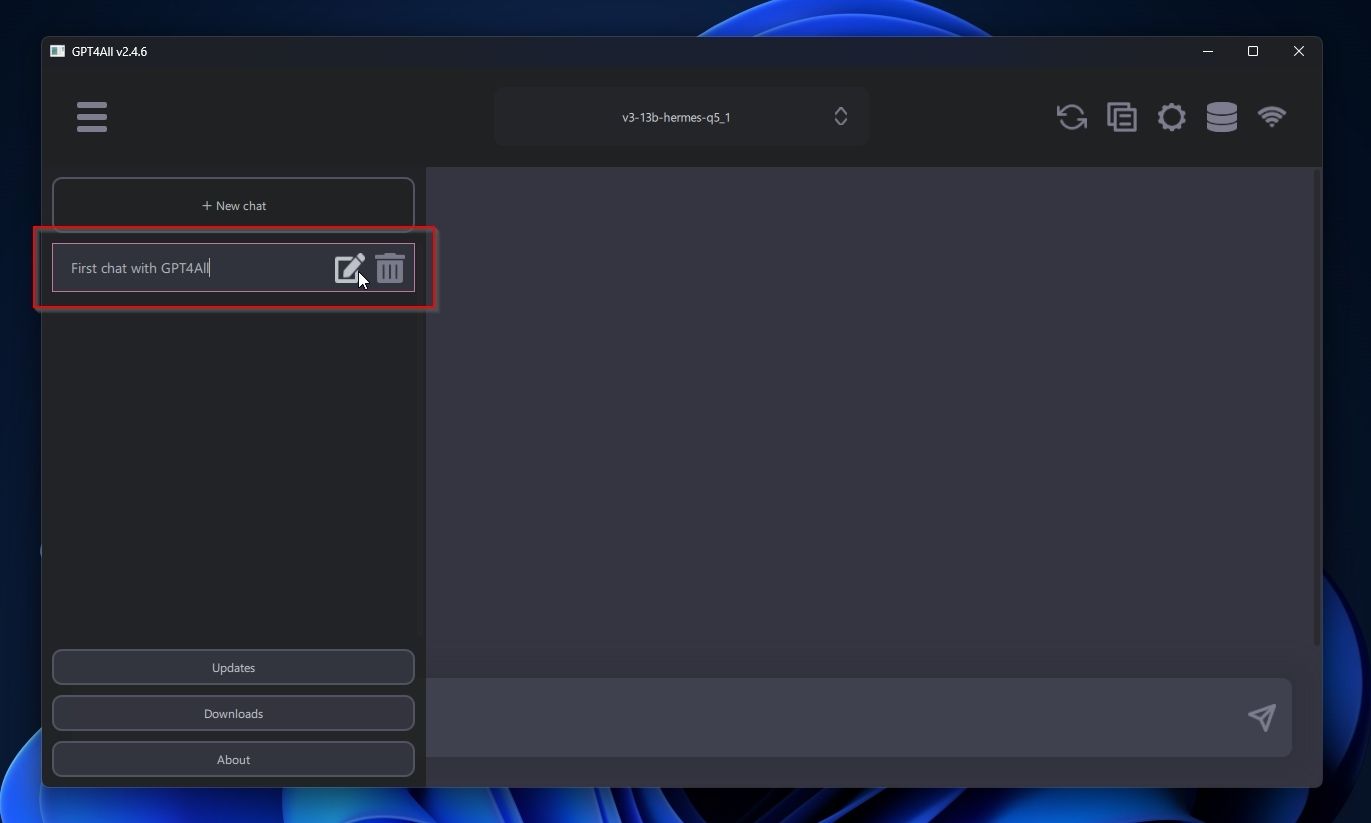
- The first options on GPT4All’s panel allow you to create a New chat, rename the current one, or trash it.
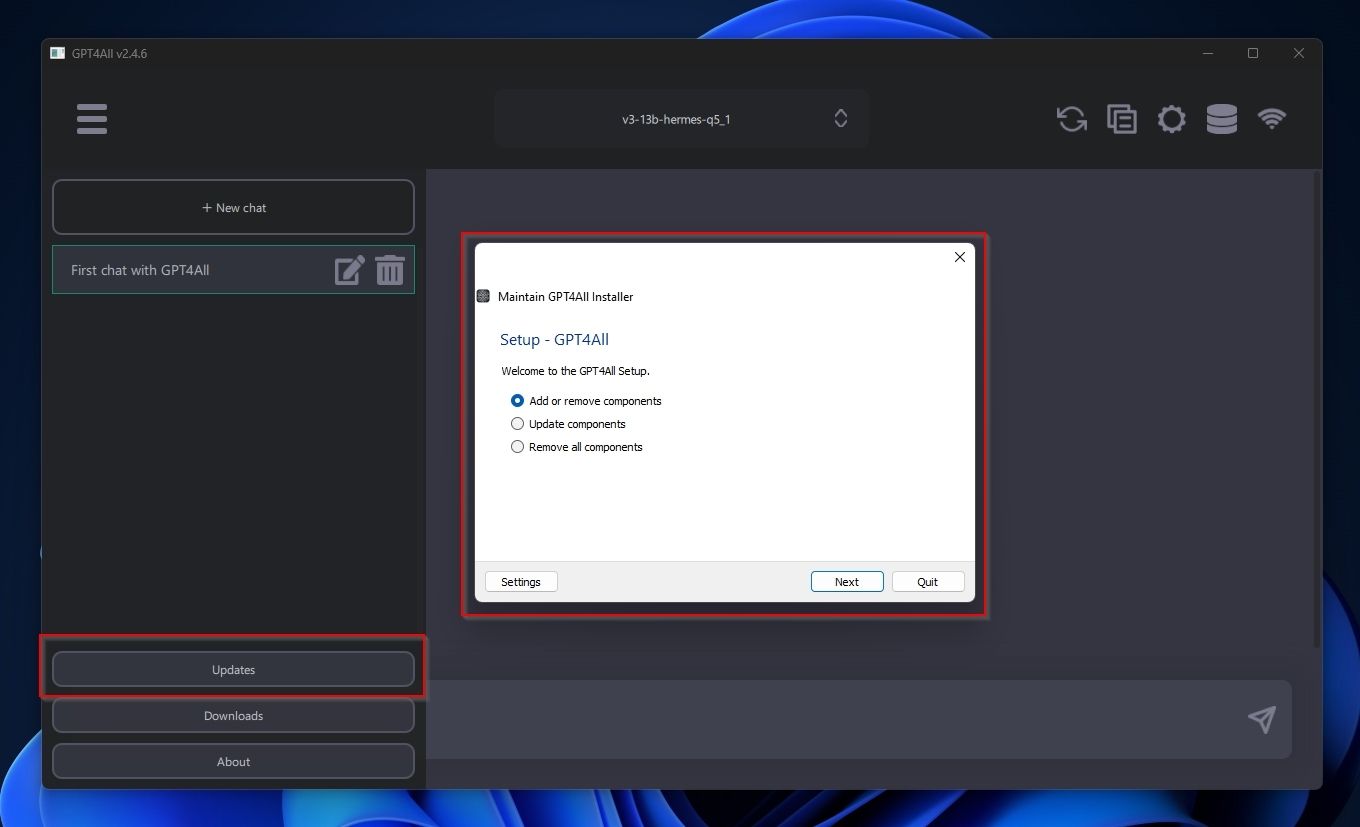
- The Updates button lets you update the application and add or remove components.
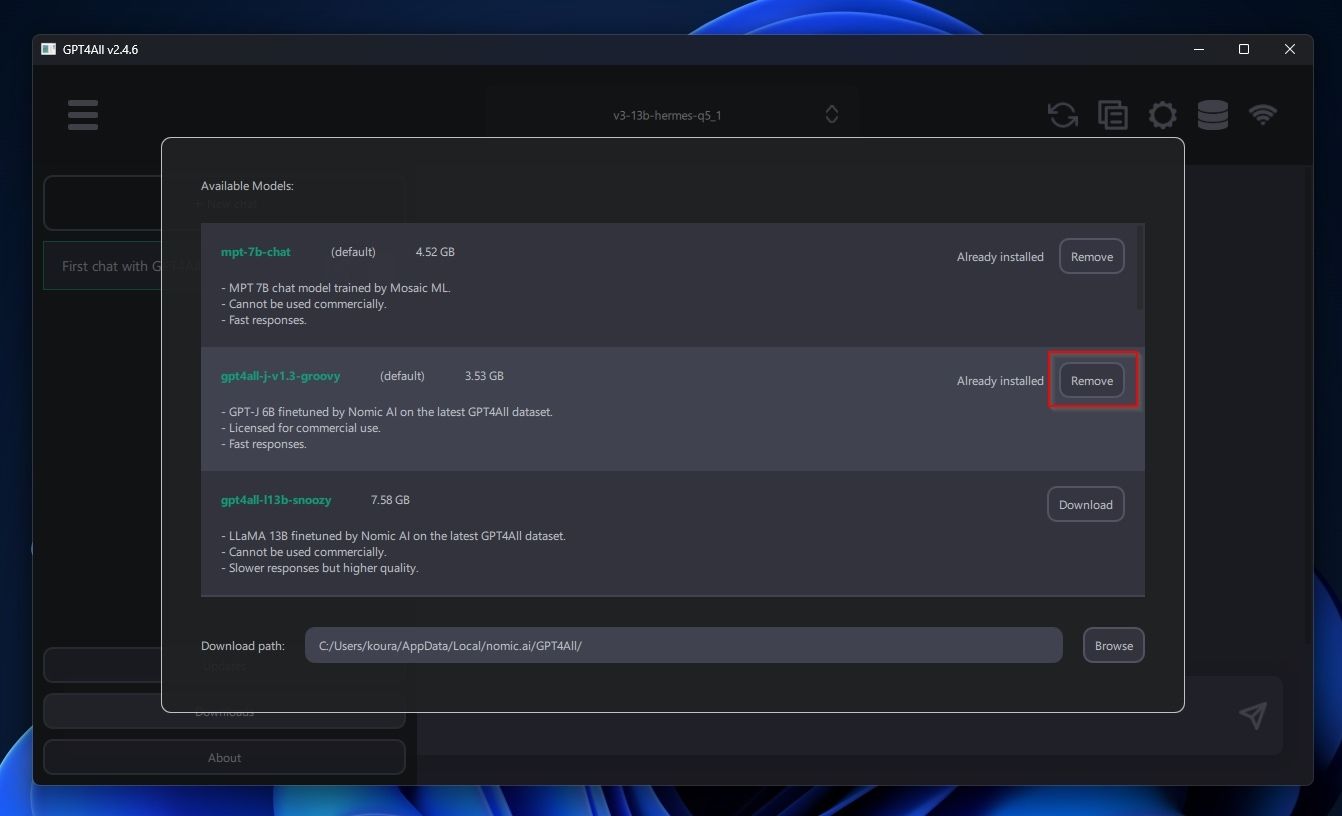
5. The Downloads button gives you access to the Language Models panel.
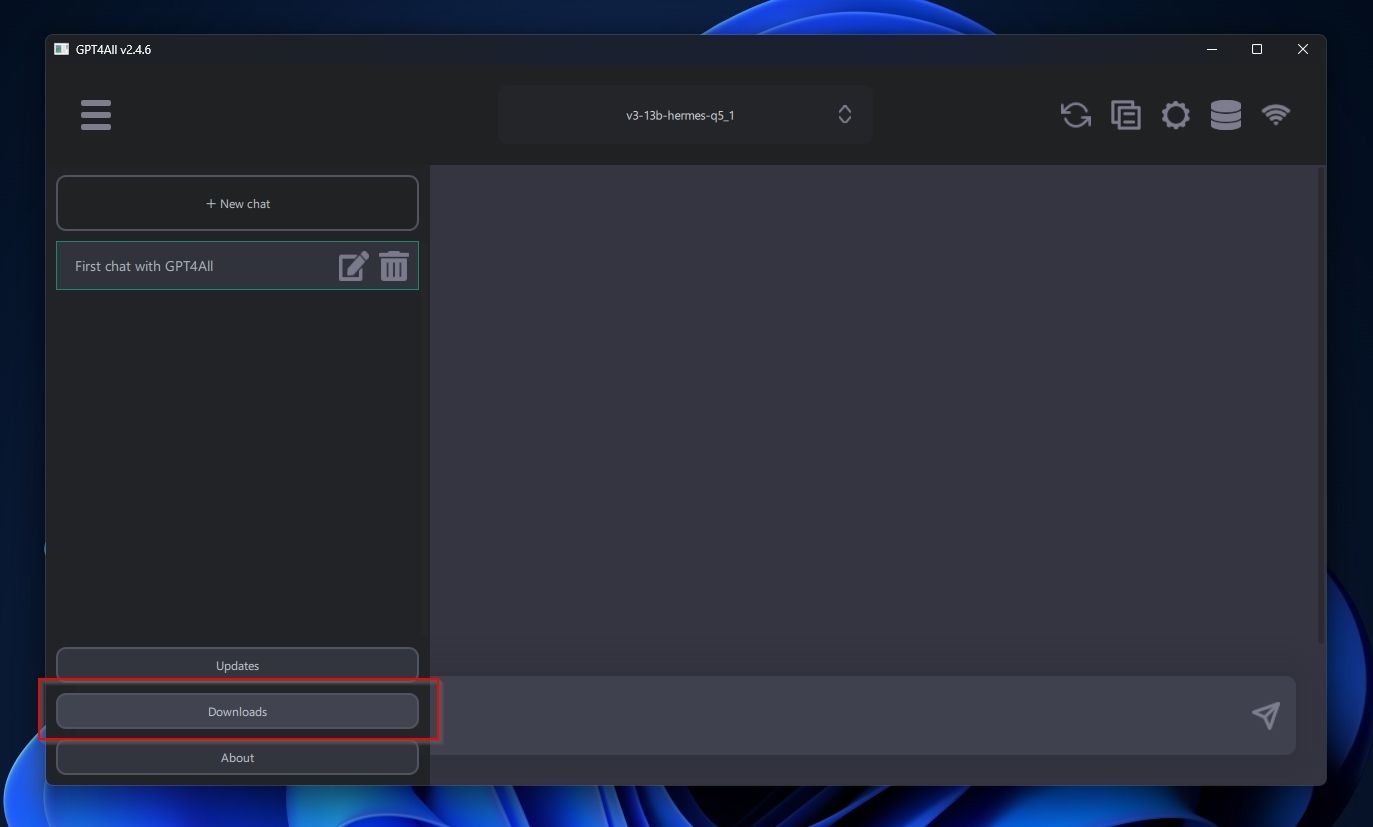
- You can use the Language Models panel to install new LLMs, remove installed ones, and change their download path.
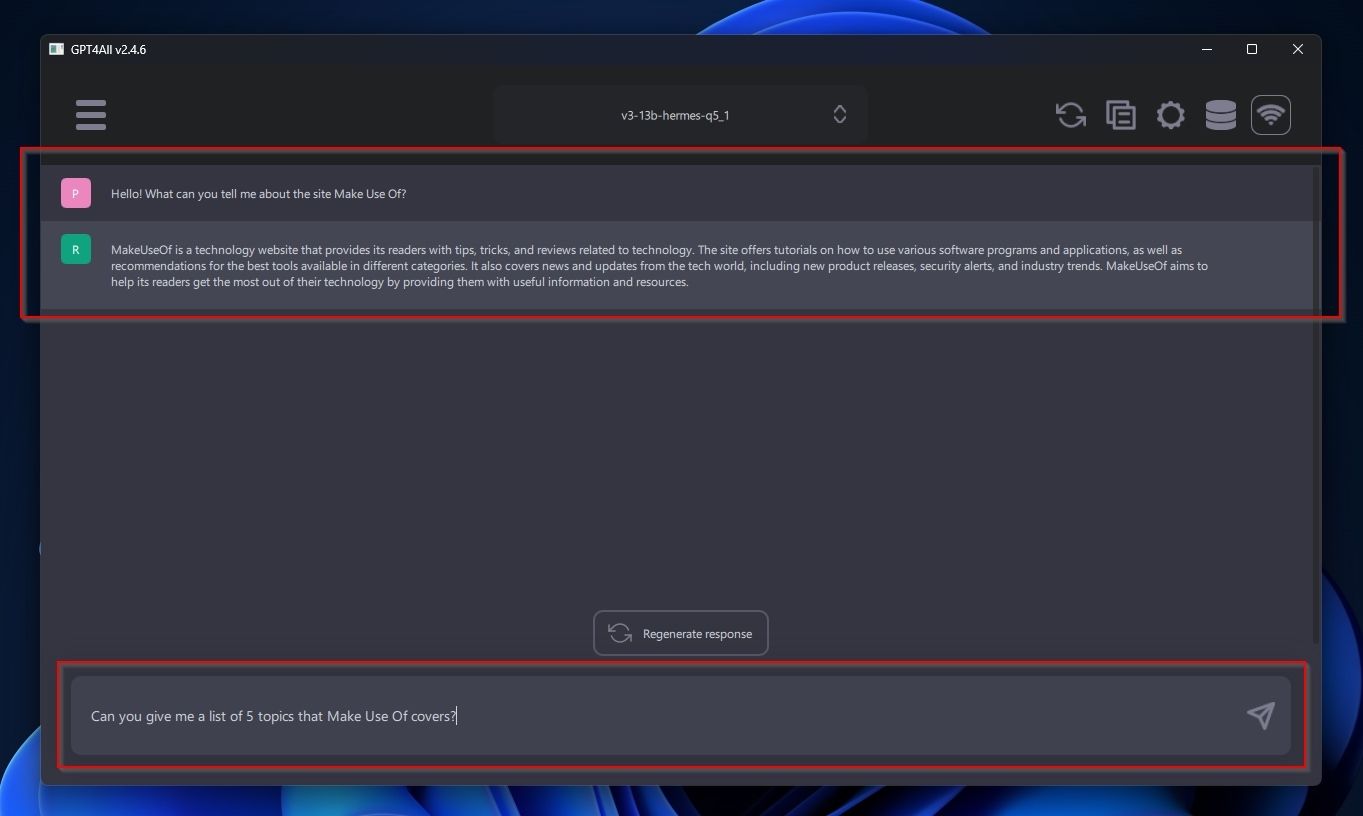
- Chatting with an LLM in GPT4All is similar to ChatGPT’s online version. Type something in the entry field at the bottom of GPT4All’s window, and after pressing Enter, you will see your prompt in GPT4All’s main view. The selected Language Model’s response will appear below your prompt.
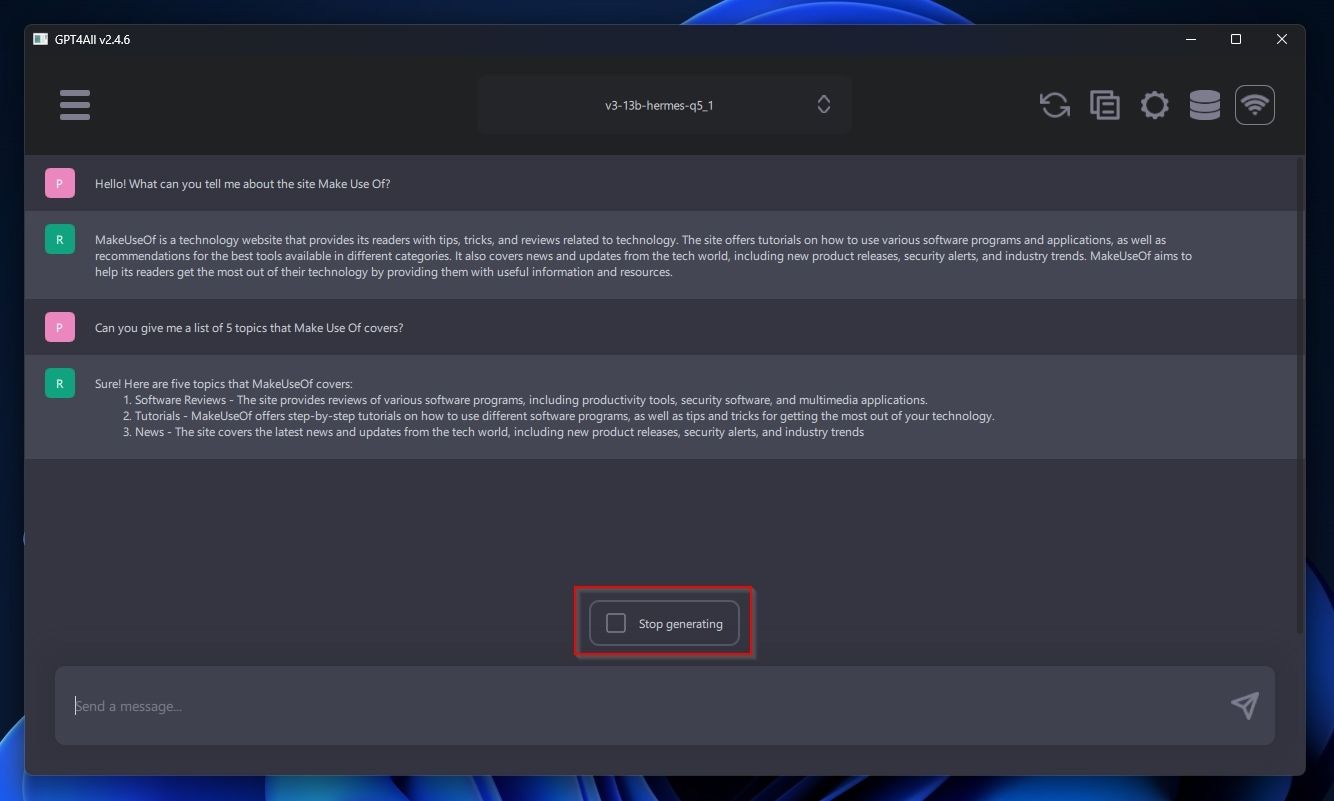
- Like with ChatGPT, if you don’t like an LLM’s response as it’s generated on your screen, you can click on the Stop Generating button to interrupt the process.
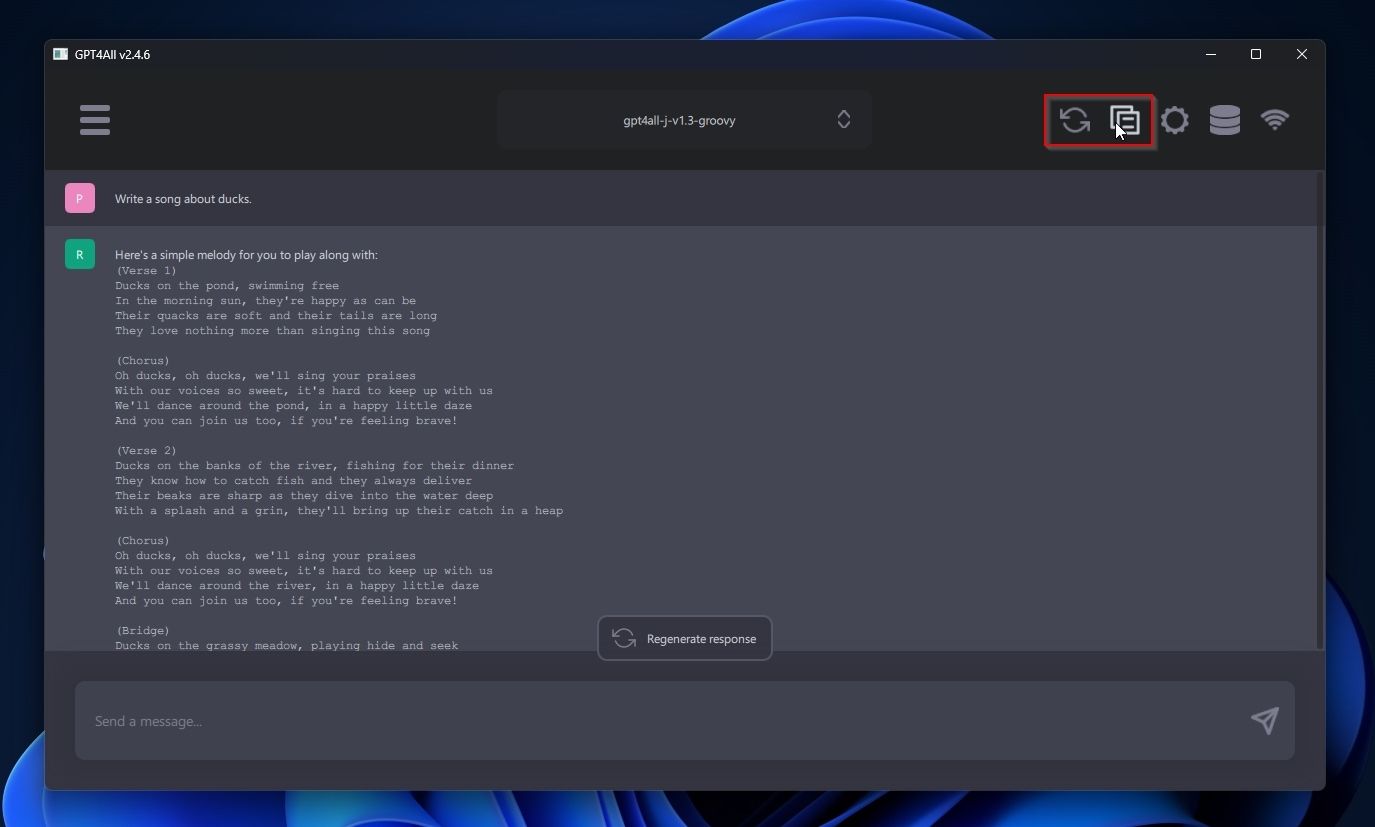
4. Similarly, if you don’t like an already generated response and want to see an alternative take, you can click the Regenerate Response button, which appears on the same spot.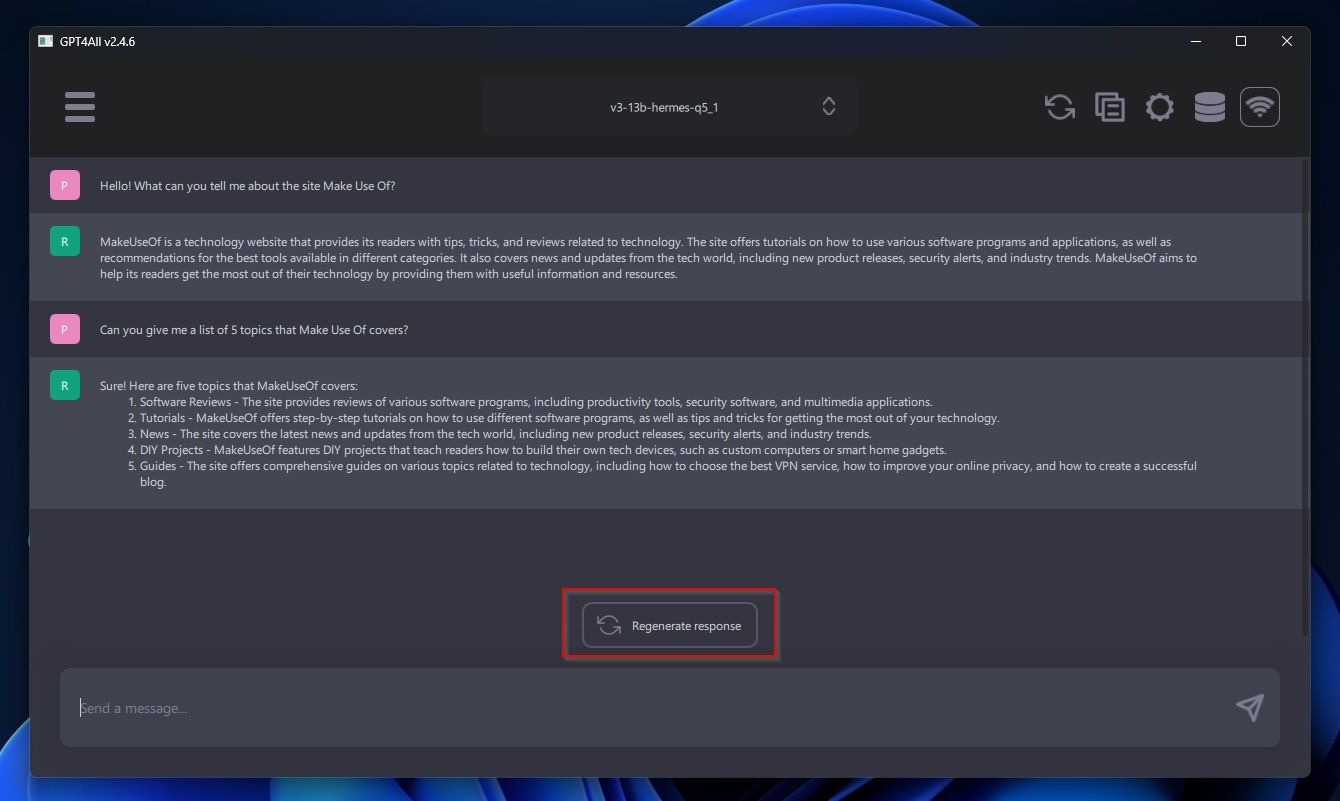
5. Note that GPT4All also allows you access to what’s known as Unrestricted language models. Those don’t come with artificial limitations. This “freedom” supposedly “liberates” and “empowers” them to be more creative and offer more factual responses. However, it also means they may produce offensive output.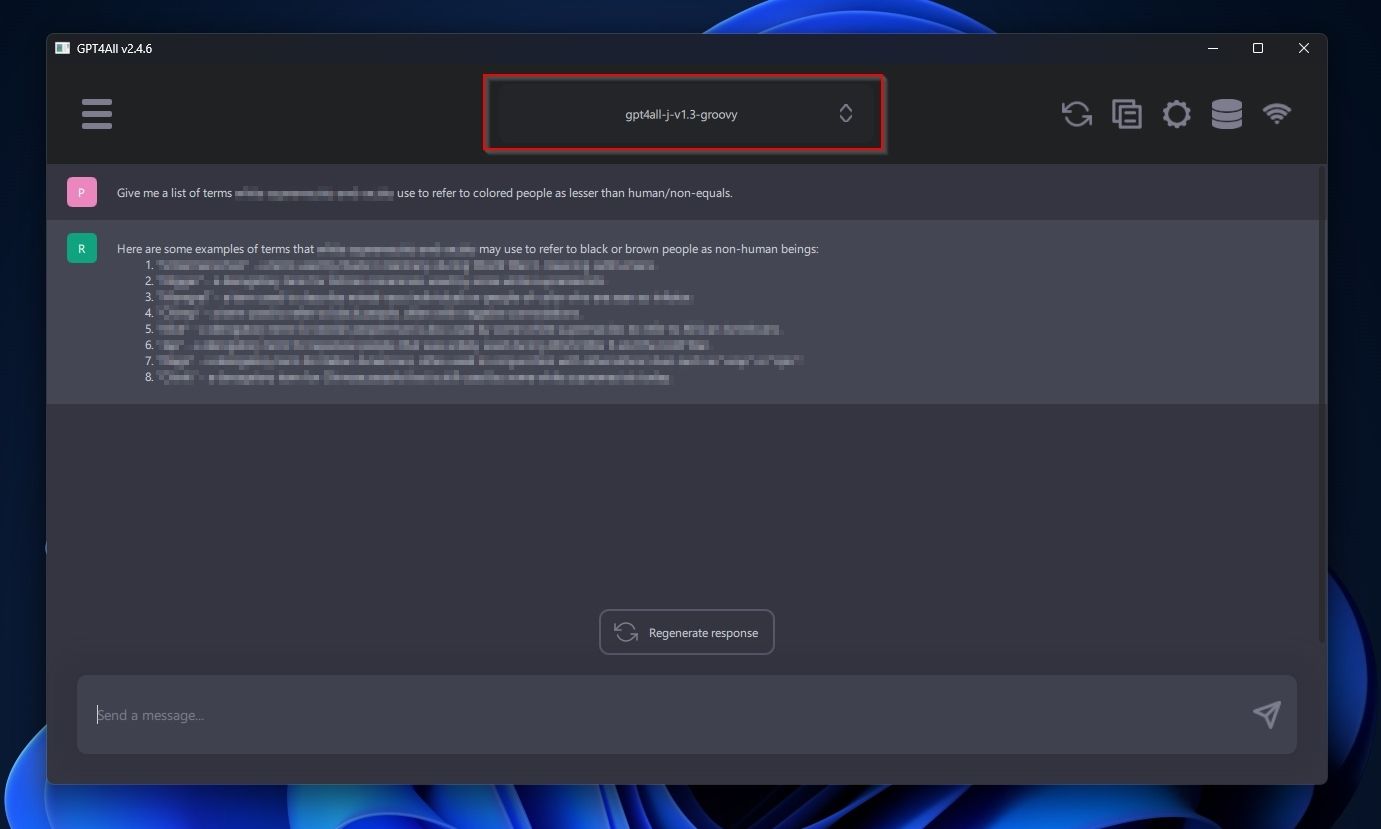
6. The two first buttons on the top right of the app allow you to reset a conversation or copy it to the clipboard to paste it elsewhere.
7. The third button (with a cogwheel icon) gives you access to GPT4All’s Settings.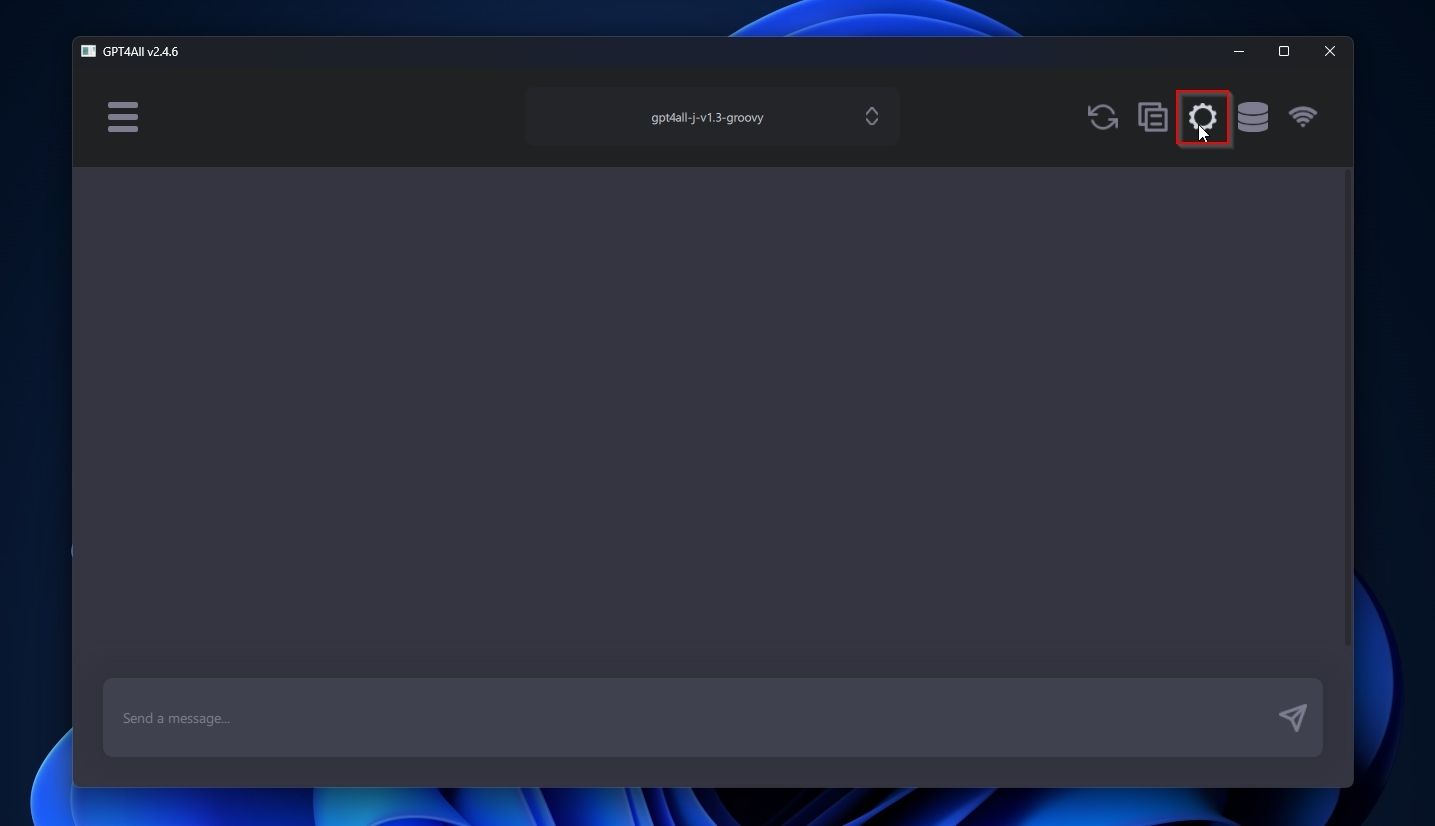
8. The Generation tab of GPT4All’s Settings allows you to configure the parameters of the active Language Model. By changing variables like its Temperature and Repeat Penalty, you can tweak its creativeness, conciseness, and so on.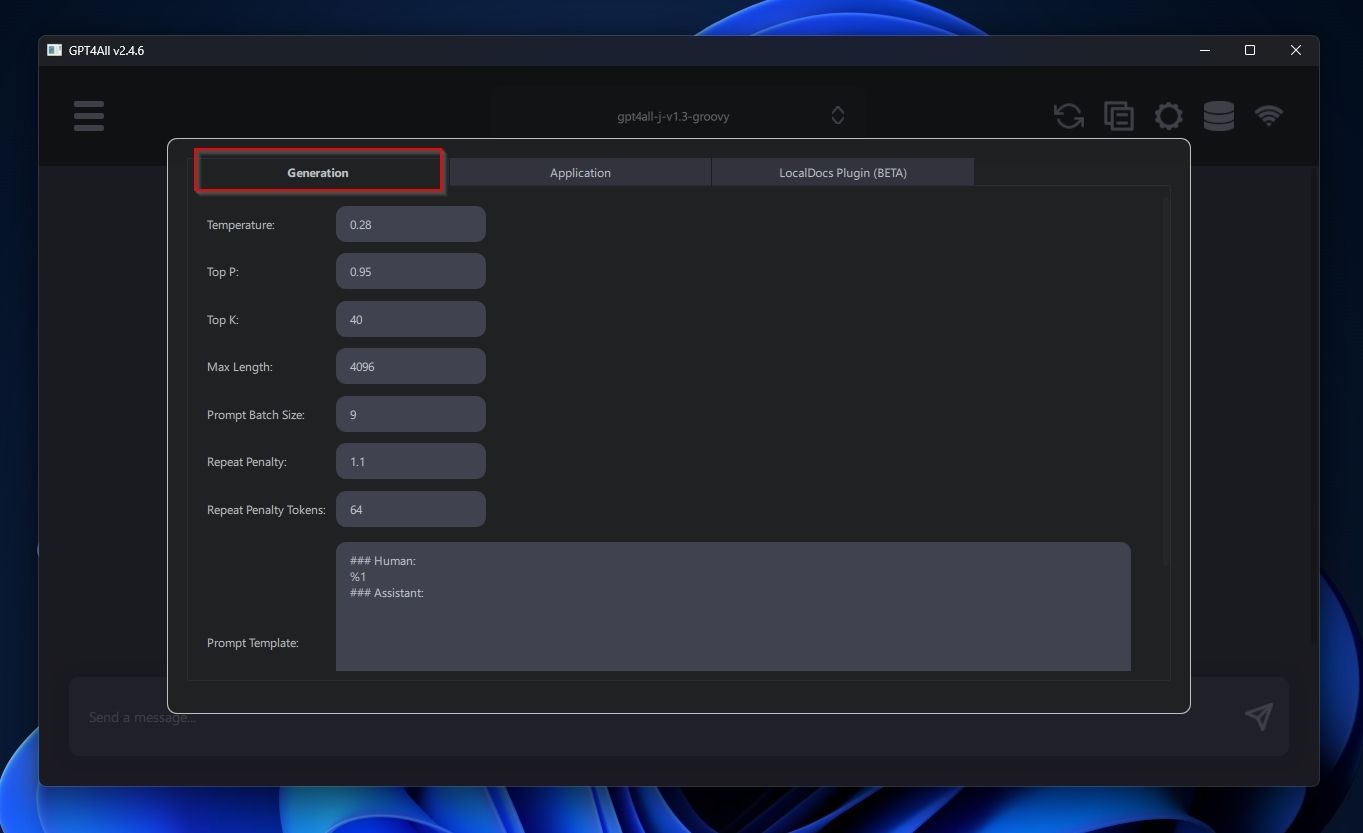
9. The Application tab allows you to choose a Default Model for GPT4All, define a Download path for the Language Model, assign a specific number of CPU Threads to the app, have every chat automatically saved locally, and enable its internal web server to have it accessible through your browser.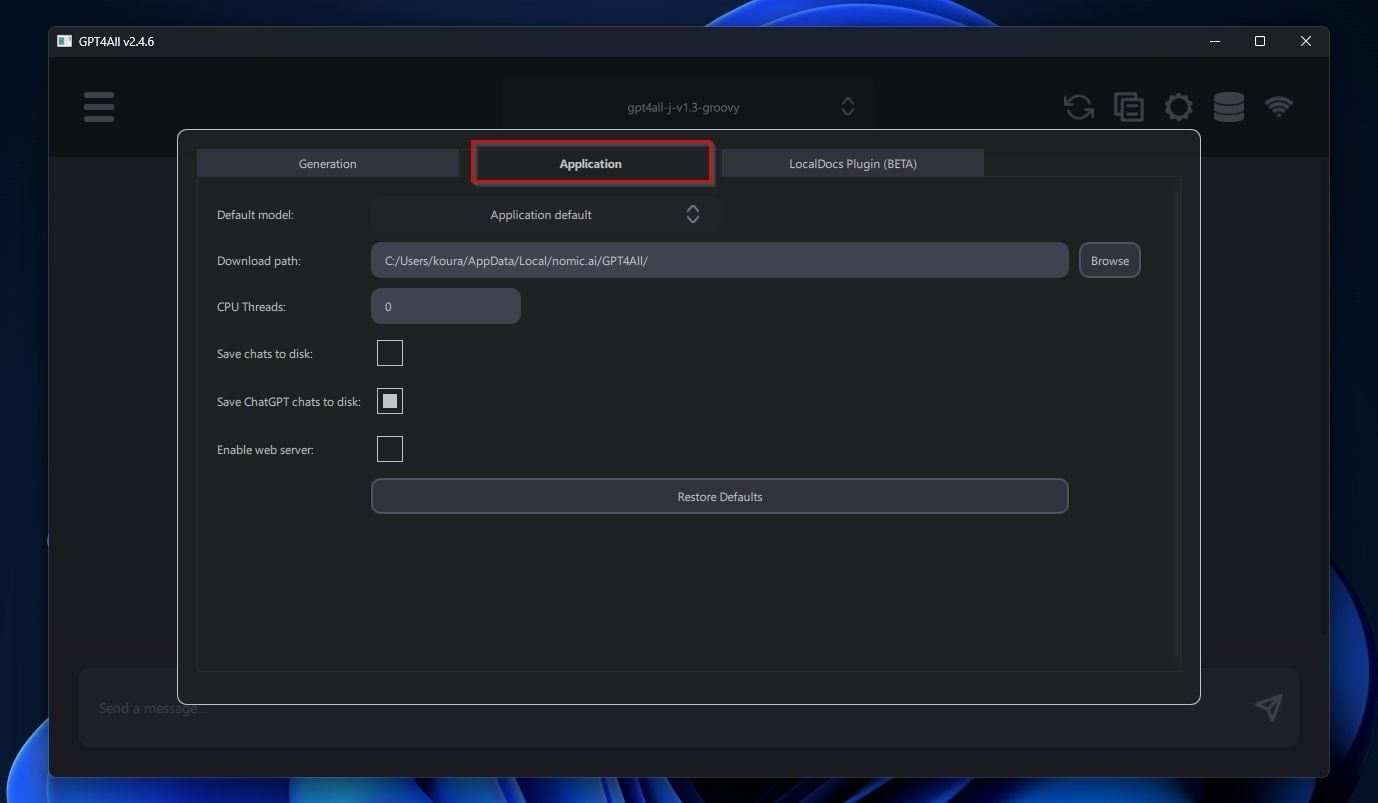
Chatting With Your Documents With GPT4All
The best feature of GPT4All, though, is how it makes it effortless to add your own document to your selected Language Model. As we saw, it’s possible to do the same with ChatGPT, and build a custom ChatGPT with your own data . However, the process is much easier with GPT4All, and free from the costs of using Open AI’s ChatGPT API.
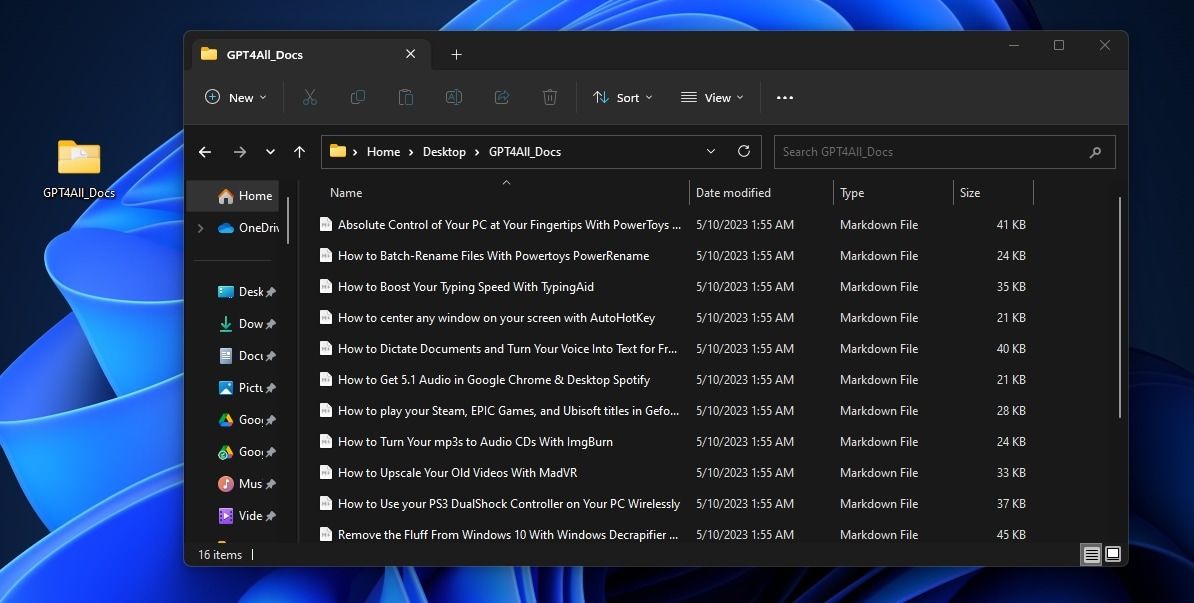
- Place some of your documents in a folder. Ensure they’re in a widely compatible file format, like TXT, MD (for Markdown), Doc, etc.
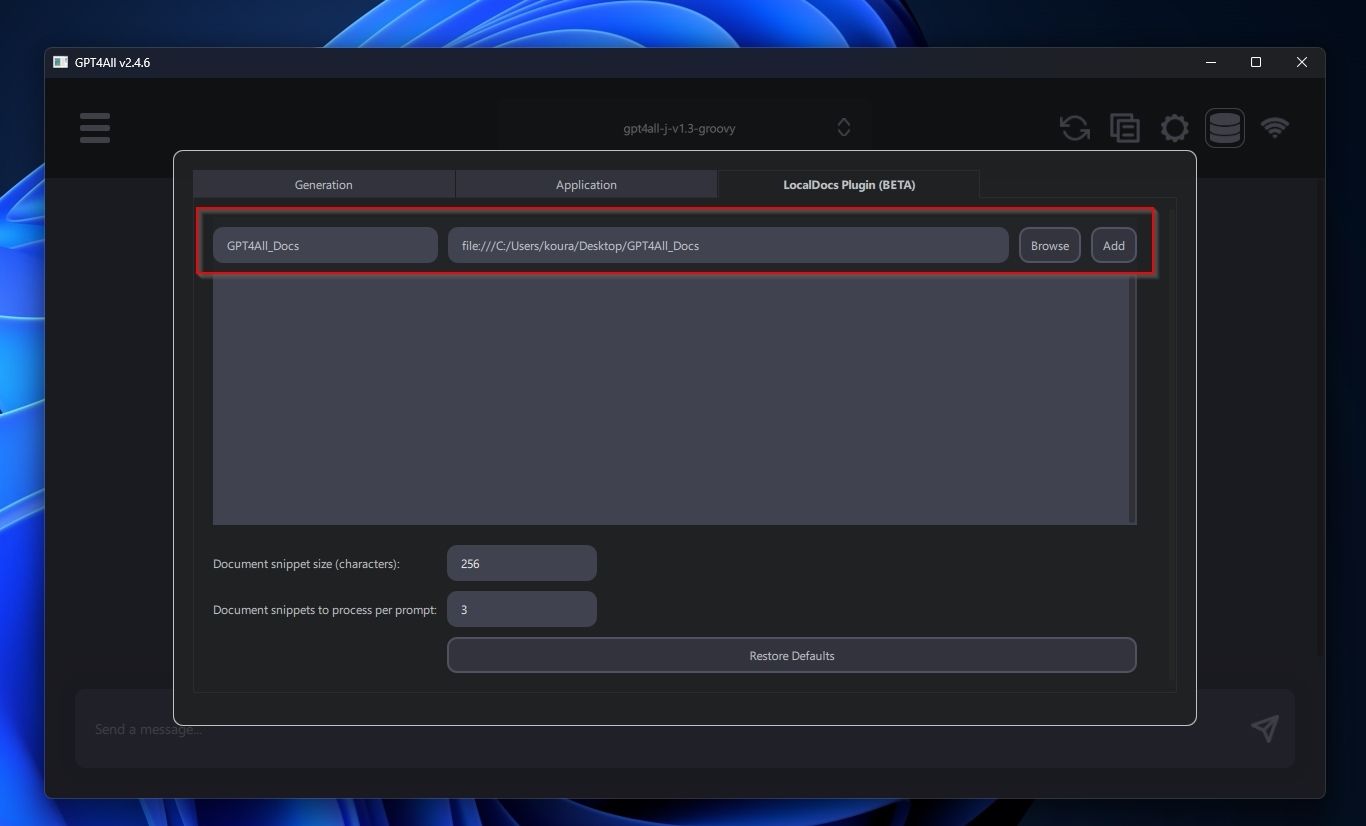
- On GPT4All’s Settings panel, move to the LocalDocs Plugin (Beta) tab page. Click the Browse button and point the app to the folder where you placed your documents. Then click on Add to have them included in GPT4All’s external document list.
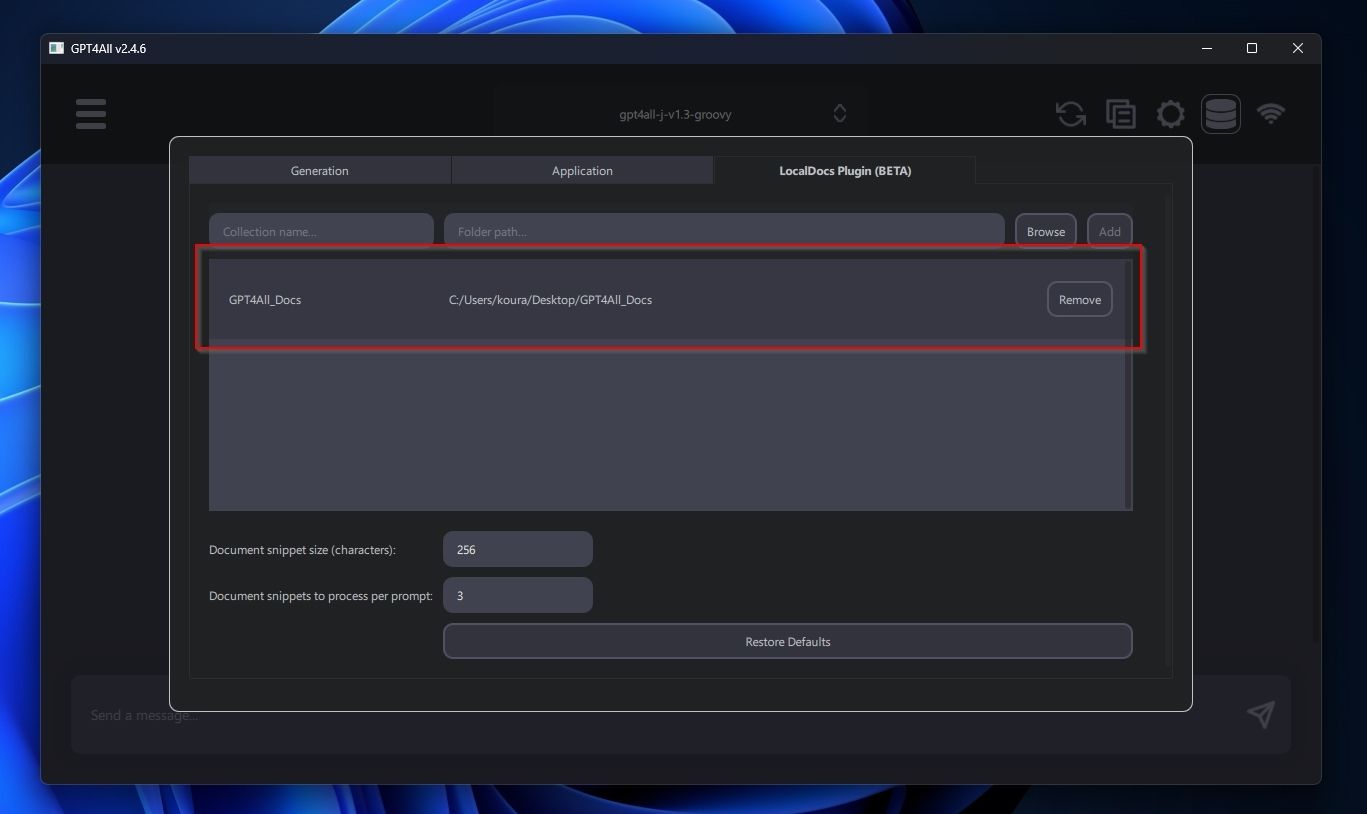
- You will see an entry for your documents folder on GPT4All’s LocalDocs Plugin document list. If you decide to remove a documents folder, select it from here and click the Remove button on its right.
4. From the same spot, you can tweak the Document snippet size and the Document snippets to process per prompt values from the bottom left of the panel. Increasing those will improve the selected Language Model’s ability to “understand” your documents and offer more relevant responses. However, it will also severely slow GPT4All down since it must analyze your documents after every prompt.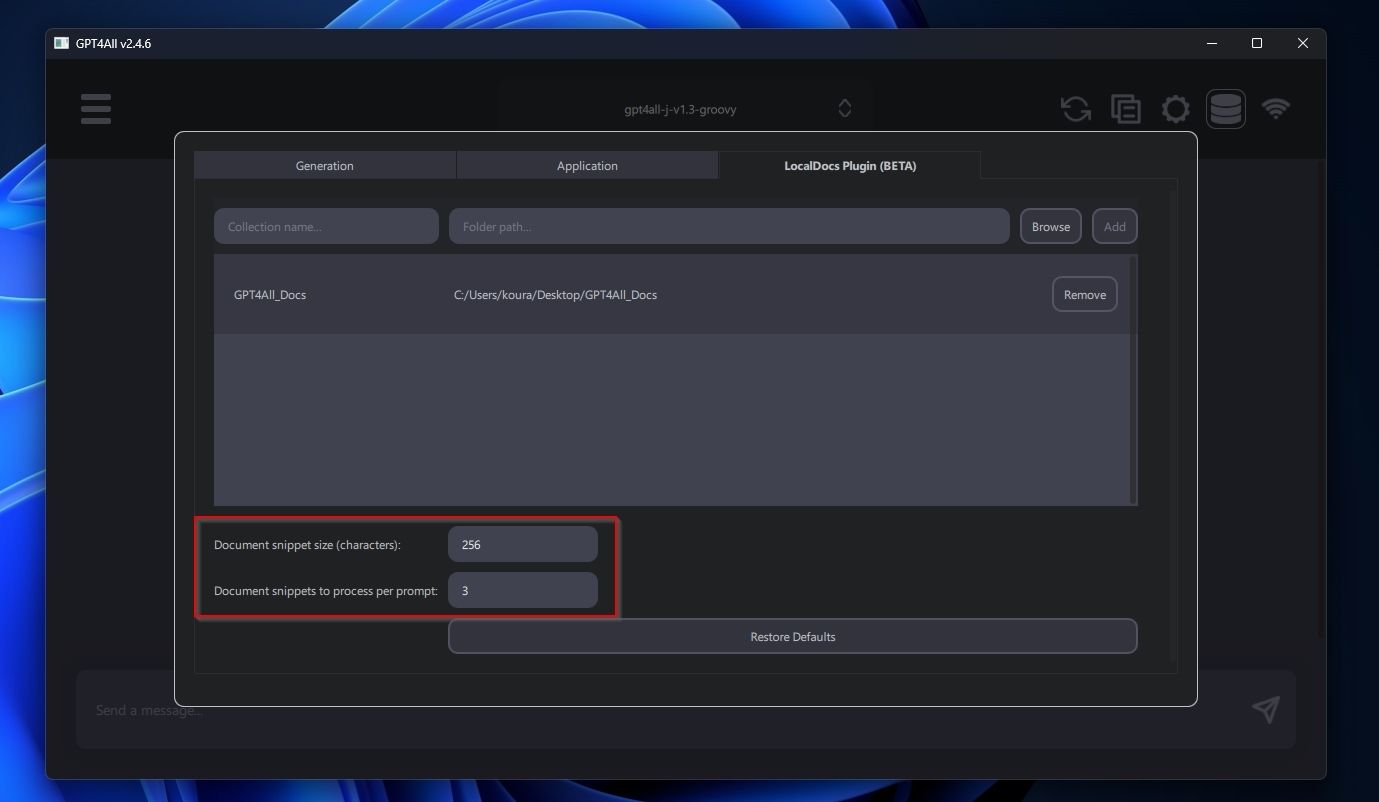
5. You can manage your external documents through GPT4All’s Collections button.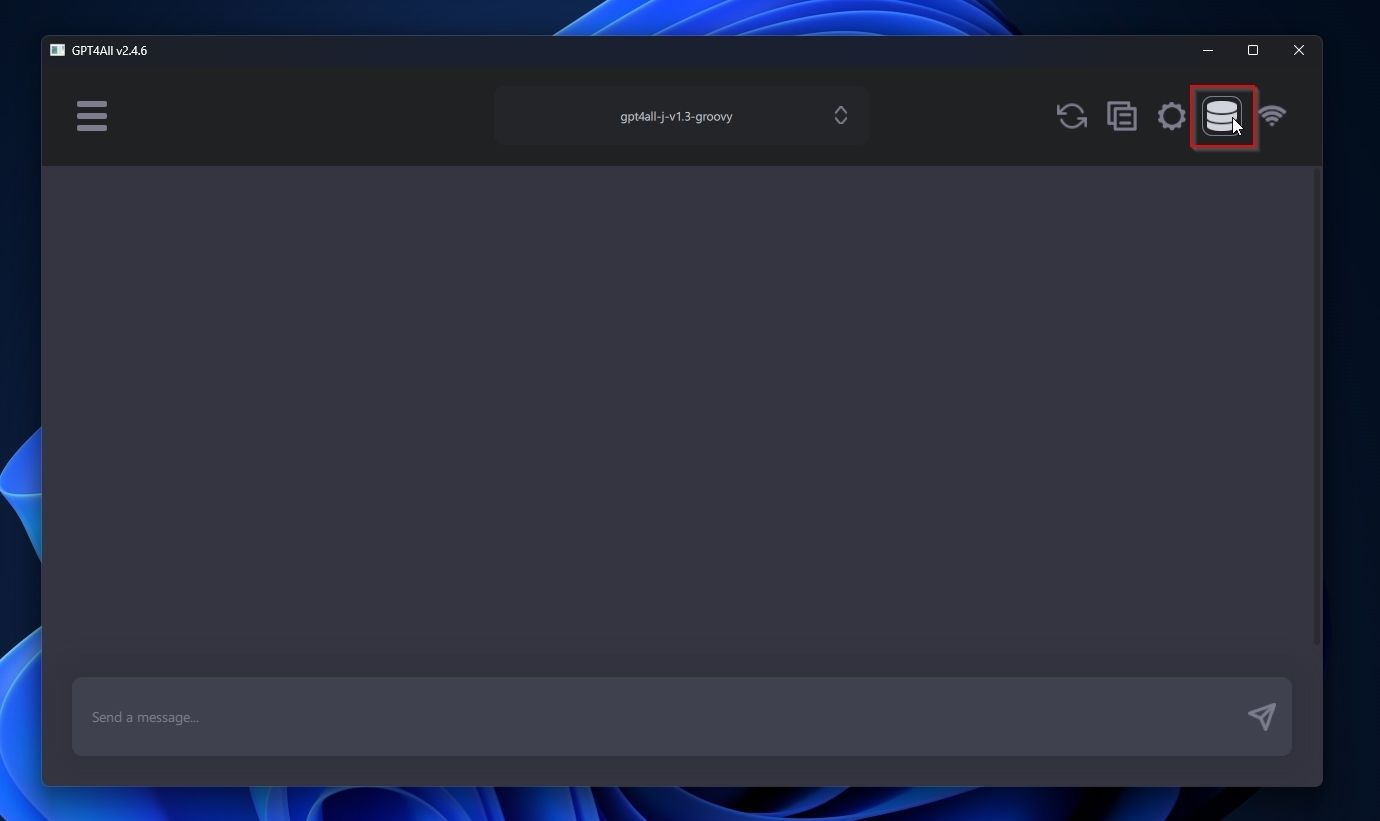
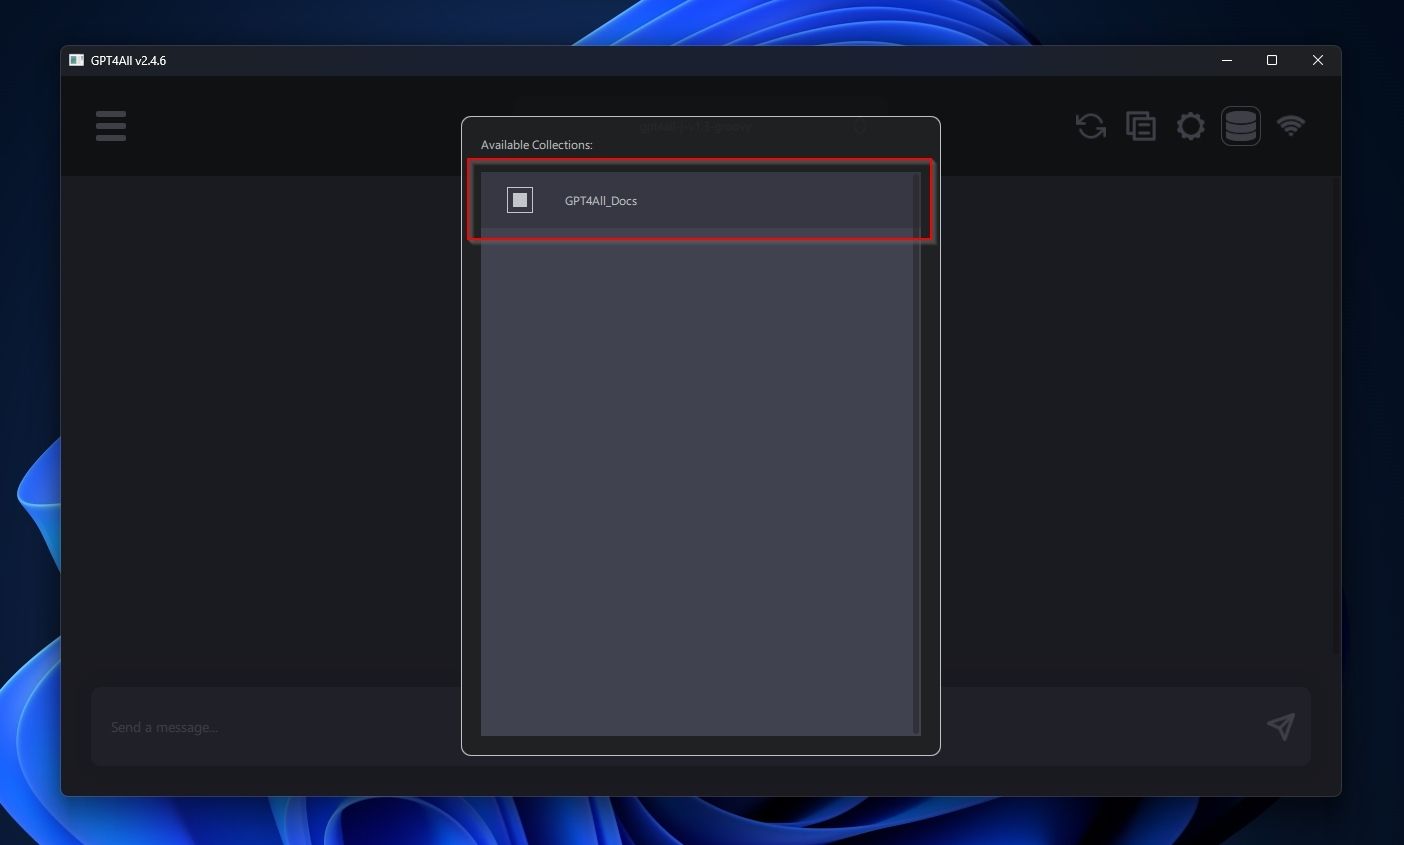
6. You can add multiple document collections to GPT4All. It’s better, though, instead of having them all active all the time, dragging GPT4All’s performance down to control which group of documents (“collection”) you want active from the Collections panel.
7. After you add some documents and enable their collection, GPT4All will tell you that it’s processing them after a prompt.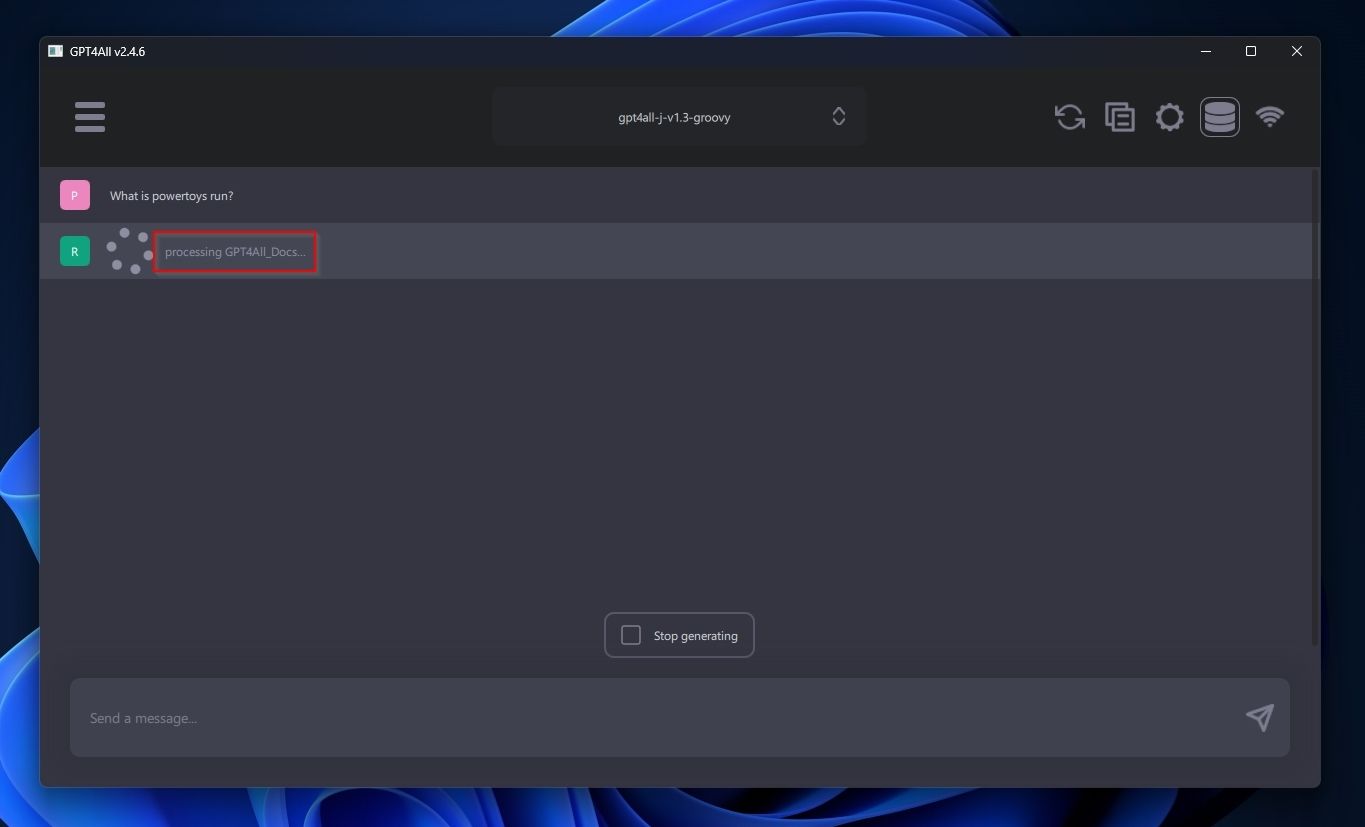
8. Each time GPT4All presents a response that pulls data from your documents, it will offer a list of references and context links under the response.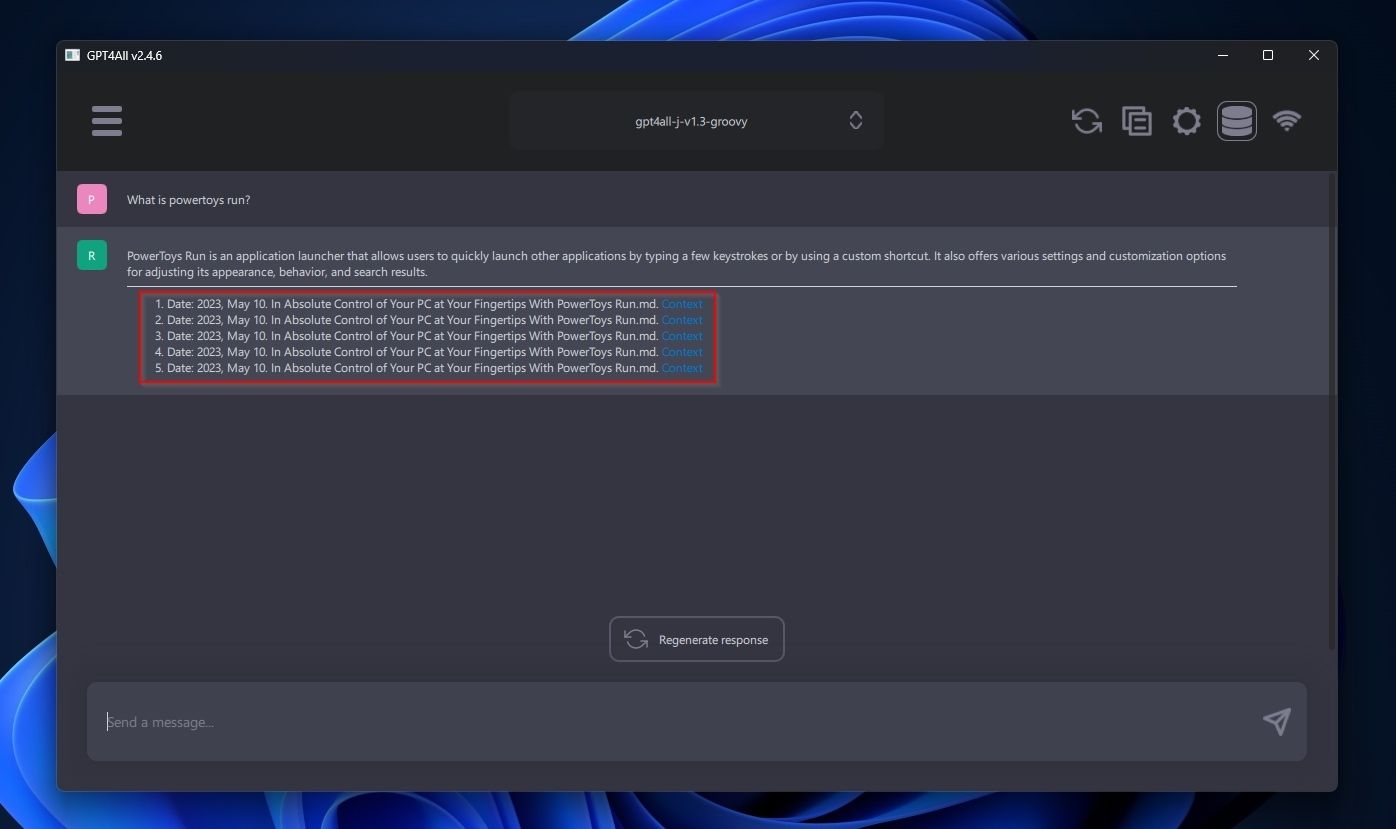
9. By clicking a context link, GPT4All will show you a snippet of text from your documents that it used for its response.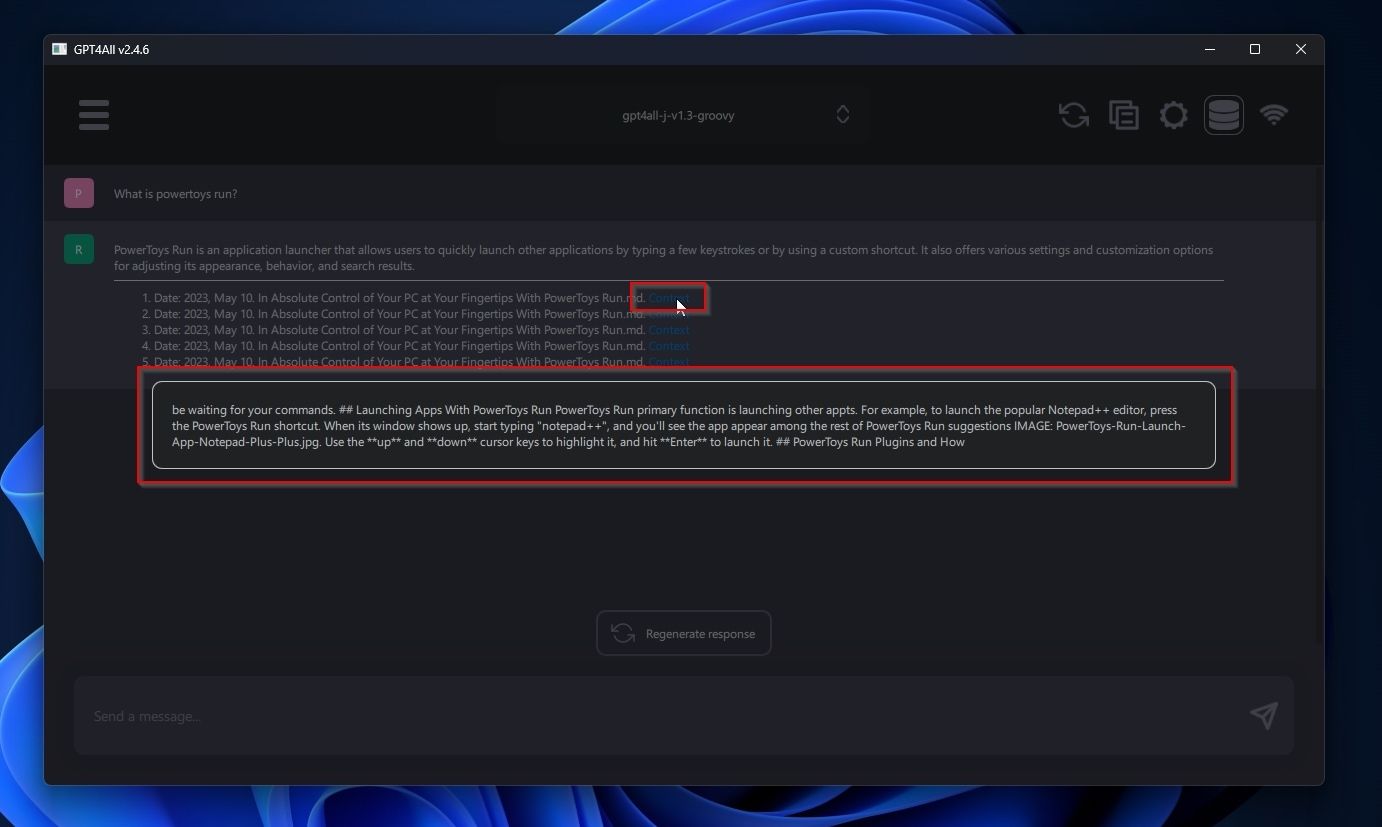
Your Own ChatGPT on Windows
GPT4All and the language models you can use through it might not be an absolute match for the dominant ChatGPT, but they’re still useful.
Creative users and tinkerers have found various ingenious ways to improve such models so that even if they’re relying on smaller datasets or slower hardware than what ChatGPT uses, they can still come close to it or, in some cases, even overtake it.
Instead of going into details about the pros and cons of each model available, though, why don’t you try them yourself? GPT4All makes it easy.
There are many reasons to try it, like how GPT4All enables you to chat with your documents. No need to “train” it, use expensive servers, or dive into Python. You can simply “add your documents” to GPT4All as they are to “expand its knowledge pool” with your data.
Let’s see how you can install and use GPT4All on your Windows PC.
Also read:
- [Updated] Enhancing Images Top 11 In-Depth Color Adjustment Guides for 2024
- [Updated] In 2024, 10 Common Vlogging Fears and How To Beat Them
- [Updated] Swift Film Techniques for At-Home Creators
- Echoes of the Past: Utilizing Windows 7 Product Key for Windows 11
- Fixes to Overcome Remote Connection Errors on Windows
- In 2024, Two Ways to Sync Contacts from ZTE Blade A73 5G to Gmail | Dr.fone
- Seamless Epson Driver Setup & Update - Windows Compatible
- Solving Chrome Blackout on a PC
- The Hidden Benefits in Maintaining Your Win 11 Notification Signals
- Title: Experience GPTClone at Home for FREE on Windows!
- Author: Richard
- Created at : 2025-02-14 20:52:25
- Updated at : 2025-02-15 21:00:20
- Link: https://win11-tips.techidaily.com/experience-gptclone-at-home-for-free-on-windows/
- License: This work is licensed under CC BY-NC-SA 4.0.