
Guide to Reinstating Missing PIN After Win 11 Updates
Guide to Reinstating Missing PIN After Win 11 Updates
On Windows 10 and 11, you can log in with a password or PIN. On compatible systems, you can also use iris scan and fingerprint unlock. While a PIN makes the login process faster than a password, you may encounter the Something happened and your PIN isn’t available error when trying to sign in using the same.
Similarly, something went wrong and your PIN isn’t available (status: 0xc000006d) is another variation of the error. These errors are often triggered due to a bad security update, issues with the NGC folder, and system file corruption.
Here are a few troubleshooting steps to help you fix this errorand log in with your PIN successfully on Windows 11.
1. Login With the Account Password
If you have set up a Microsoft user account or local user account, you can use it to log in with a password. Once done, you can reset the login PIN to fix the problem. Here’s how to do it.
Note that the below steps will not work for Microsoft account if you have enabled the Only allow Windows Hello sign-in for Microsoft account on this device option.
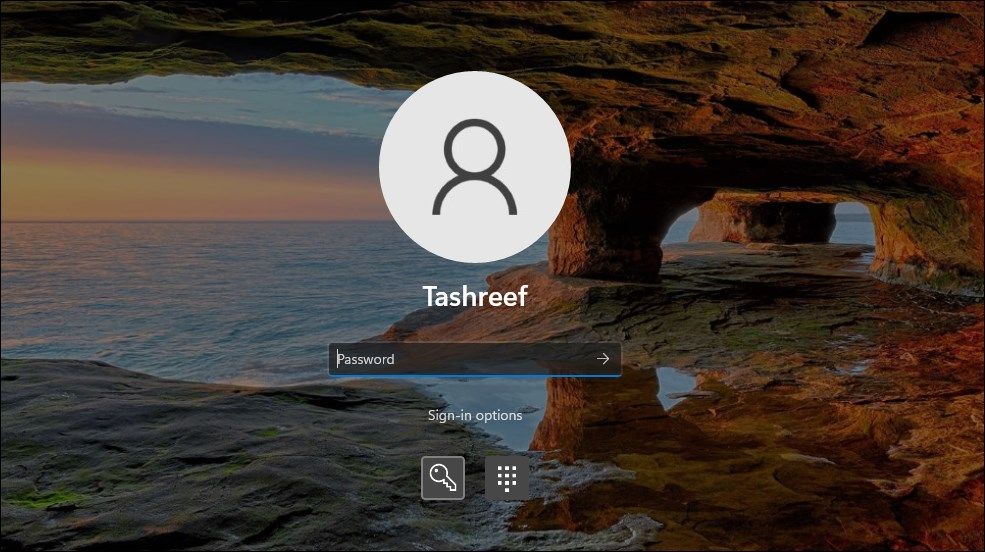
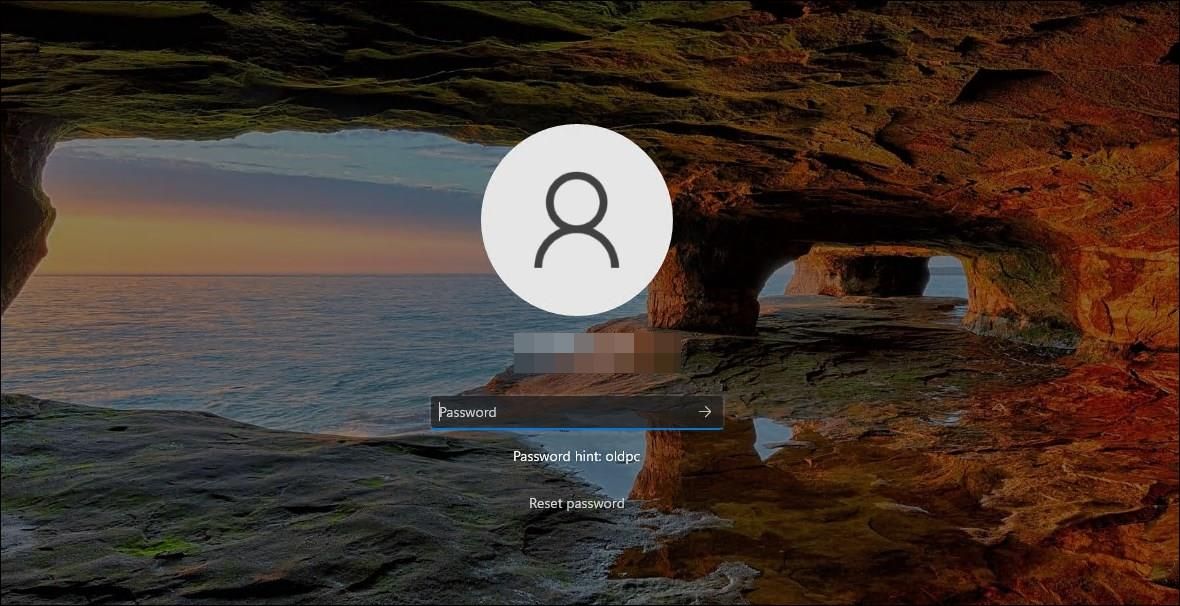
- On the lock screen, press any key to view theSign-in screen.
- Next, click onSign-in options to view the available options.

- Click theKey icon to select thepassword sign-in option.
- Type in your password and pressEnter to log in.

Now that you can log in to your account, follow these steps to change your PIN:
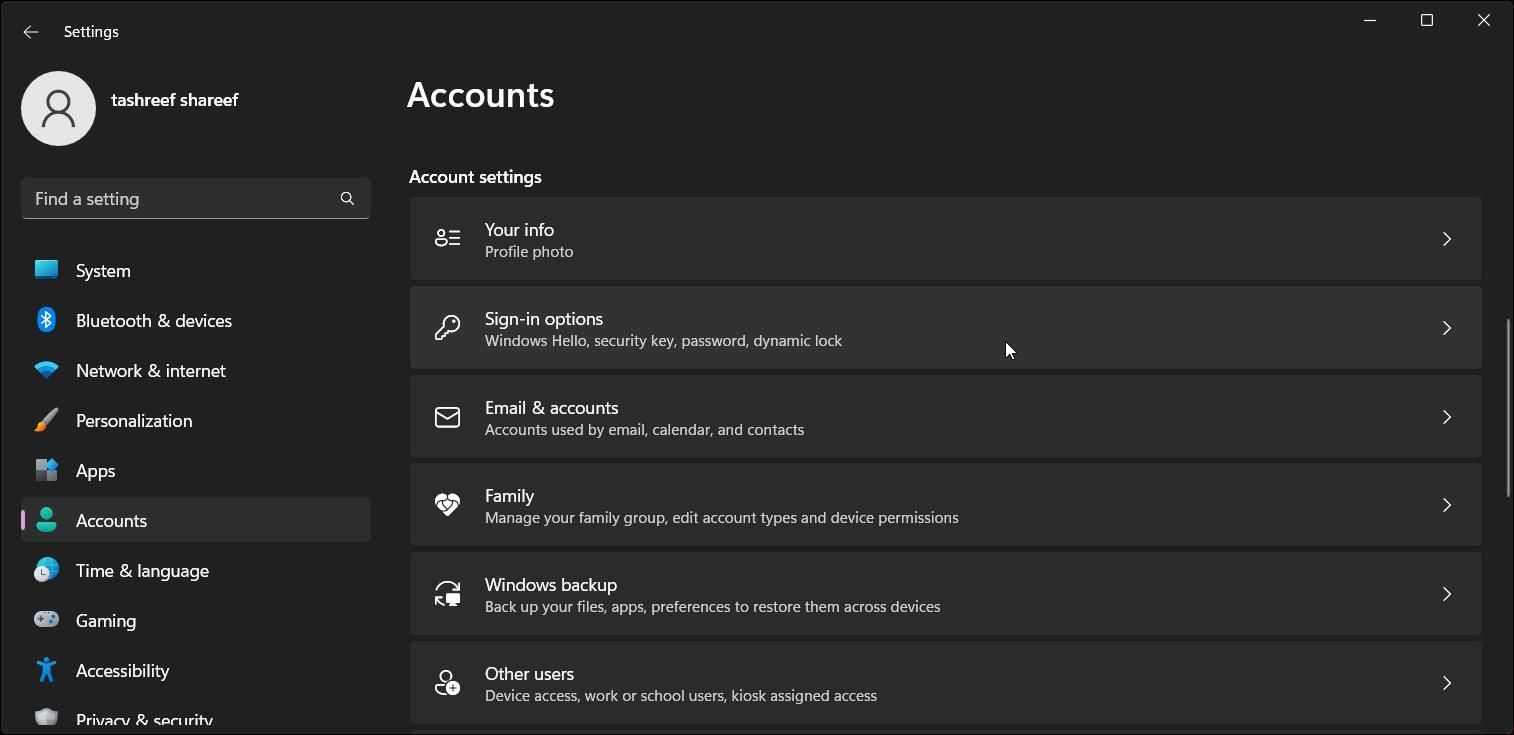
- PressWin + I to openSettings .
- Open theAccount tab in the left pane.
- Next, click on theSign-in options.
- Click onPIN (Windows Hello).
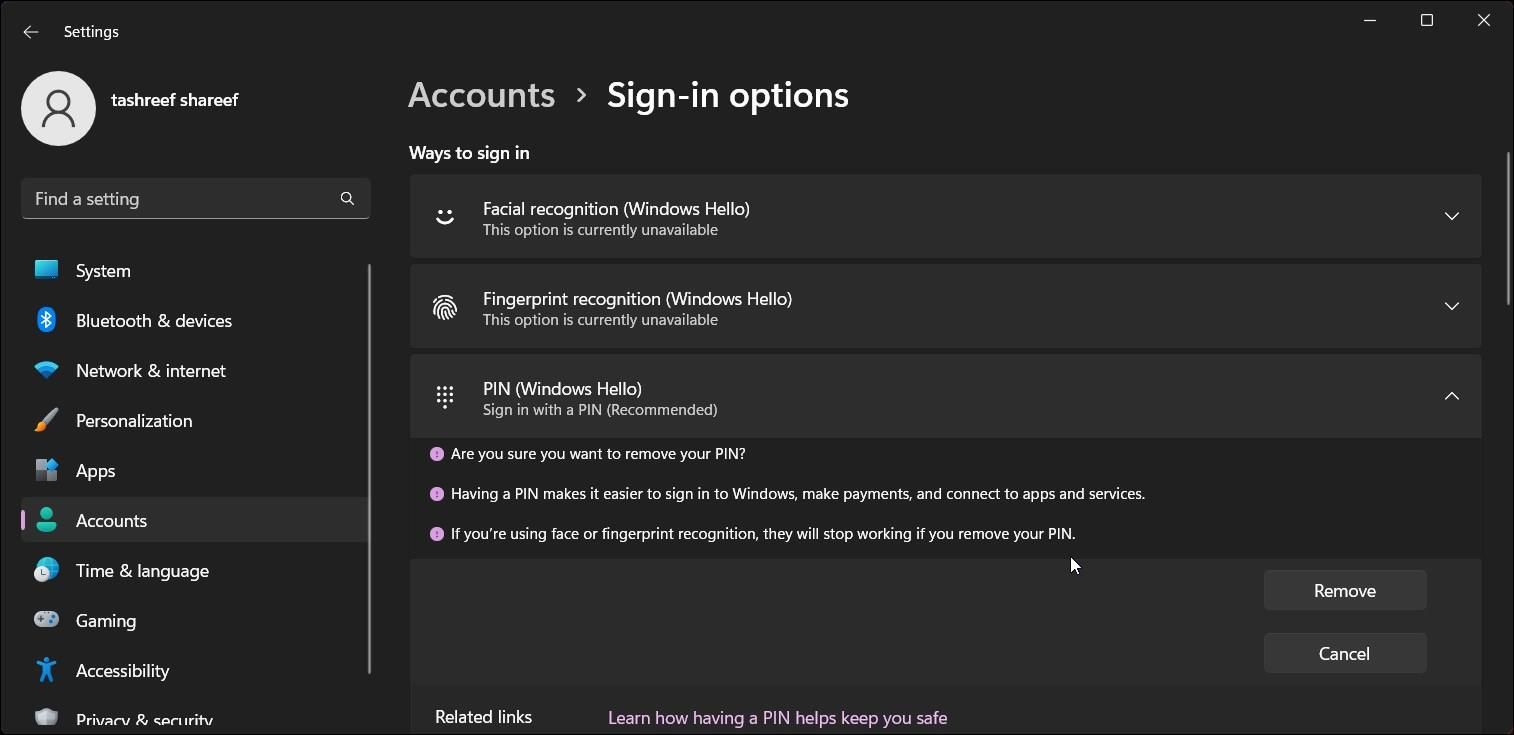
- Here, you will see the options toChange PIN andRemove PIN . To change your PIN, you must know your old PIN. So, we’ll proceed withRemove PIN to remove the current PIN and then add a new one.
- So, click on theRemove button forRemove this sign-in option . Click onRemove once more to confirm the action.
- Now you need to verify your admin credentials. So, enter your user account password and clickOK . Windows will remove your PIN successfully.
- Next, click onSet up to add a new PIN . Enter your user account password to verify the account.
- In theSet up a PIN dialog, type a new PIN for your account. Repeat the same in theconfirm PIN field and clickOK .
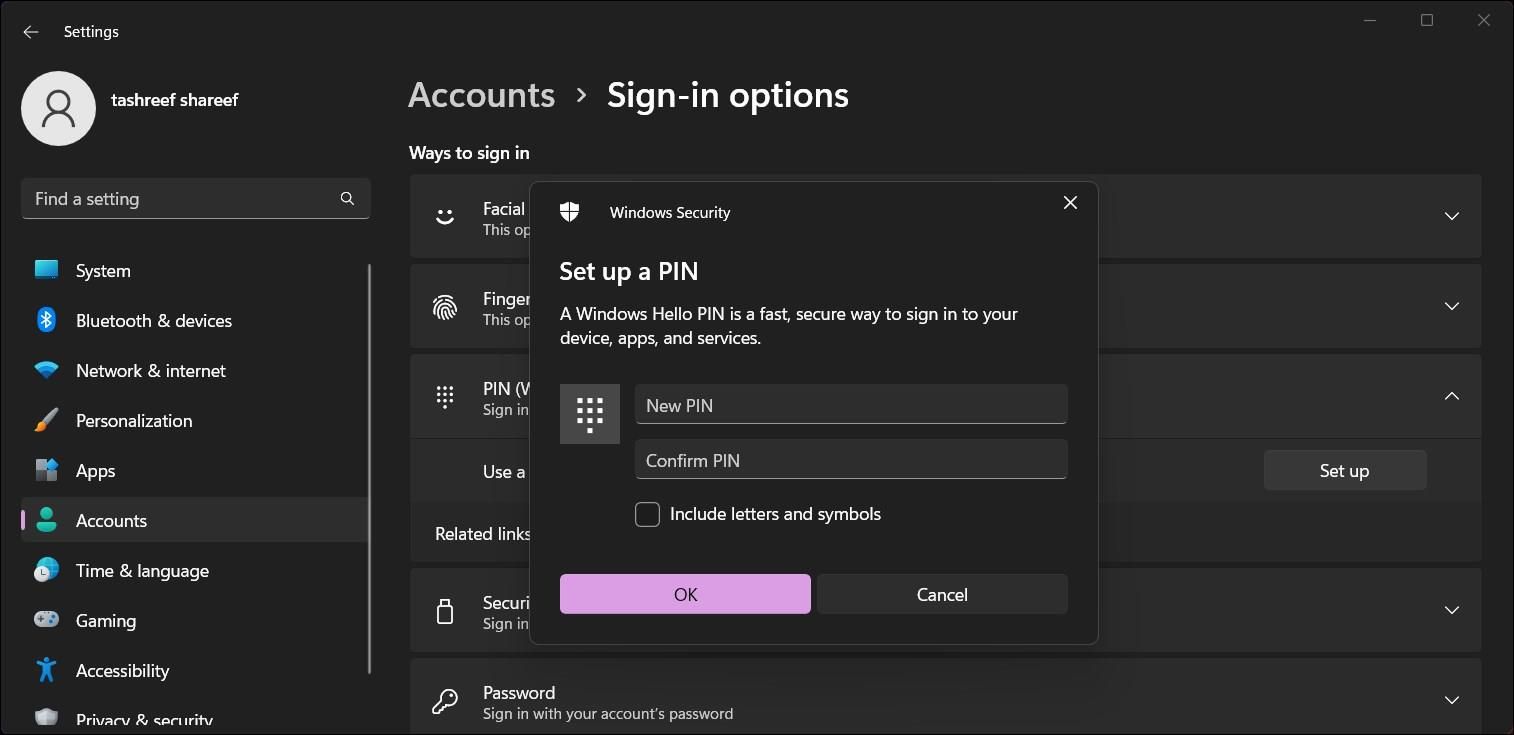
If you want, you can also add letters and symbols to your PIN to make it secure. Make sure to select theInclude letters and symbols option in theSet up a PIN dialog and then add your new PIN.
To test your new PIN, pressWin + L to lock your screen. Next, enter the new PIN in the login screen to confirm the changes.
What If I Don’t Remember My Account Password?
If you have forgotten your account password, you can reset it from the sign-in screen by answering the security questions for your account.
To reset your user account password:
- On the login screen, click onSign-in options.
- Select thePassword option. Here, enter anything as your password and pressEnter . Windows will show thePassword is incorrect screen. ClickOK .
- Next, click on theReset Password option. This will open the reset password dialog.
- Next, you need to answer the three security questions and pressEnter .
- When successful, Windows will ask you to enter your new password. So, enter your new password and confirm the same. Press enter to save the password.

Now you can sign in with your new account password. Next, change your PIN following the steps described above.
2. Delete the NGC Folder
If the issue persists when signing in with a PIN, check the NGC folder for permission issues. The NGC folder is where Windows stores your login information. If the folder is corrupted or lacks sufficient permission, it can result in the Something happened and your PIN isn’t available error.
To fix the corrupted folder, you’ll need to delete the folder and let Windows recreate it. Here’s how to delete the NGC folder to add a new PIN to your account.
To delete your NGC folder:
- Make sure you log in with an administrator account.
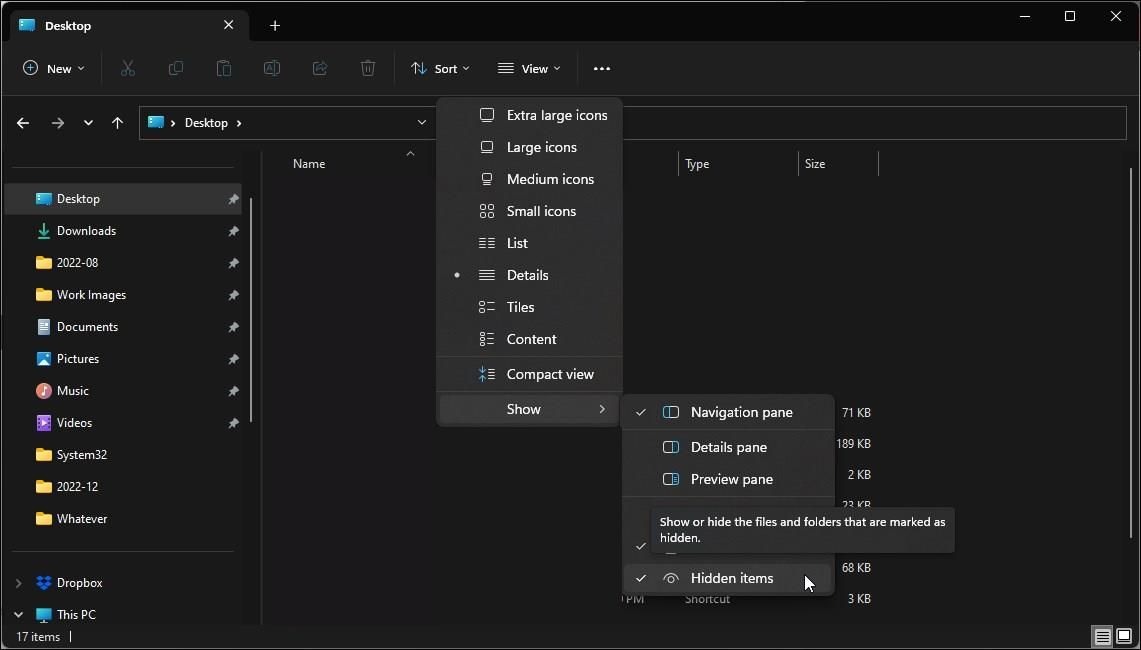
- PressWin + E to openFile Explorer .
- Click onView > Show and selectHidden Items . Make sure Hidden Item option has a check mark.
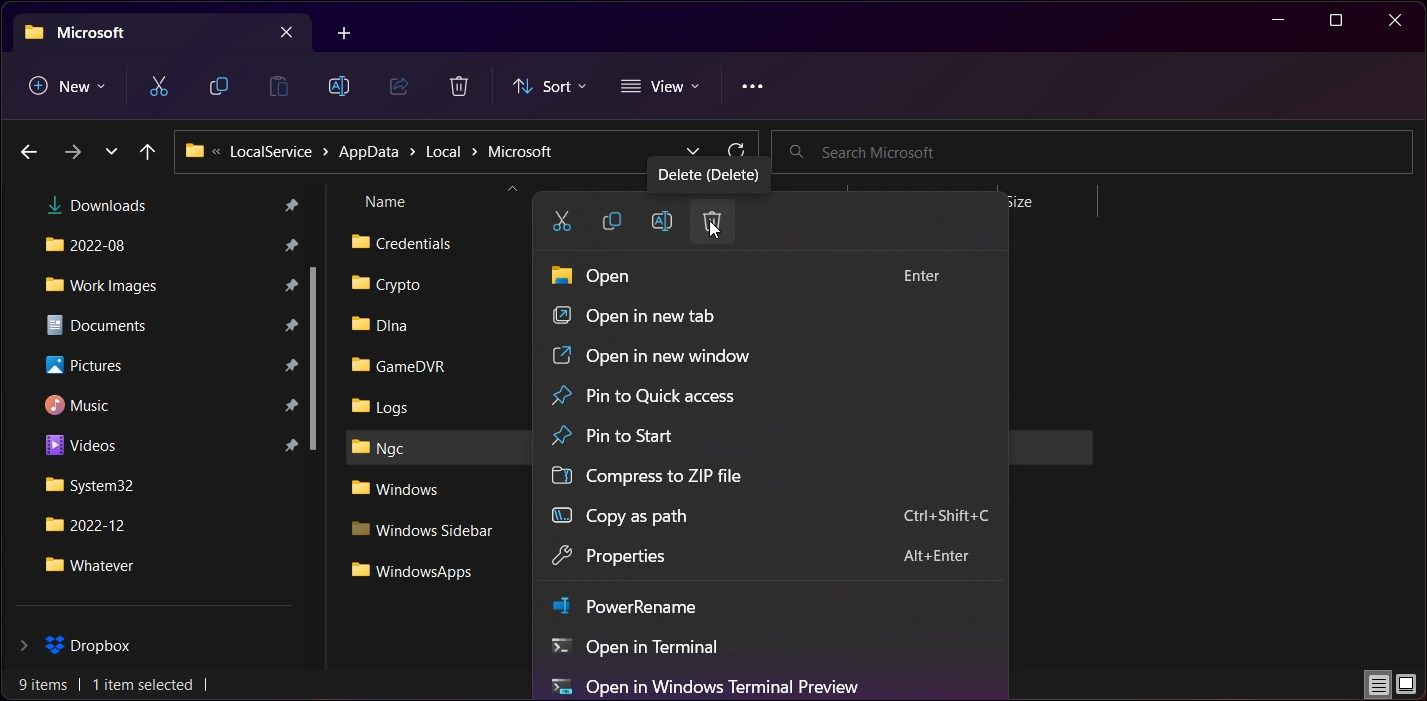
- Next, navigate to the following path:
C:\Windows\ServiceProfiles\LocalService\AppData\Local\Microsoft - Next, right-click on theNgc folder and selectDelete . Click onDelete again to confirm the action.
If you see theYou need permission to perform this action prompt, you’ll need to take the folder ownership on Windows to delete the folder. After taking ownership, try to delete the Ngc folder again, and you should be able to fix the error. Once done, you can set up a new PIN from the sign-in options in the Settings app.
3. Uninstall Windows Updates
 Forex Robotron Basic Package
If you determine the error to have appeared after installing a Windows update, uninstalling the same should help you undo the changes and fix the error.
There are many ways to uninstall updates in Windows 10 and 11 , including from the Settings app and Windows Recovery Environment. If you are unable to sign in using a password, you can use the Windows Recovery Environment method to uninstall Windows updates.
4. Perform a System Restore Using Restore Point
Windows creates automatic restore points before a major change is made to your system, including installing an update. You can use the restore point to restore your PC to an earlier time when it was working without an error.
If you can log in to your PC, follow the instructions to use a restore point to restore your Windows 11 system . If not, here is how to use the system restore point from Windows Recovery Environment.
From the sign-in screen, click on thePower icon in the bottom left corner.
Next, press and hold theShift key and click onRestart . Click onRestart anyway if a confirmation prompt appears. Make sure to hold the Shift key until the PC starts to restart.
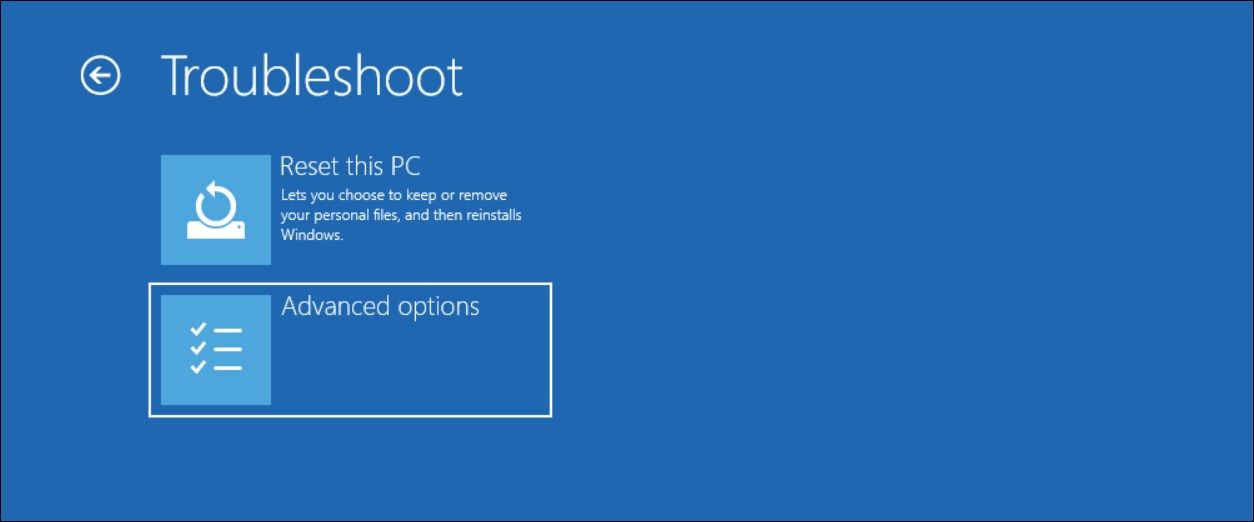
In theSystem Recovery section, click onTroubleshoot .
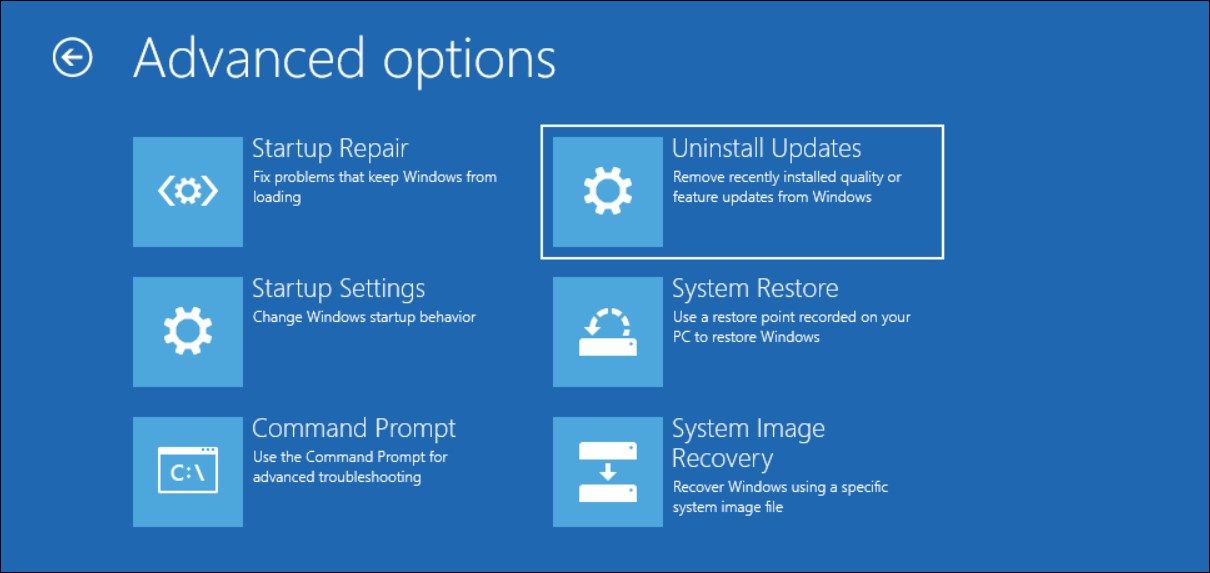
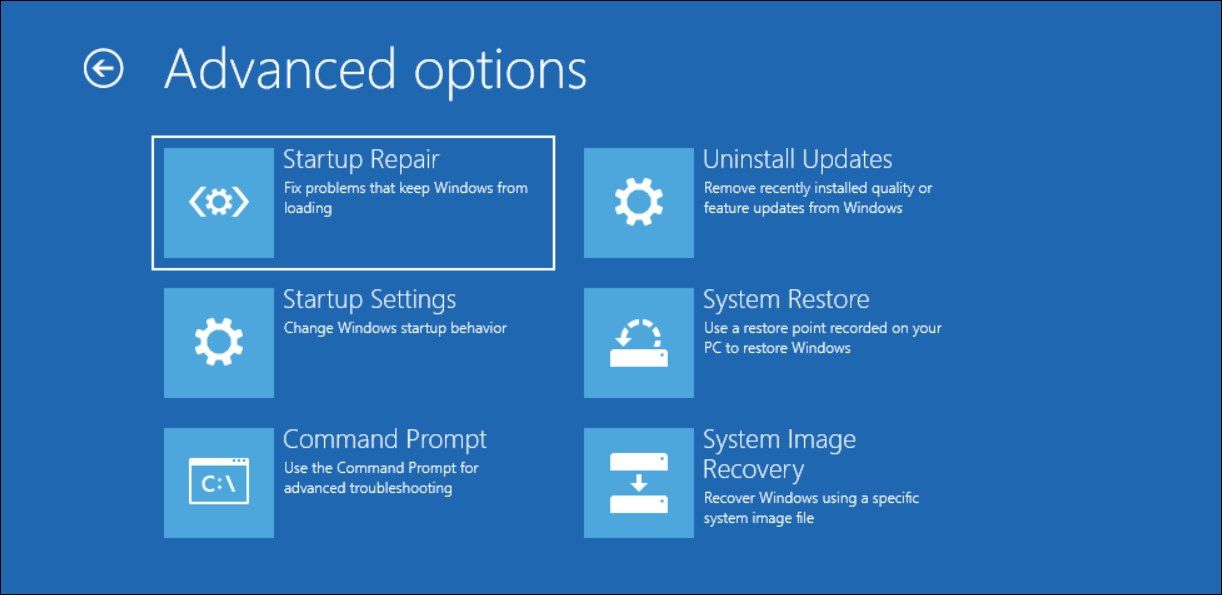
Next, selectAdvanced options .
Click onSystem Restore.
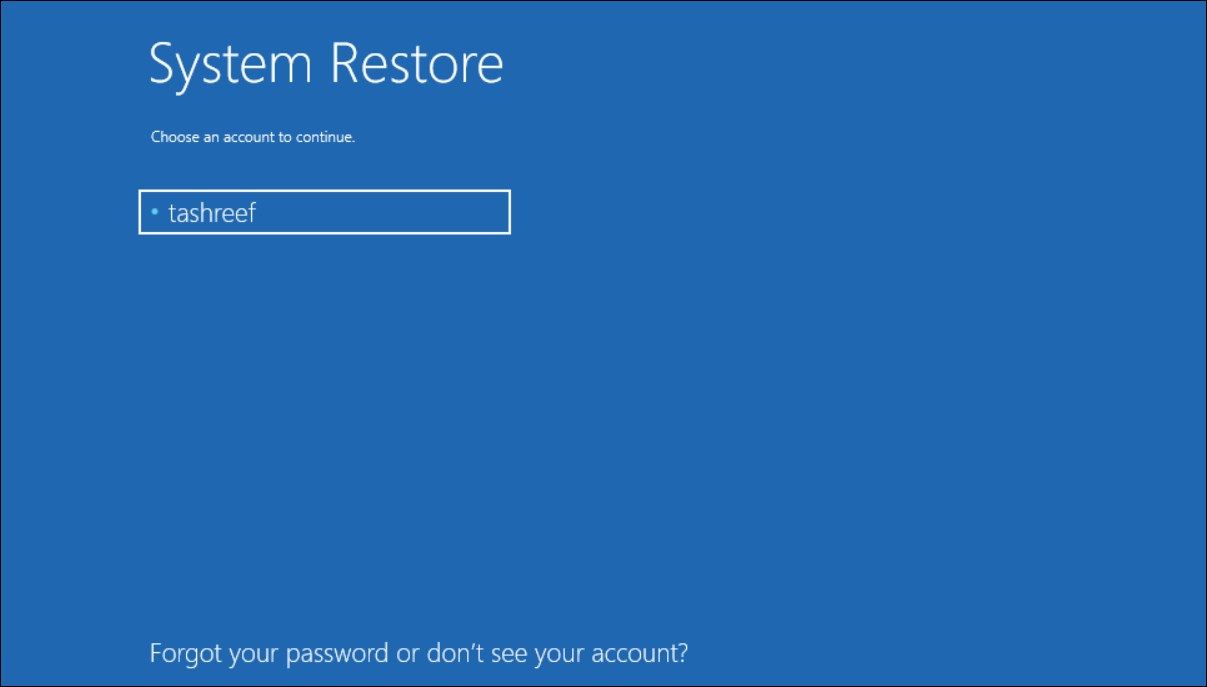
Next, your system will restart in theSystem Restore environment.
Click on your user account name underChoose an account to continue.
Next, you’ll need to enter the password for the selected account and clickContinue . If your user account doesn’t have a password, then pressEnter to continue without the password.
In theSystem Restore dialog, select the most recent restore point and clickNext .
Follow on-screen instructions to complete the system restore. Your PC will restart with a success or failure message. Once the restore is complete, try to log in with the same PIN to see if the error is resolved.


5. Perform a Startup Repair
Startup repair is a built-in troubleshooting tool on Windows to fix issues with files required to boot the OS. You can run Startup Repair from the Windows Recovery Environment. Here’s how to do it.
- In the sign-in screen, click on thePower icon. Then press and hold theShift key and click onRestart . Hold the key until the PC restarts.
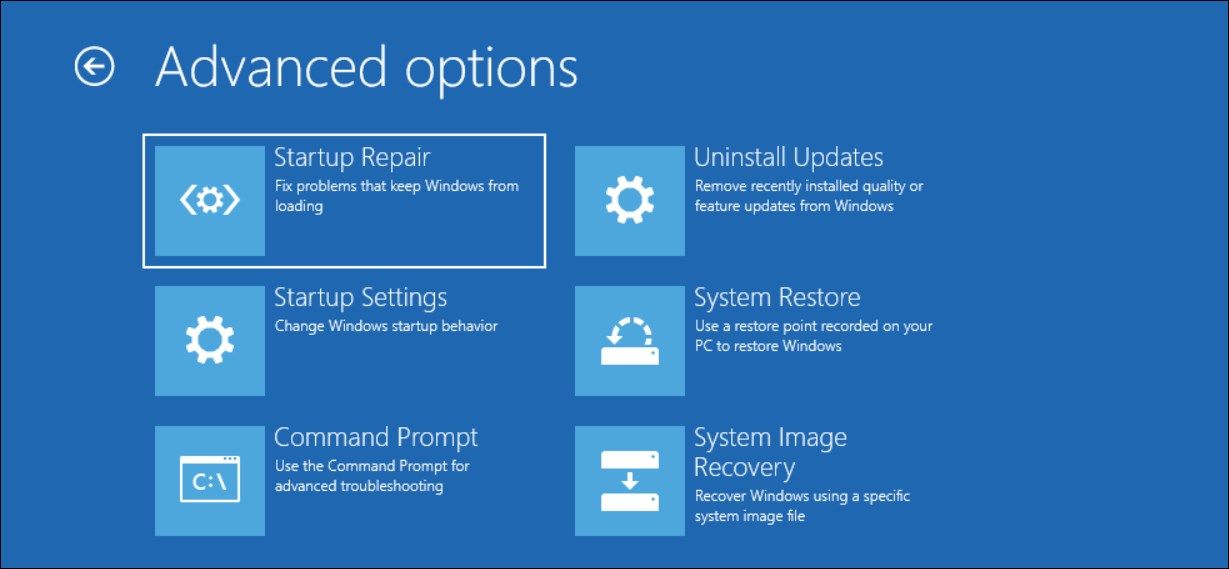
- Next, underChoose an option, go toTroubleshoot > Advanced Options.
- Click onStartup Repair . Windows will start diagnosing your PC and repair any issues with the startup files.
6. Perform a System Reset
A system reset helps you reset your computer to its factory default removing all the system settings and configuration, including login credentials.
Windows reset lets you keep or remove your personal files and then reinstall Windows. However, you’ll need to reinstall all your third-party apps from scratch.
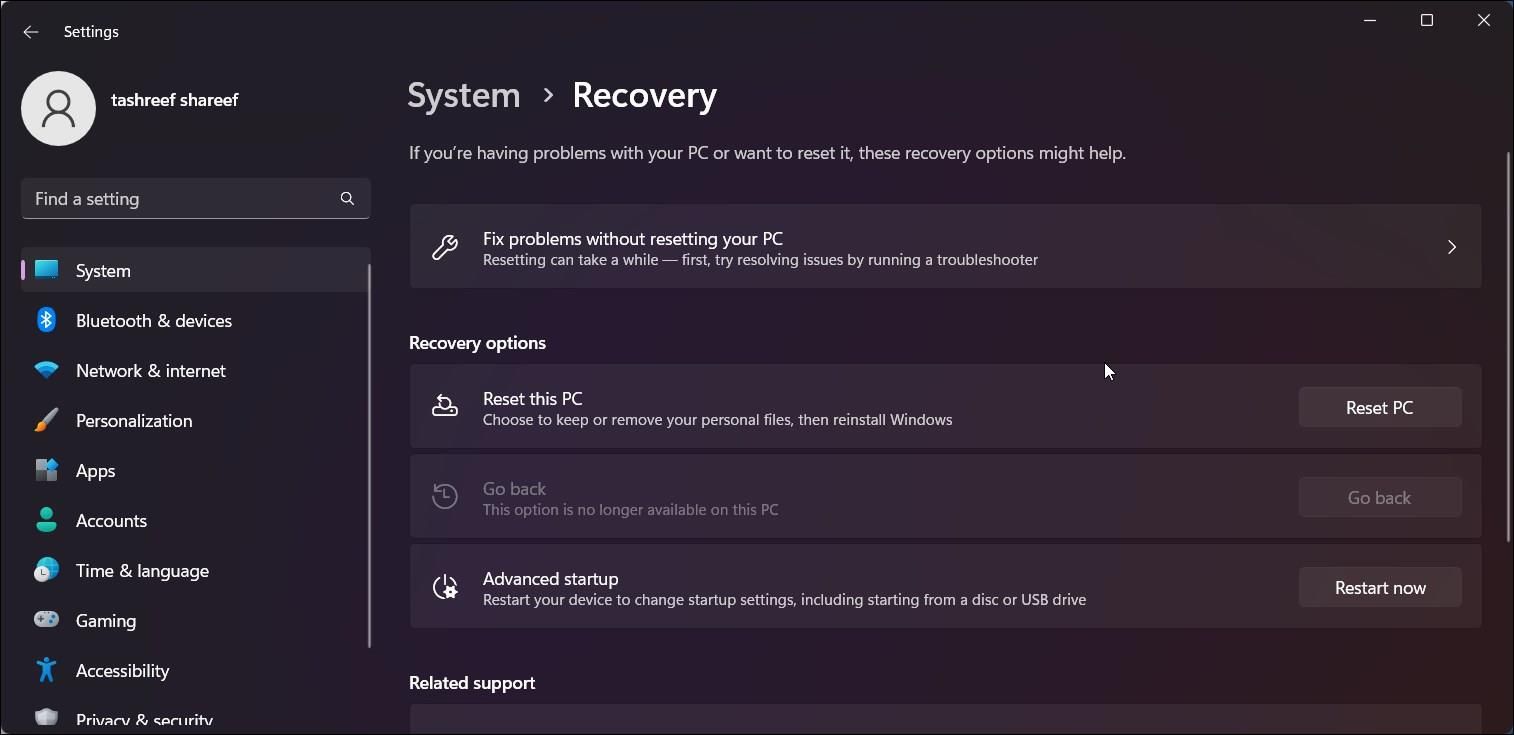
To perform a system reset:
- PressWin + I to openSettings .
- In theSystem tab, click onRecovery .
- Under resetReset this PC , click onReset PC .
- Under Choose an option, you can choose to keep or remove your files . Confirm the option to reset your PC.
If you are unable to sign in, follow this guide to factory reset Windows 11 without the admin password .
Restore the PIN Sign-in Functionality on Windows 11
Windows may refuse to accept your sign-in PIN if the folder containing the information is corrupted or due to system file issues. Before trying any advanced troubleshooting steps, try to use an alternate login method to sign in and remove and change your PIN. If not, you can use system repair to fix startup issues or restore your PC using a restore point.
- Title: Guide to Reinstating Missing PIN After Win 11 Updates
- Author: Richard
- Created at : 2024-08-16 01:51:41
- Updated at : 2024-08-17 01:51:41
- Link: https://win11-tips.techidaily.com/guide-to-reinstating-missing-pin-after-win-11-updates/
- License: This work is licensed under CC BY-NC-SA 4.0.