Mastering Multi-Device Compatibility for WIN11 Notes

Mastering Multi-Device Compatibility for WIN11 Notes
Windows 11 Sticky Notes is a great app to stay organized, whether you’re at home or work. If you want to take notes anytime, anywhere, you’re not limited to using Windows Sticky Notes on your PC.
In this guide, we’ll explore how to use Windows Sticky Notes on all your devices, whether you’re an Android or iOS user, or if you’re using a web browser.
How to Get Started With Windows 11’s Sticky Notes on Your PC
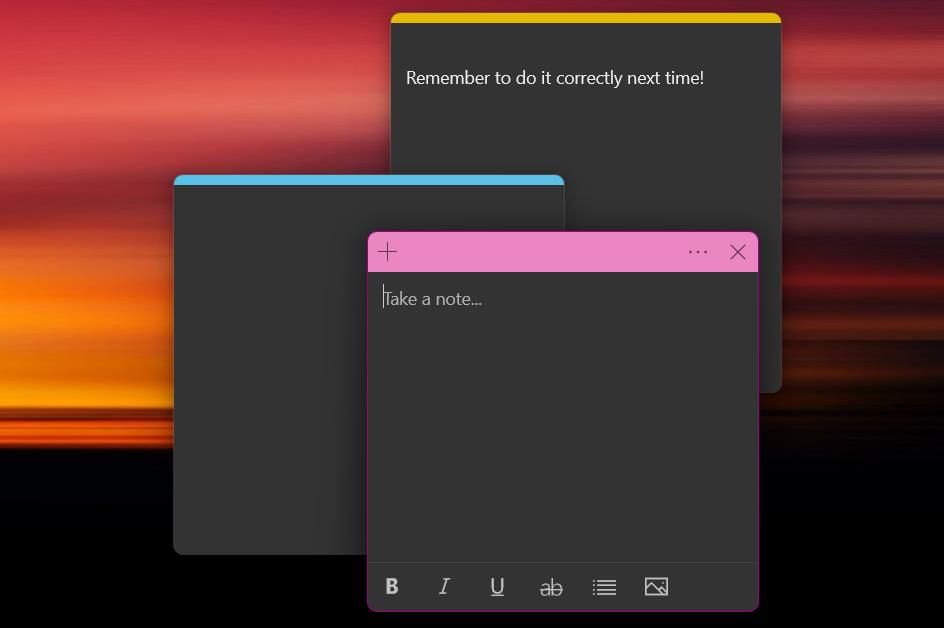
Sticky Notes is a great app for taking notes fast and jotting down important reminders. The best thing is, there is no download required—Sticky Notes comes pre-installed on all Windows 11 machines. To open Sticky Notes on Windows 11:
- Click on the Windows Search bar or use the shortcut Windows + Q.
- Search for “Sticky Notes”, then click on the app from the search results.
By default, the app will open one sticky note. You can add more sticky notes at any time by hitting the plus button in the top left corner. To view your past sticky notes, click on the three dots in the top right corner to access the menu, and then select Notes List.
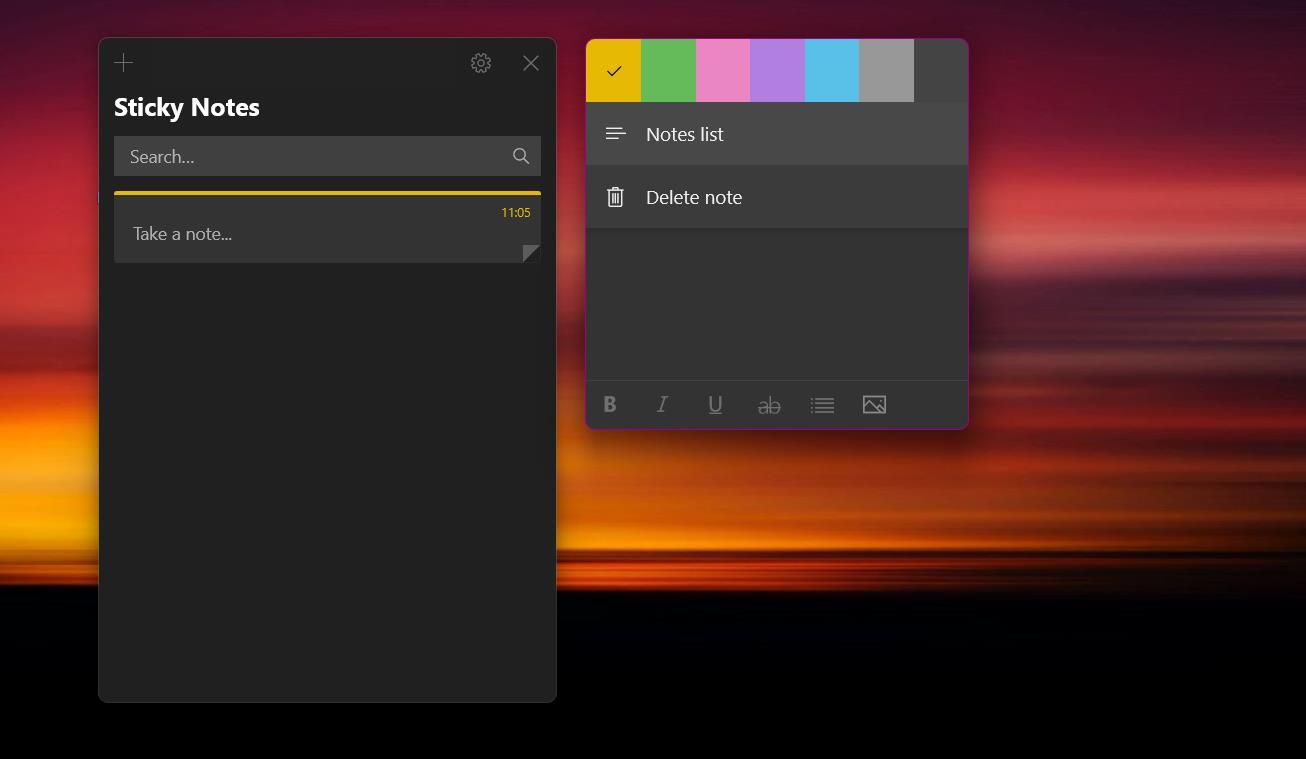
Despite being a basic note-taking app, there are many features to stylize your notes. On the bottom formatting ribbon, you can format text using bold, italics, or strikethrough. There’s also an option to toggle bullets, perfect for making quick lists.
If you use Windows Sticky Notes frequently, you may want to open Sticky Notes at startup on Windows 11 .
How to Set Up the Sync Feature on Windows Sticky Notes
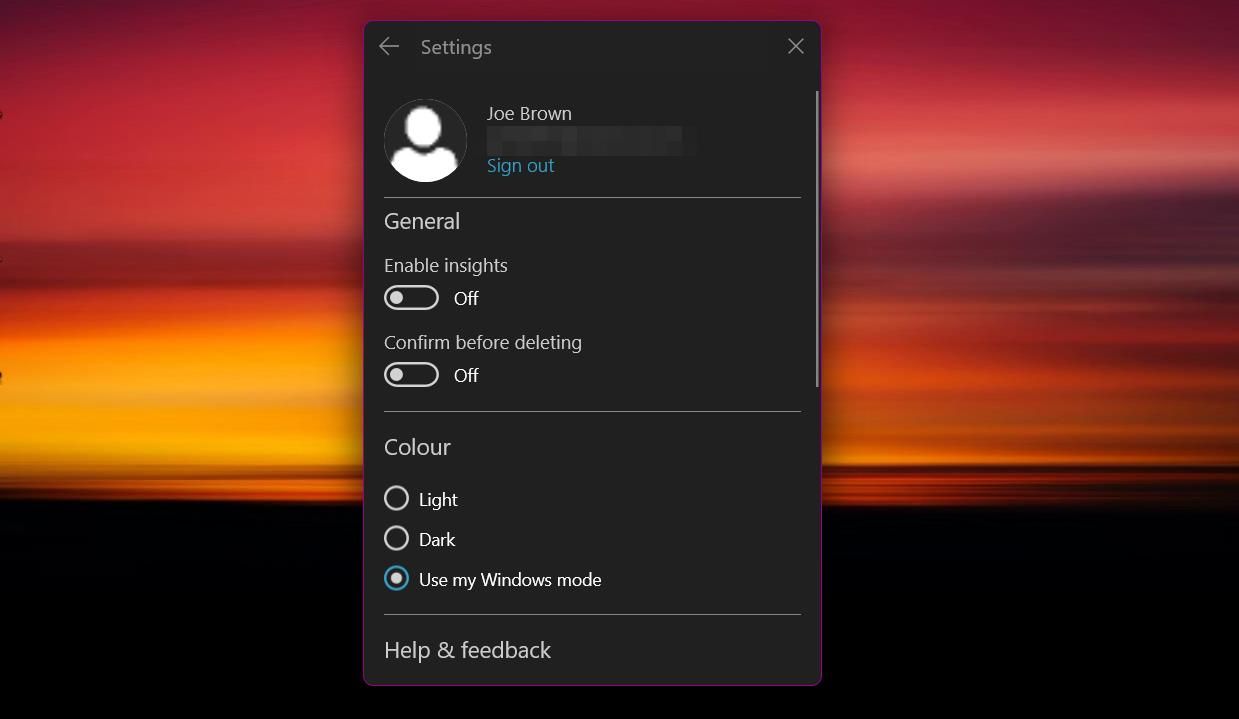
To sync sticky notes across all your devices, you’ll need to first sign in using your Microsoft account. This step syncs your notes to the cloud and connects them to other Microsoft services required later. Here’s how to set up sync for your sticky notes:
- Click the three dots in the upper right corner of a sticky note to access the menu.
- Select Notes List.
- Click the settings icon, then hit Sign in.
If you run into any issues, there are some fixes for Windows 11 Sticky Notes not syncing you can explore.
How to Use Your Windows Sticky Notes on iOS Devices
Close
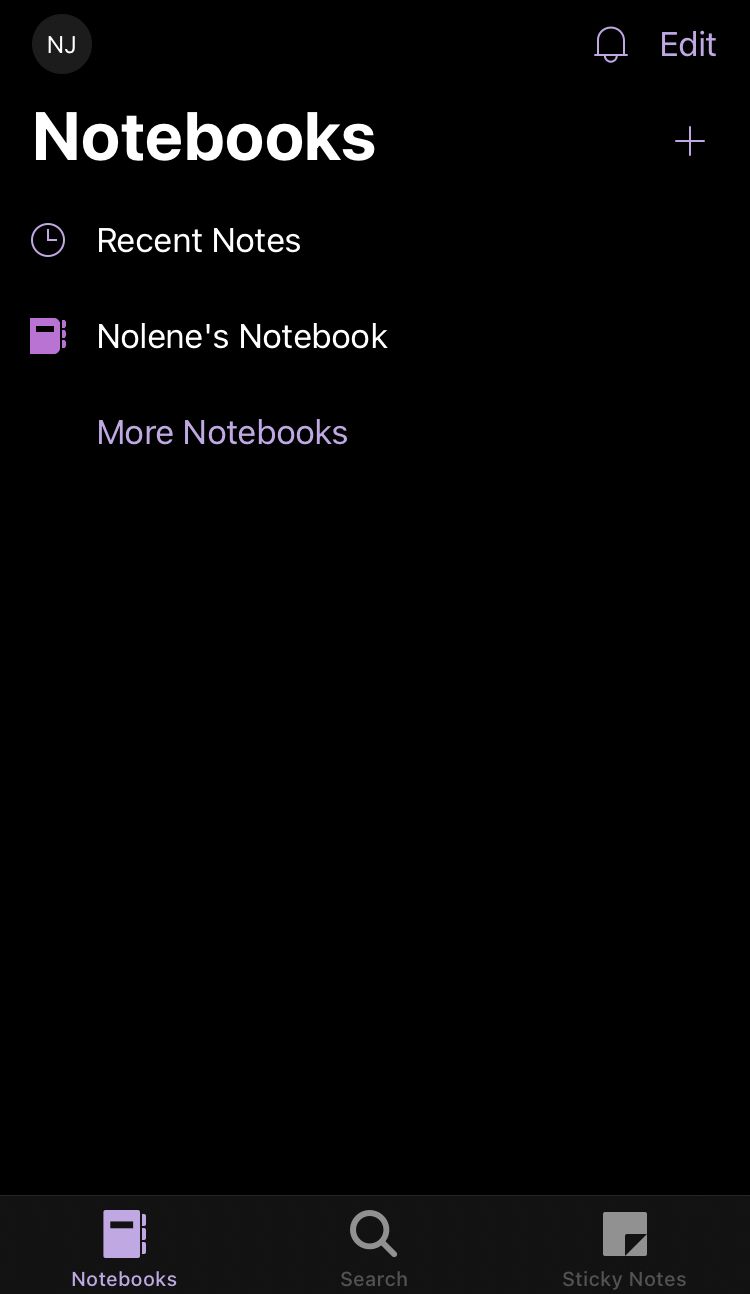
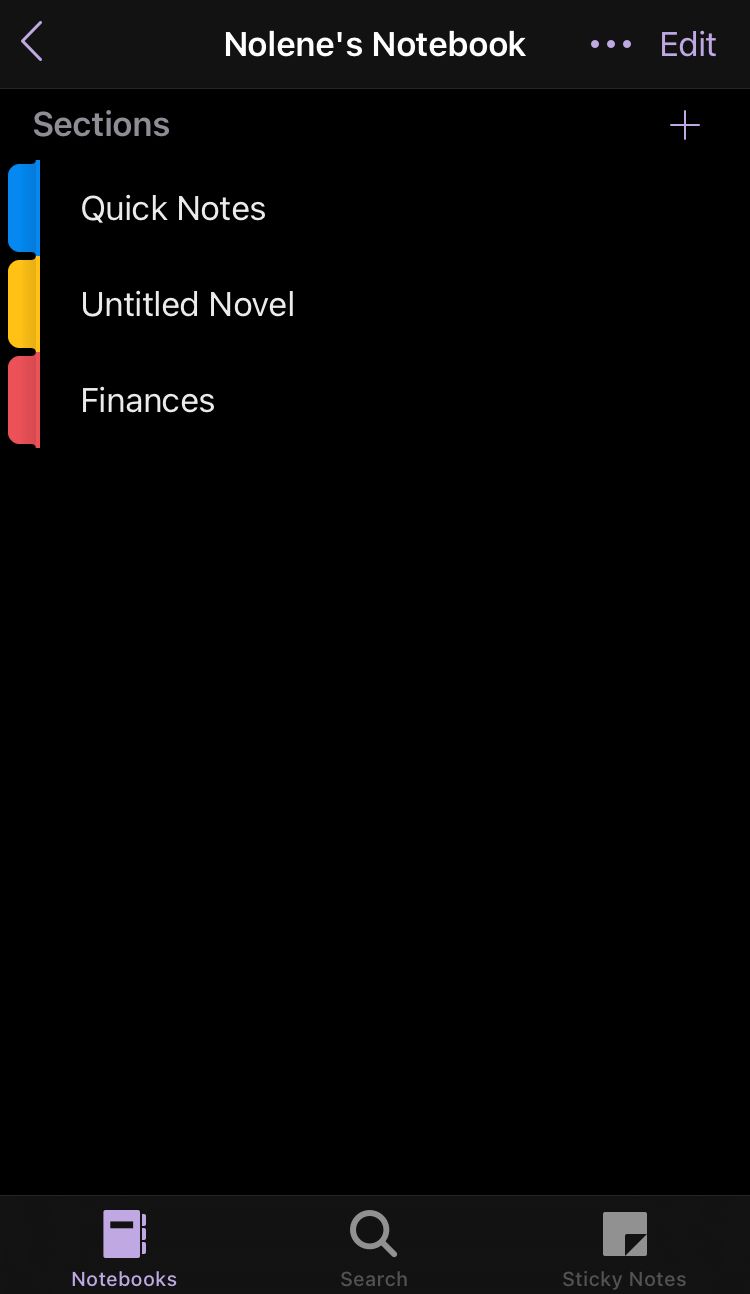
Rather than offering a separate sticky notes app, Microsoft features Windows Sticky Notes as part of the Microsoft OneNote app. This less-known feature of Microsoft OneNote is great for those who already have experience using OneNote, although, this trick can be easily learned by anyone.
You can access Windows Sticky Notes on your iOS by following the steps below:
- Go to the App Store and search for Microsoft OneNote.
- After installation, sign in using your Microsoft account.
- In the bottom right corner of the homepage, tap on Sticky Notes.
To create a new note, hit the plus icon in the bottom right corner of the screen. You’ll then see a display similar to the Sticky Notes app for Windows, including its text formatting options. One helpful tool is the camera button, which allows you to upload a photo from your camera or iOS photo album.
4. How to Use Your Windows Sticky Notes on Android Devices
Close
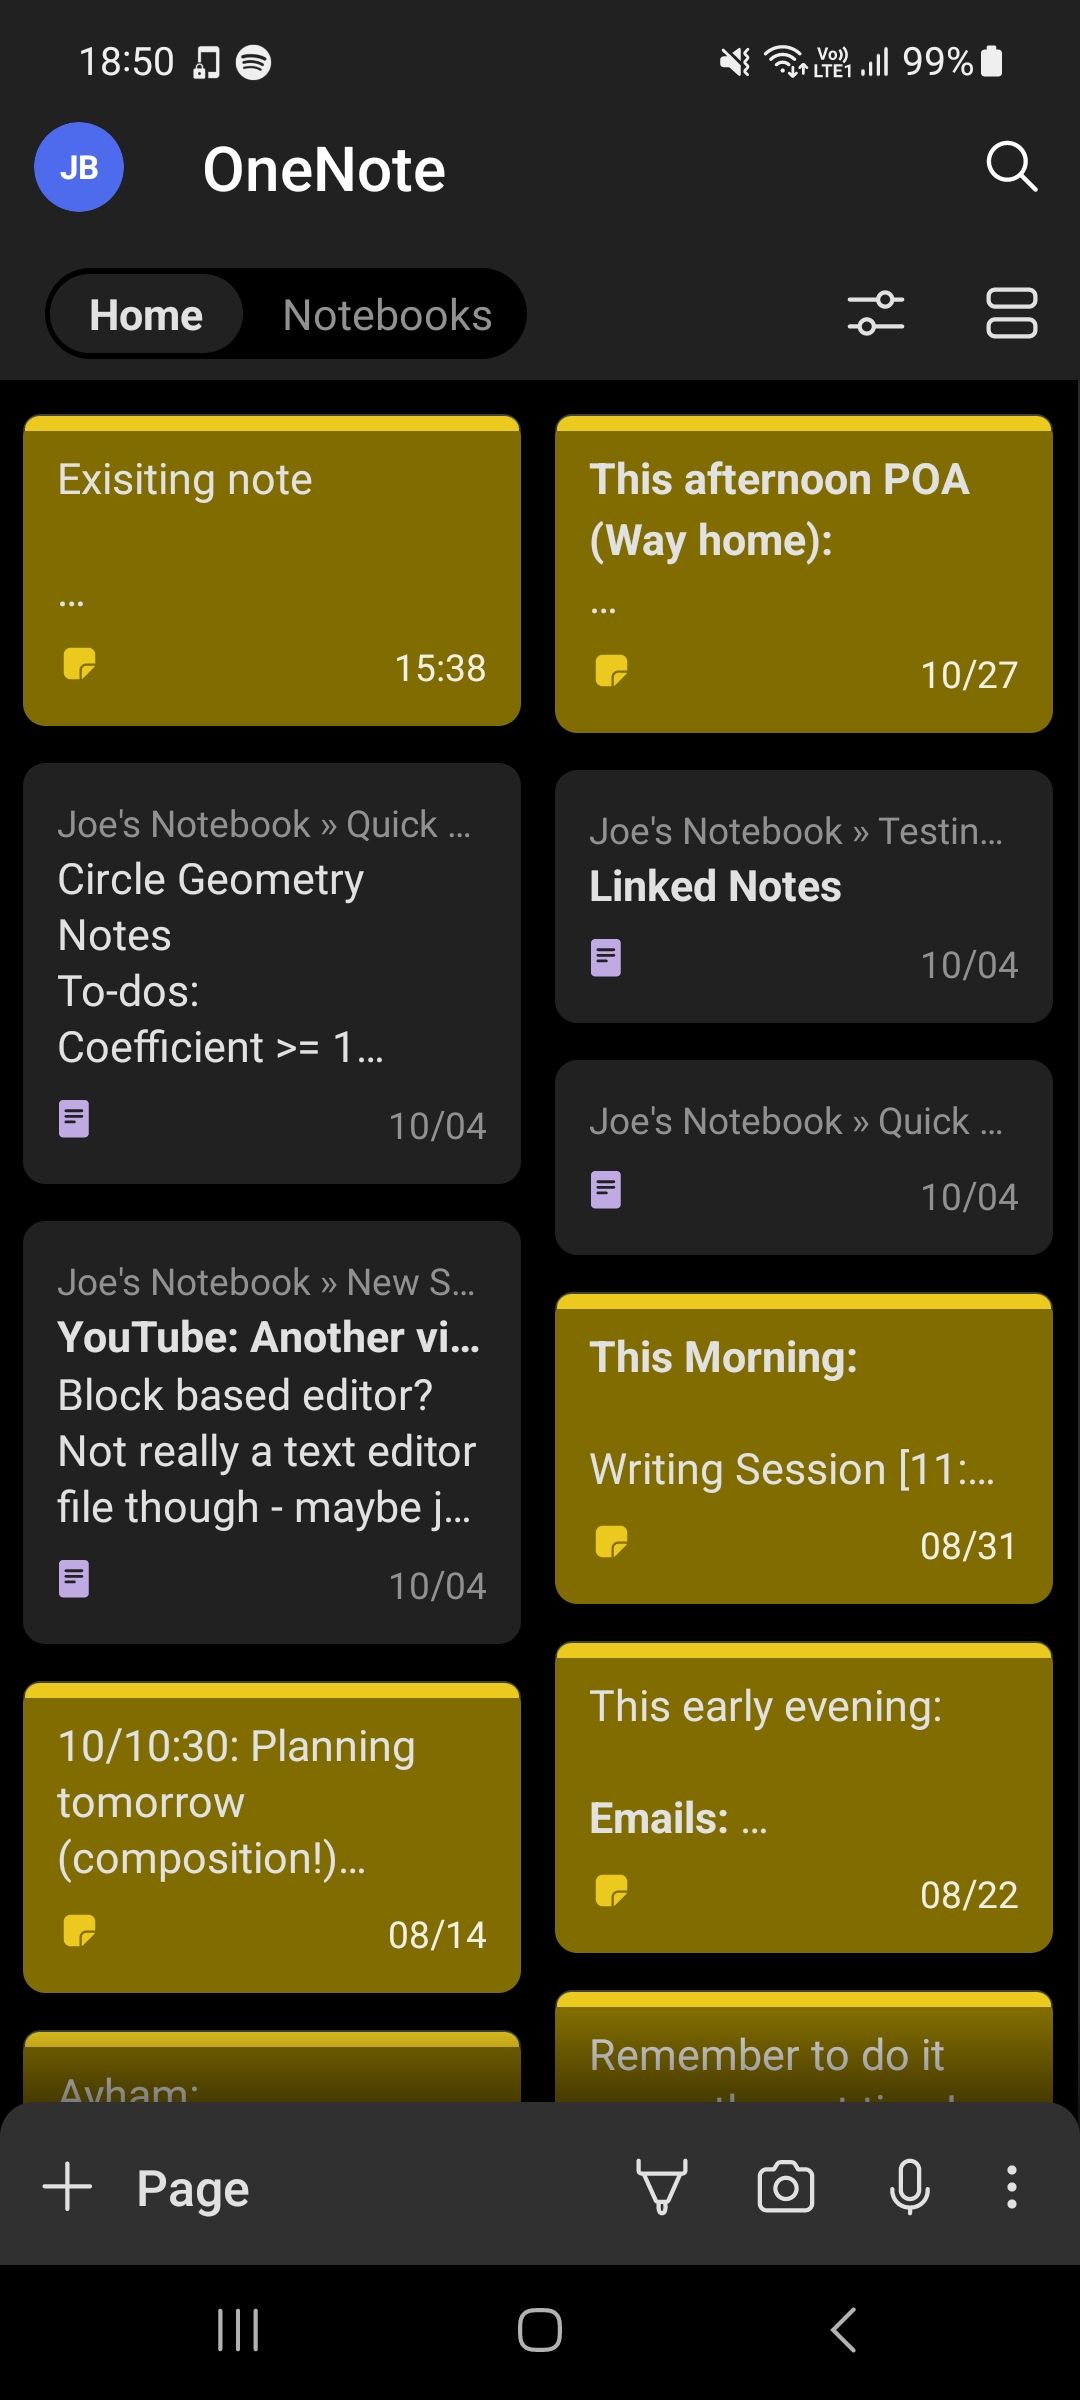
You can also view your sticky notes if you’re an Android user. Windows Sticky Notes is available in the Microsoft OneNote app for Android, although it is a little harder to find. Here’s how to access your sticky notes on Android devices:
- Go to the Google Play Store and search for Microsoft OneNote.
- Download and open the app, then sign in with your Microsoft account.
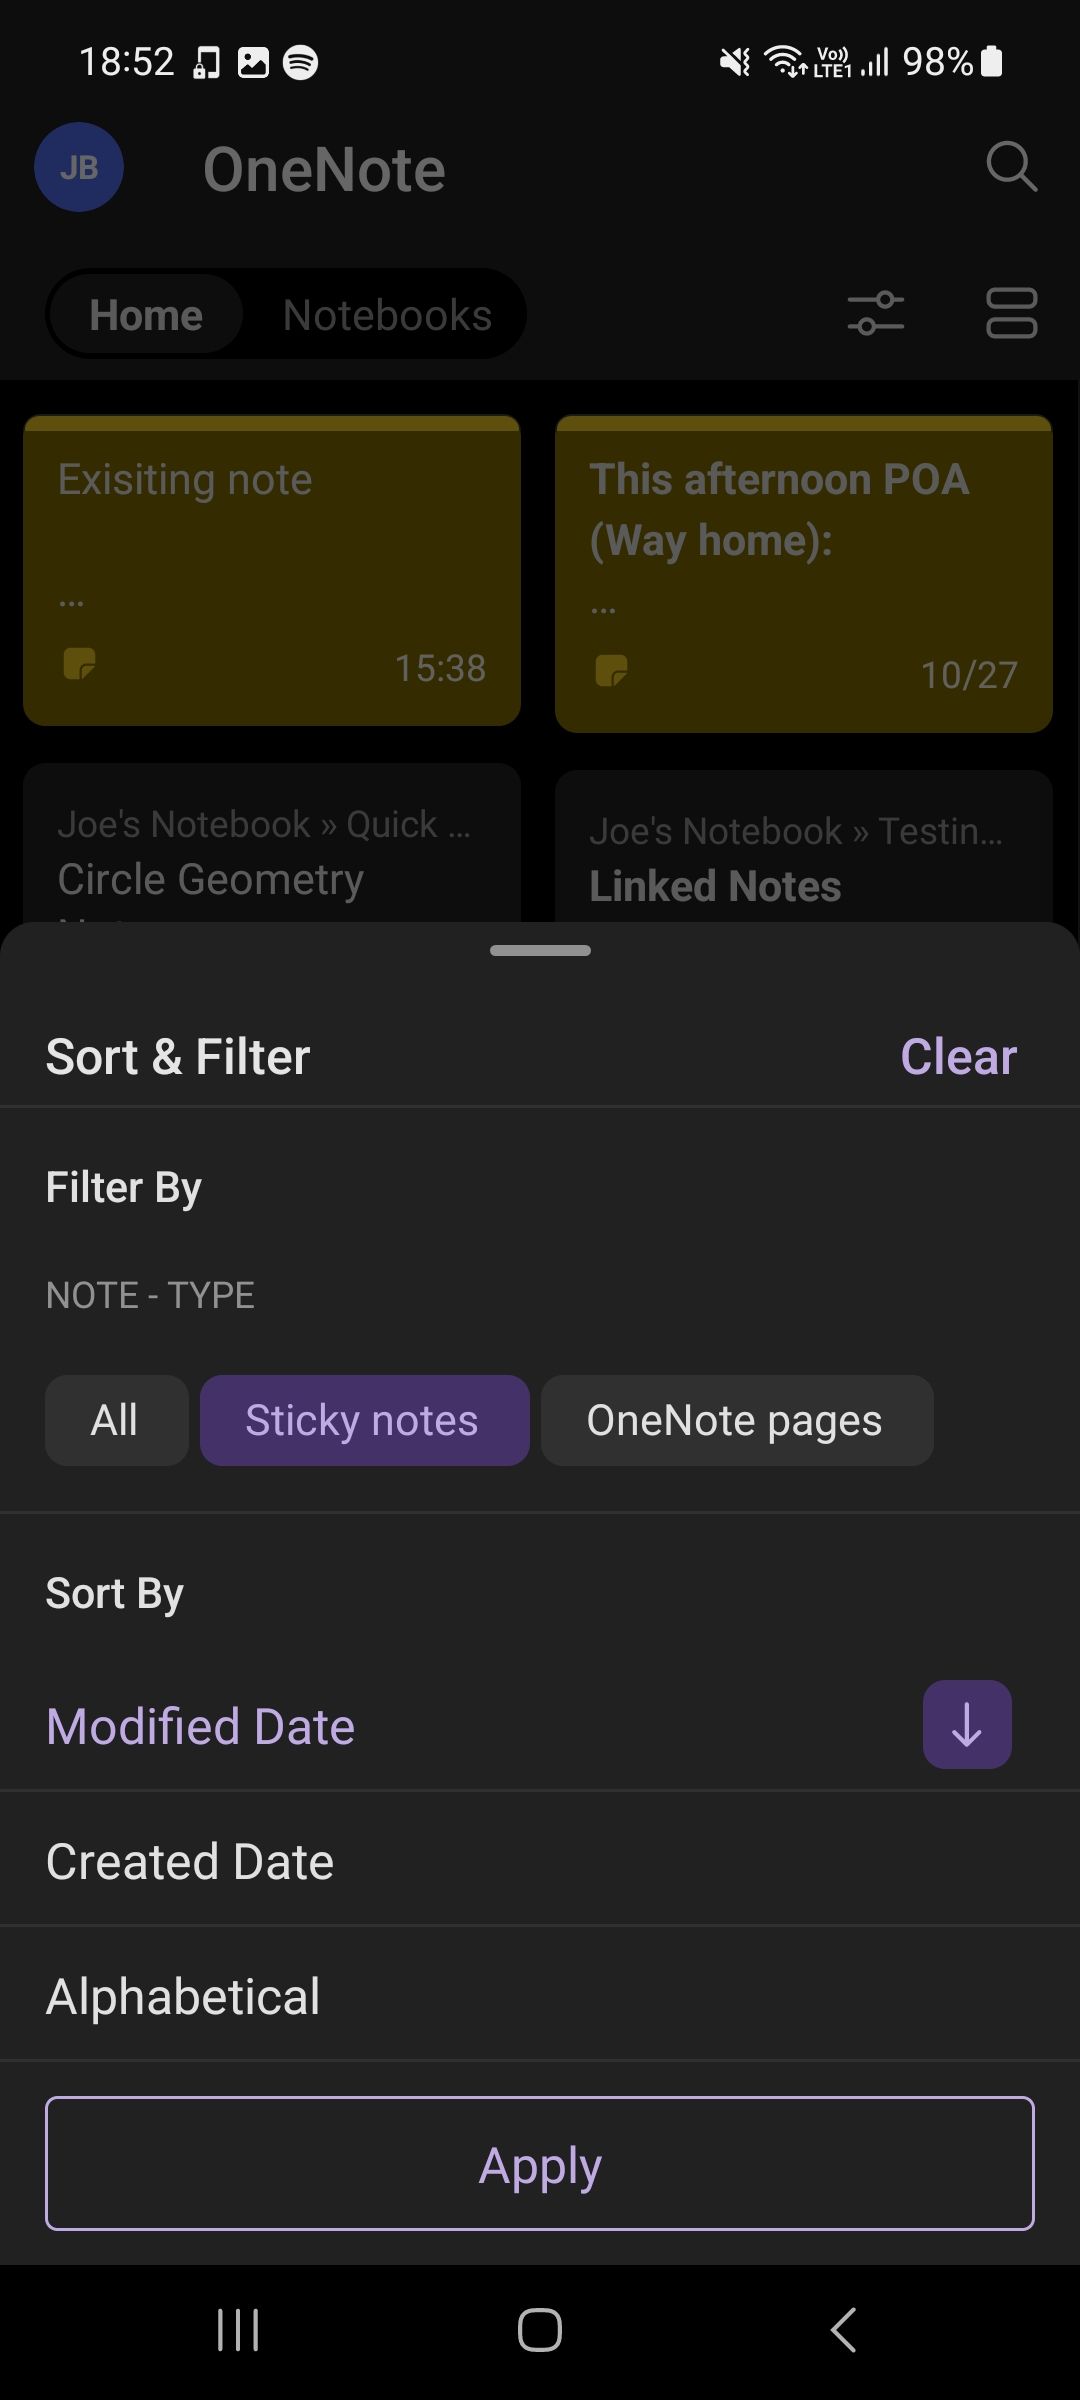
On the homepage, you’ll see a mix of sticky notes and written notes from OneNote. To view sticky notes only, you’ll need to filter the results. Hit the Sort & Filter button on the left side of the top banner. Underneath the Note Type heading, select Sticky Notes and then select Apply. You can also sort sticky notes by created date, edited date, or alphabetically.
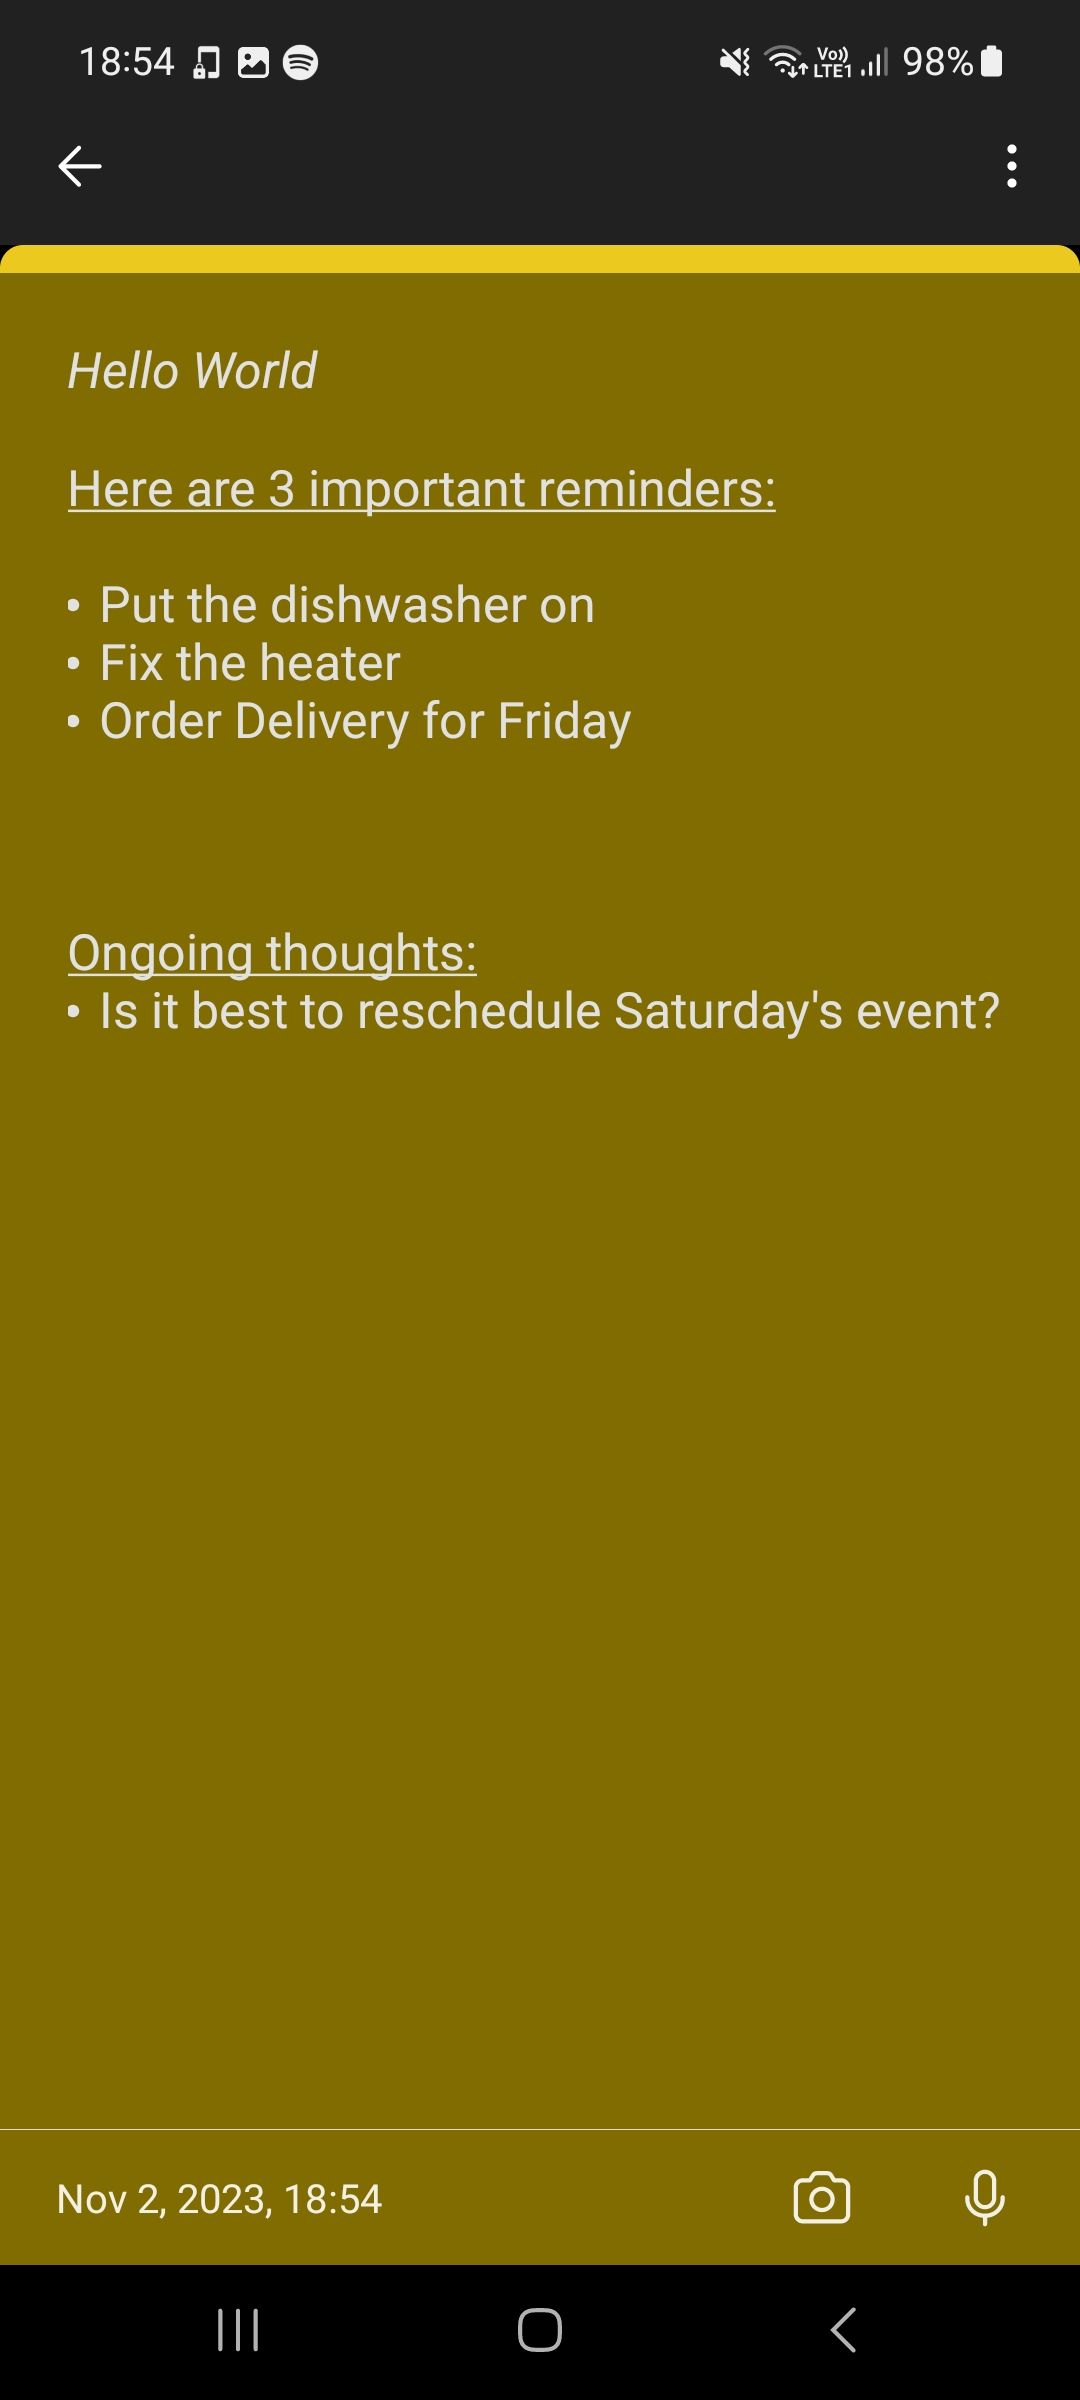
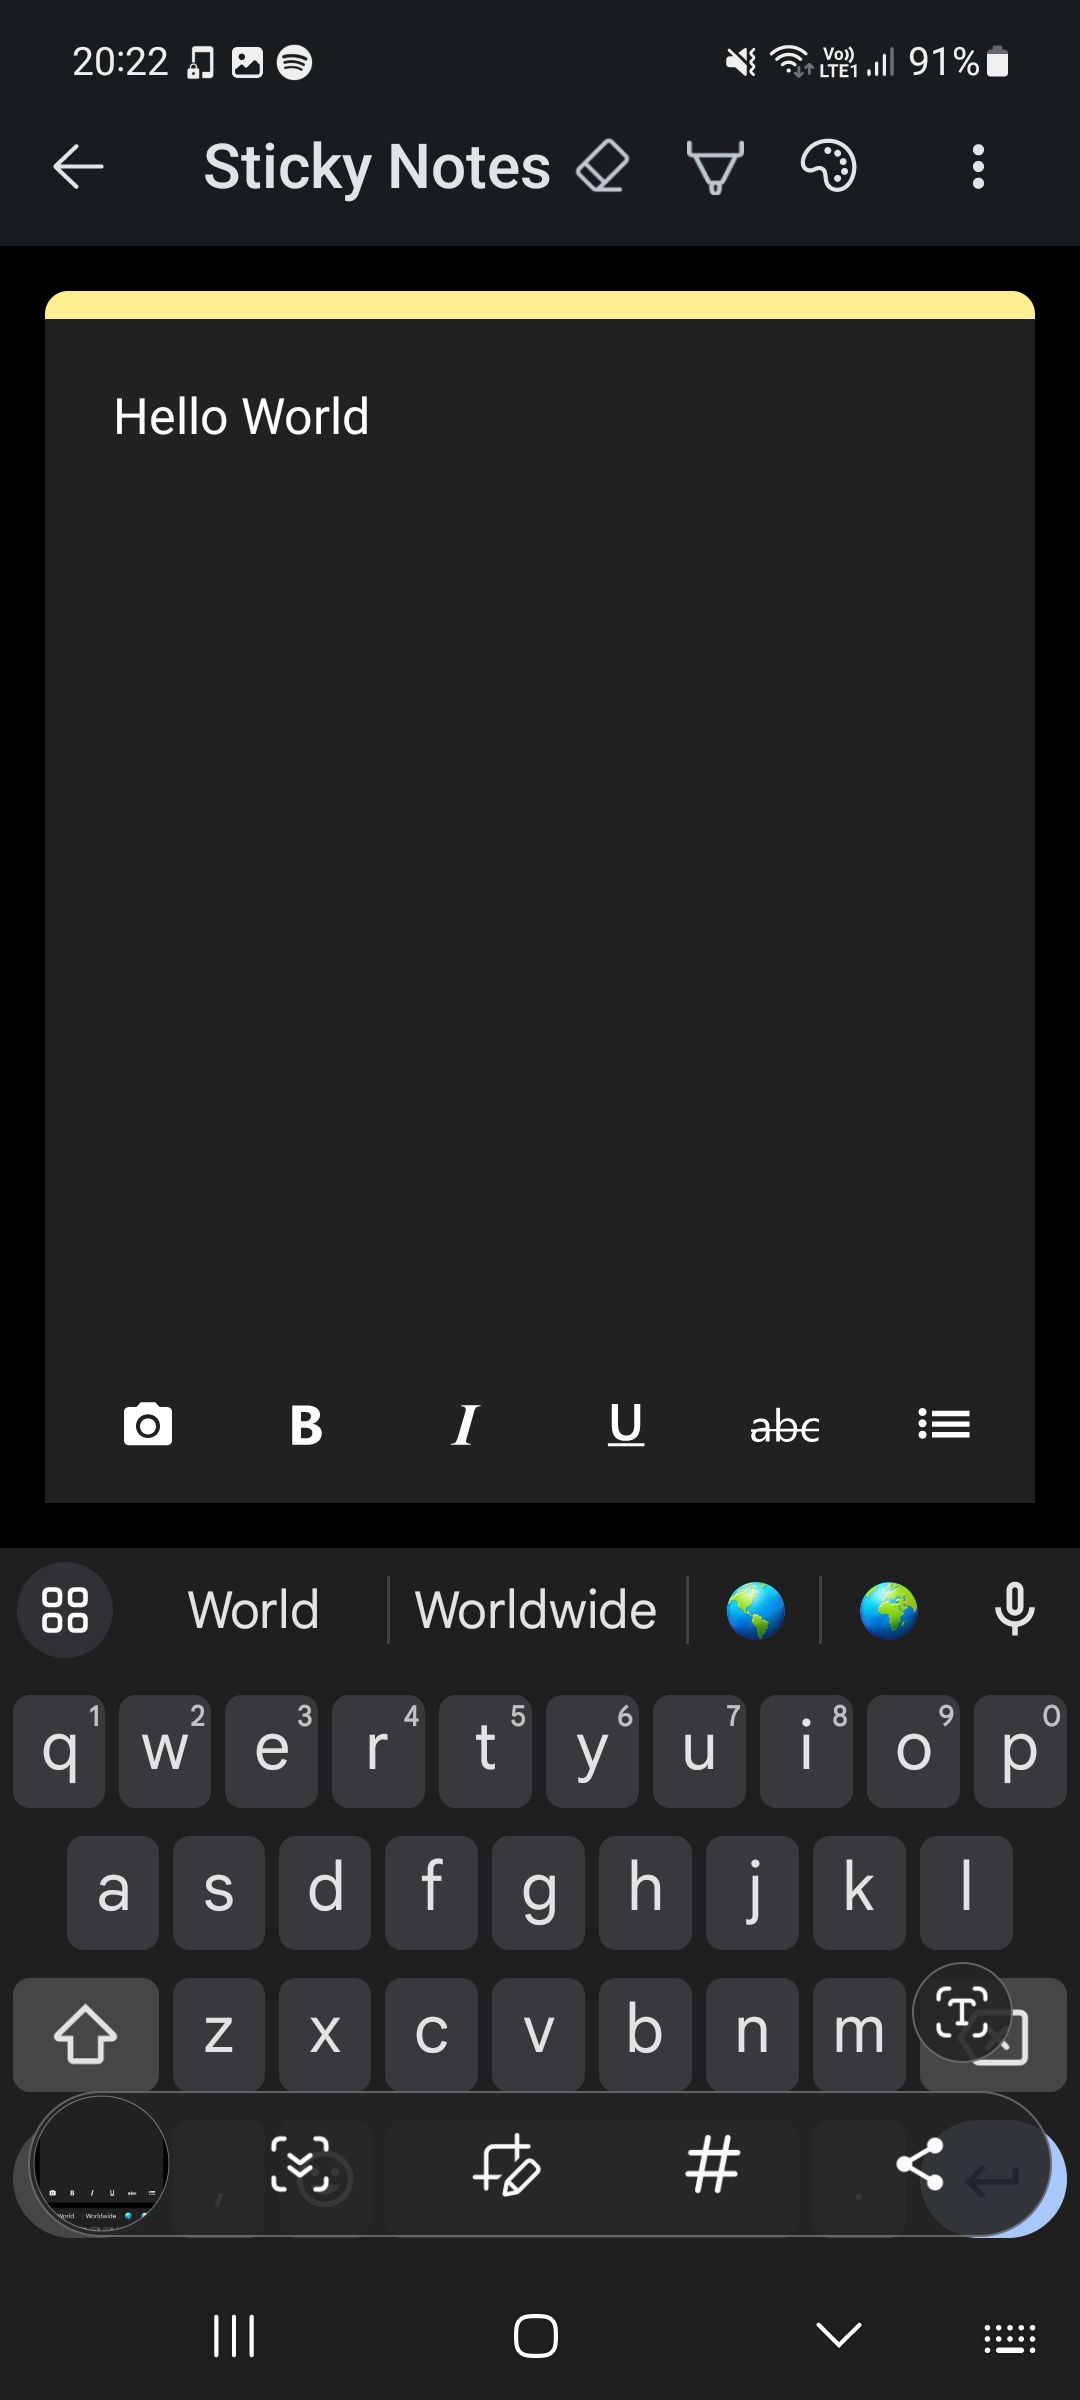
To create a new sticky note, hit the three dots in the bottom right corner of the homepage. Then, tap Create a Sticky Note. The app includes many options featured on iOS, including the photo upload tool. You can change the note’s color by hitting the three dots in the top right corner. From the same menu, you can also tap the Export button to share sticky notes with your friends.
5. How to Use Windows Sticky Notes Using Microsoft Launcher
Close
An alternative way of using Windows Sticky Notes if you’re an Android user is through Microsoft Launcher. This polished launcher comes packed with features to boost your productivity and is a must-have for Android users who own a PC .
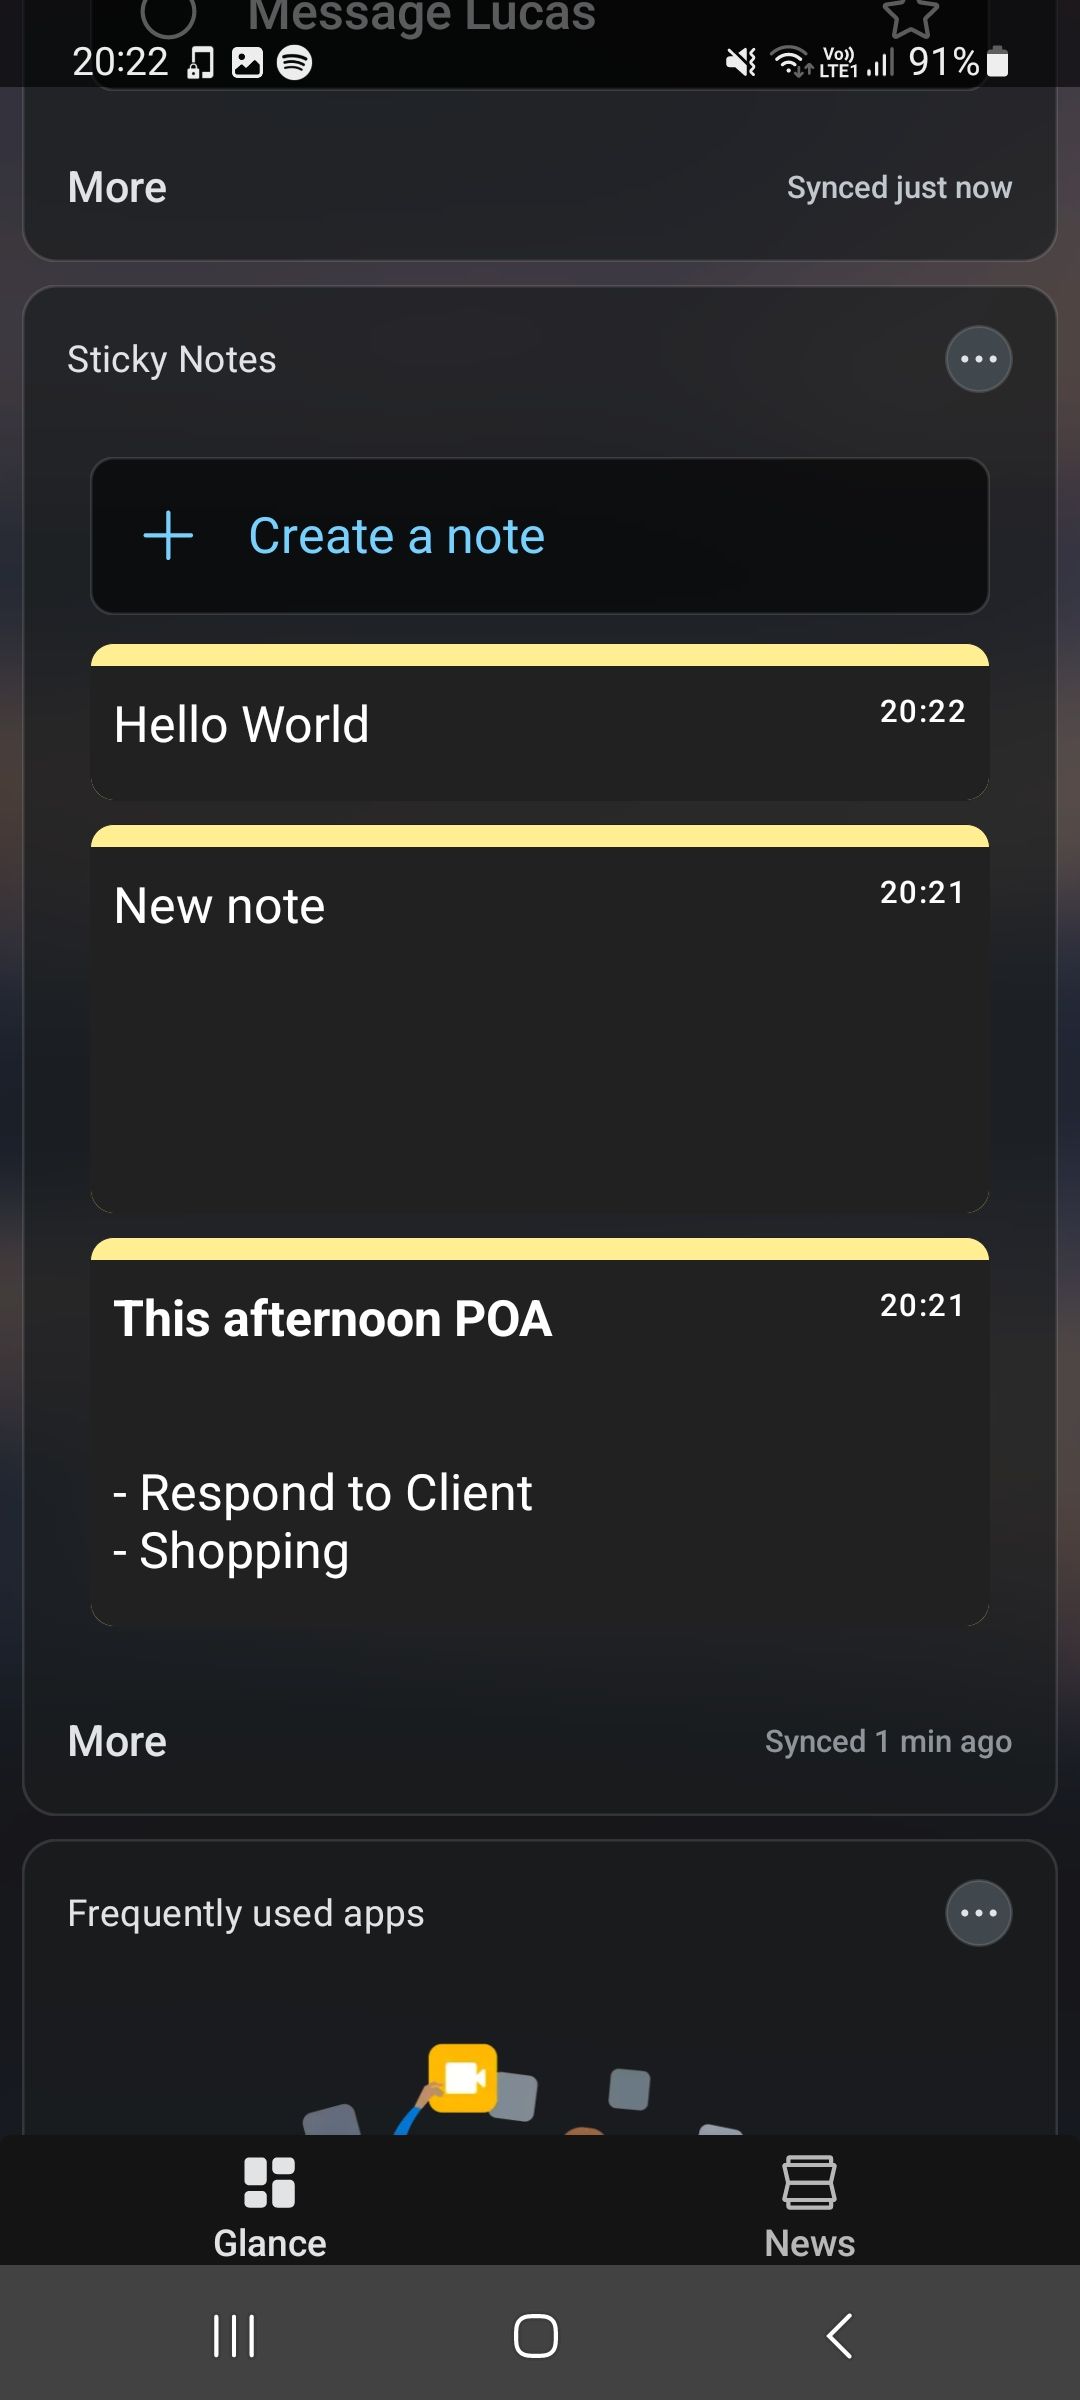
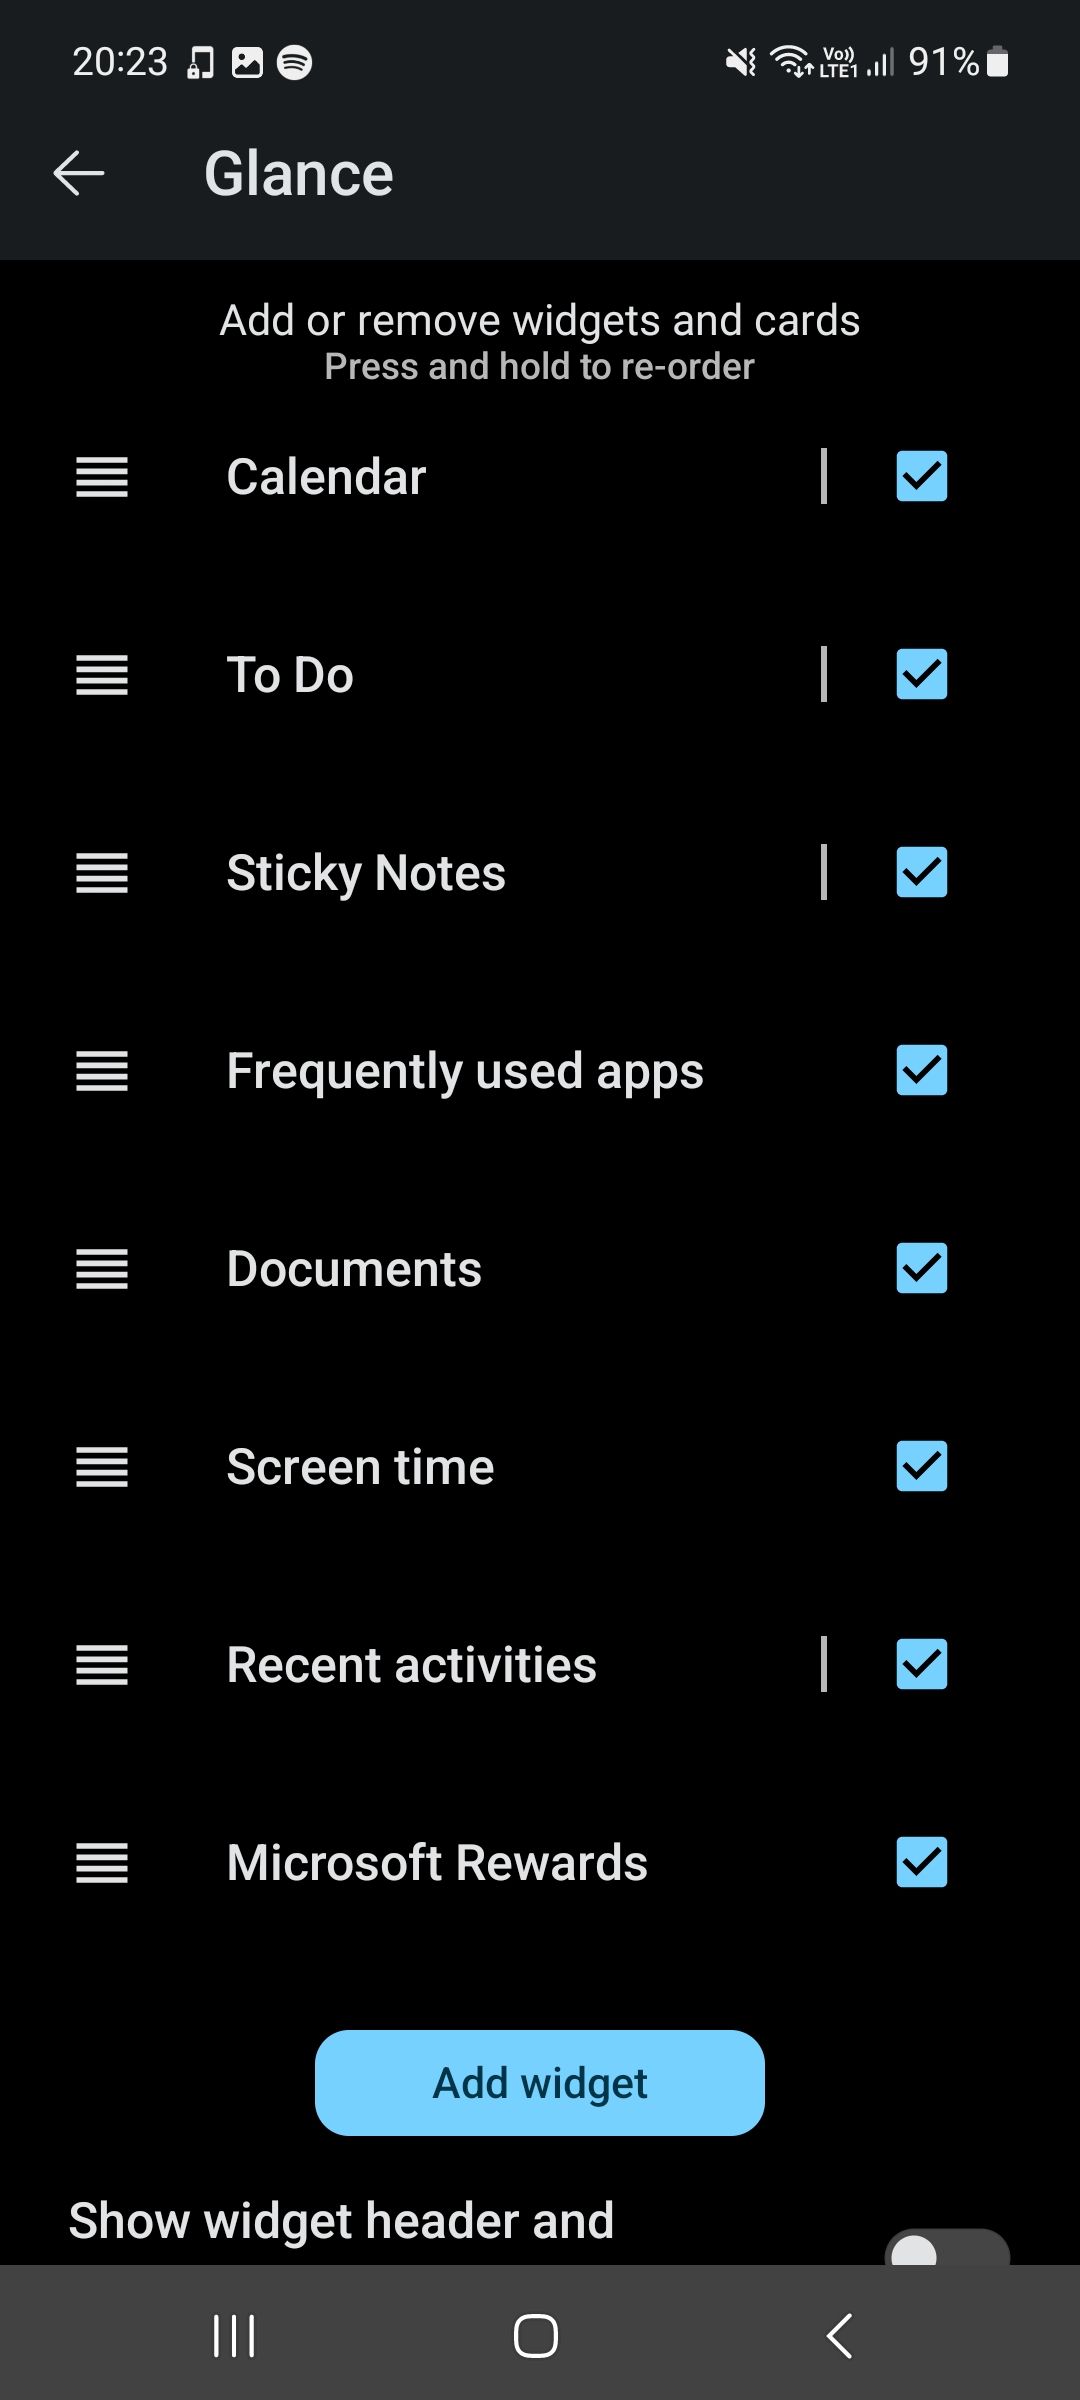
Using Microsoft Launcher, you can view your sticky notes almost directly from the home screen. Simply swipe left from the home screen to access your feed. Down the list is a Windows Sticky Notes widget which lets you view and create notes. If you can’t see the widget, scroll to the bottom of your feed, then click the Edit this view button. Tick the box next to Sticky Notes to add the widget to your feed.
As you’re using a widget on a launcher, syncing may take a little longer than when using an app. However, you can sync your sticky notes manually at any point by hitting the three dots in the top right corner of the widget and selecting Sync.
How to Use Sticky Notes Online
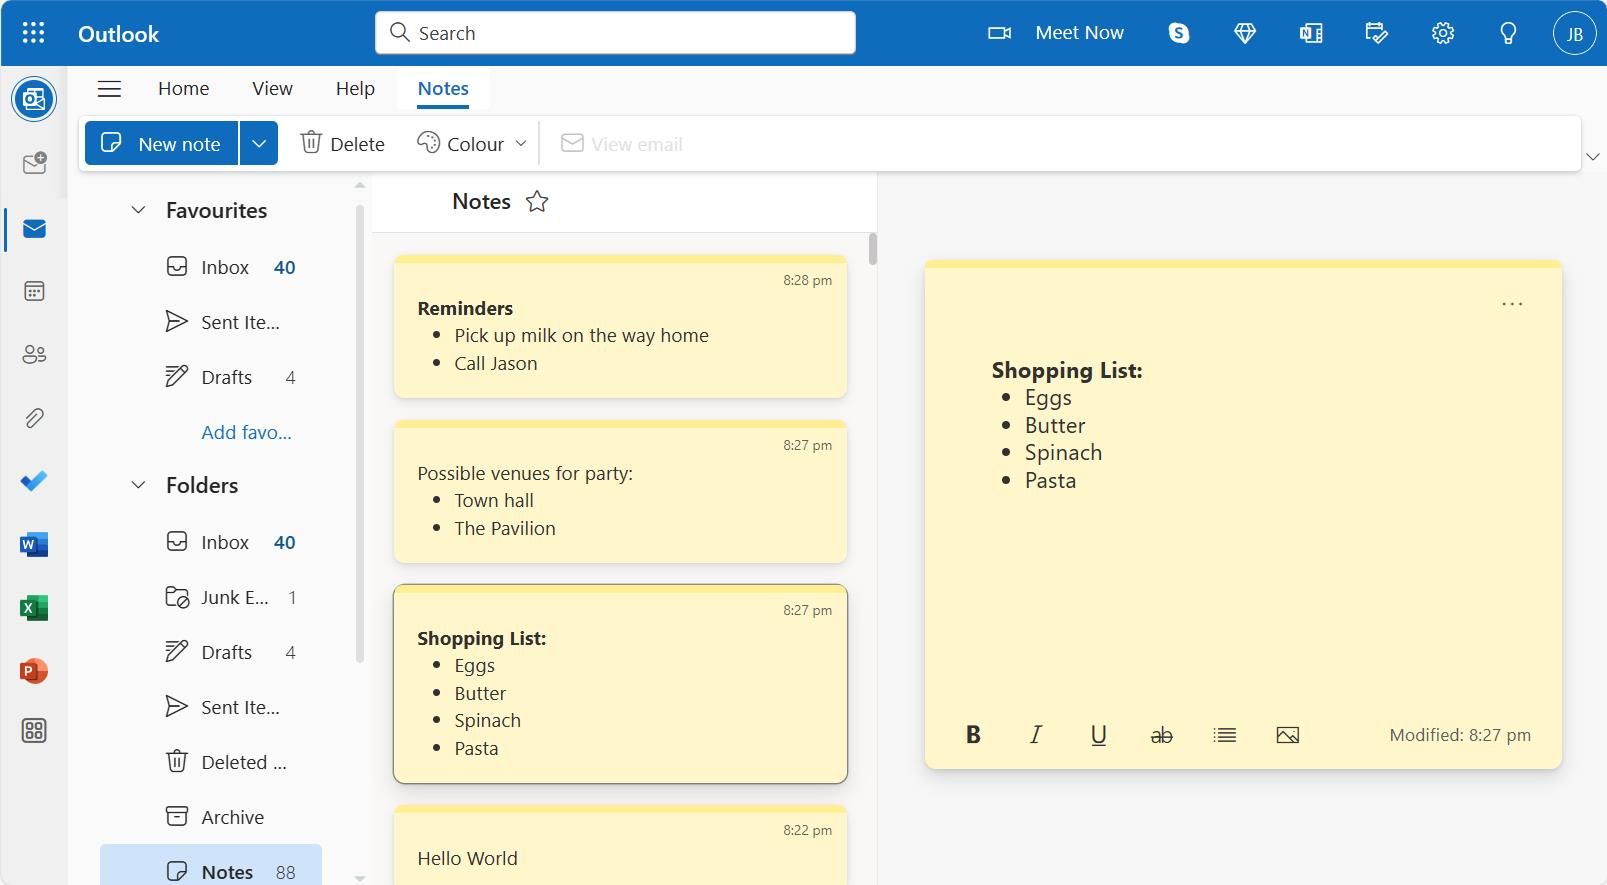
Screenshot by author - Joe Brown
You can also edit Windows Sticky Notes on the web. To combine note-taking with your scheduling needs, Microsoft has integrated Windows Sticky Notes with Microsoft Outlook.
Ensuring you are signed in to your Microsoft Account, you can access Windows Sticky Notes in Outlook directly, or you can sign in to Outlook and access the dedicated Notes tab. This can be found inside the Folders dropdown menu from the sidebar. For faster access to your sticky notes, you can hit the star icon next to the Notes title to add it to your favorites.
Use Windows Sticky Notes on Any Device and Boost Your Productivity
If you’re in a rush and need to jot things down fast, Windows Sticky Notes is a great app for quick and easy note-taking. With these solutions, you don’t need to rely on keeping one device to take notes. Access sticky notes everywhere using this guide.
In this guide, we’ll explore how to use Windows Sticky Notes on all your devices, whether you’re an Android or iOS user, or if you’re using a web browser.
Also read:
- [New] 2024 Approved Fast Facial Masking on PiscArt A Convenient Guide
- [New] Monumental Movies and More A Comprehensive Look at the LG 31MU97-B Model for 2024
- [Updated] Mastering Cartoon Expressions with Snapchat's Fun Filter for 2024
- 2024 Approved Easy Methods Flipping Film Frames Using VLC
- Mastering Instance Connection in Path of Exile: Comprehensive Fixes & Tips
- Secure Boot and TPM Setup Guide for VirtualBox
- Stepwise Approach for 'Cannot Open Source File' In Win11/10
- The Legacy Explore Interface Guidebook
- Updated 2024 Approved Motion Tracking Software The Ultimate 2023 Roundup
- Win 10/11'S DXGI Error: How to Fix It
- Win Guide: Setting Up & Utilizing ChatGPT
- Title: Mastering Multi-Device Compatibility for WIN11 Notes
- Author: Richard
- Created at : 2024-12-16 07:20:59
- Updated at : 2024-12-22 01:18:43
- Link: https://win11-tips.techidaily.com/mastering-multi-device-compatibility-for-win11-notes/
- License: This work is licensed under CC BY-NC-SA 4.0.