
Navigating 3 Windows Group Policy Approaches

Navigating 3 Windows Group Policy Approaches
The Local Group Policy is a tool that allows you to easily manage a wide range of system settings, from the appearance of the desktop to the security of the operating system. At times, you may need to review the policies applied to your Windows computer, either for troubleshooting purposes or to ensure that your system is configured correctly.
This guide will walk you through three quick and easy ways to view applied group policies on your Windows 10 or 11 PC.
1. How to View Applied Group Policies Using the Sort or Filter Options in Local Group Policy Editor
The Local Group Policy Editor on Windows allows you to organize policies by their current state, so you can quickly see which ones are enabled or disabled.
Use one of the many ways to open the Group Policy Editor on your PC. Then, use the left pane to head to Computer Configuration > Administrative Templates > All Settings. On your right, you will see a list of policies. Click the State column to sort policies based on their current status.
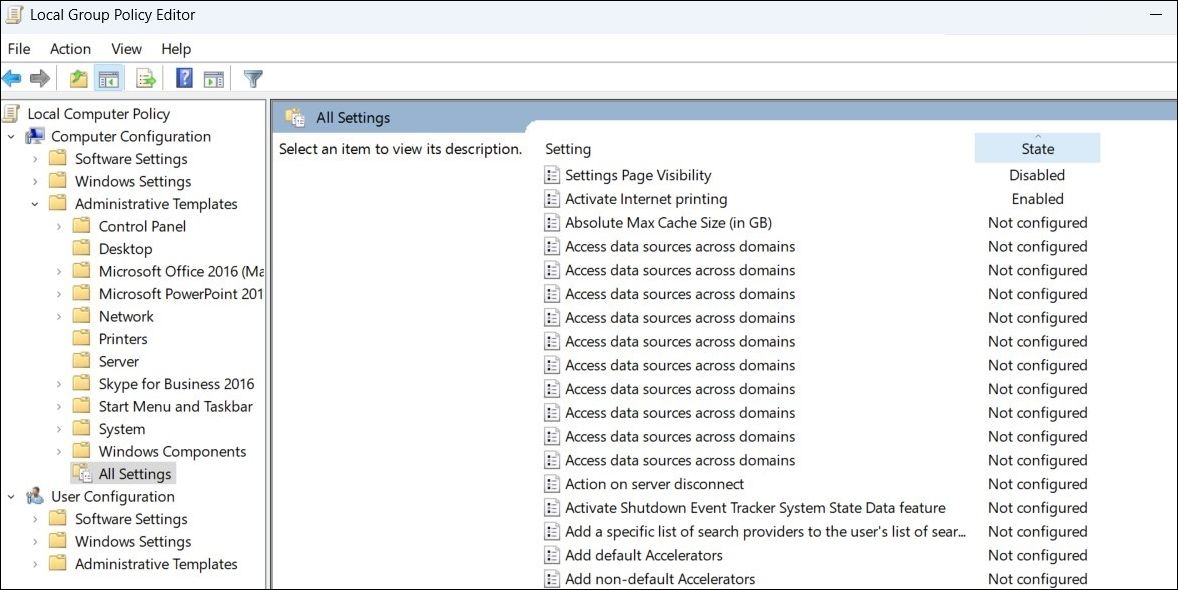
Once the Group Policy Editor sorts all the policies, you can review or modify them as you see fit.
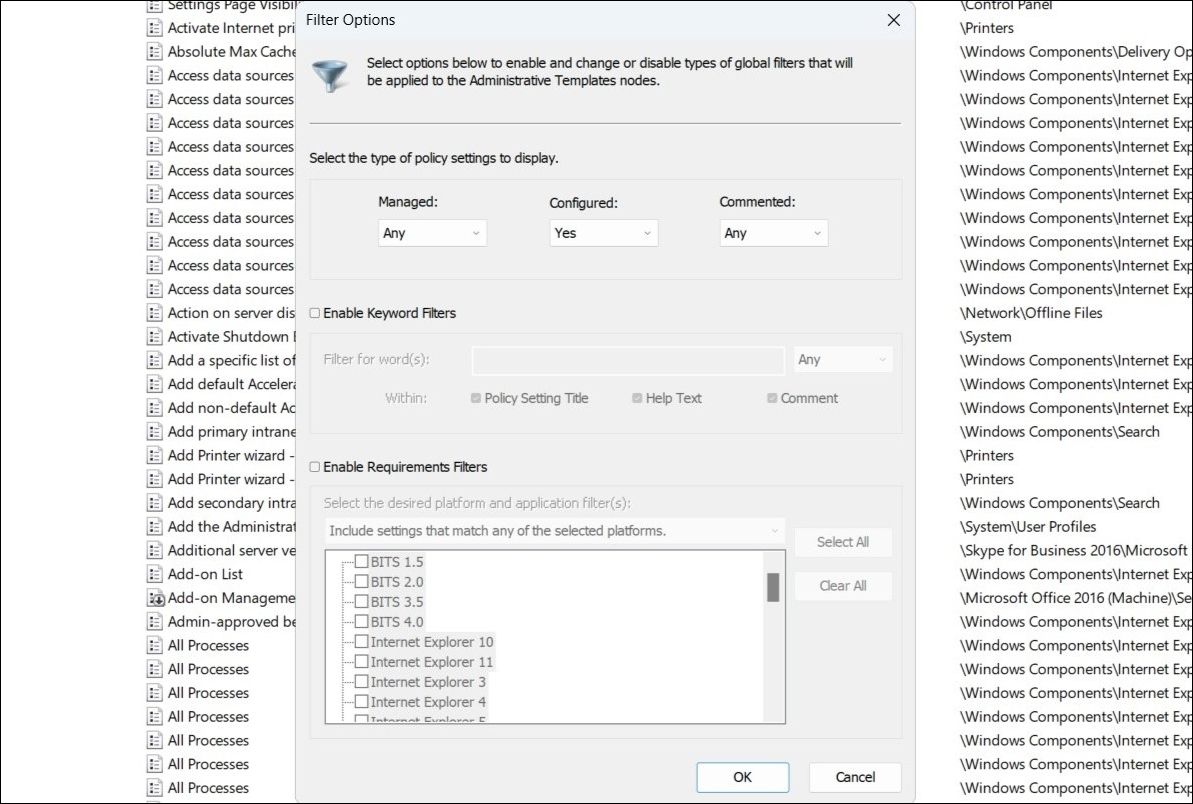
Another way to see applied policies based on specific criteria is to use the filter option in the Local Group Policy Editor. This can be useful if you want to see all the applied policies in a particular area or folder.
Simply right-click on a folder in the Local Group Policy Editor and select Filter Options. In the following window, select Yes in the Configured drop-down menu and click OK. After that, the Group Policy Editor will only show the folders and policies you have applied.
Windows also has a specialized tool called Resultant Set of Policy (RSoP), which shows all the group policies that have been applied to a user or computer. This tool eliminates the need to sort and filter policies in the Group Policy Editor.
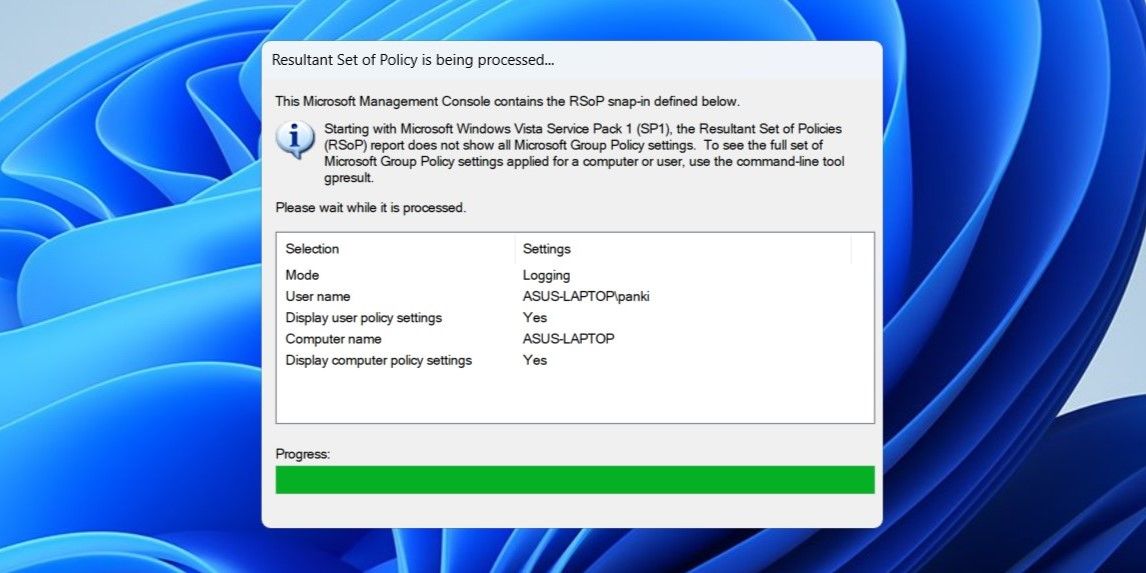
Press Win + S to open the search menu. Type rsop.msc in the box and press Enter. Wait for the Resultant Set of Policy tool to start scanning your system for group policies on Windows that are applied.
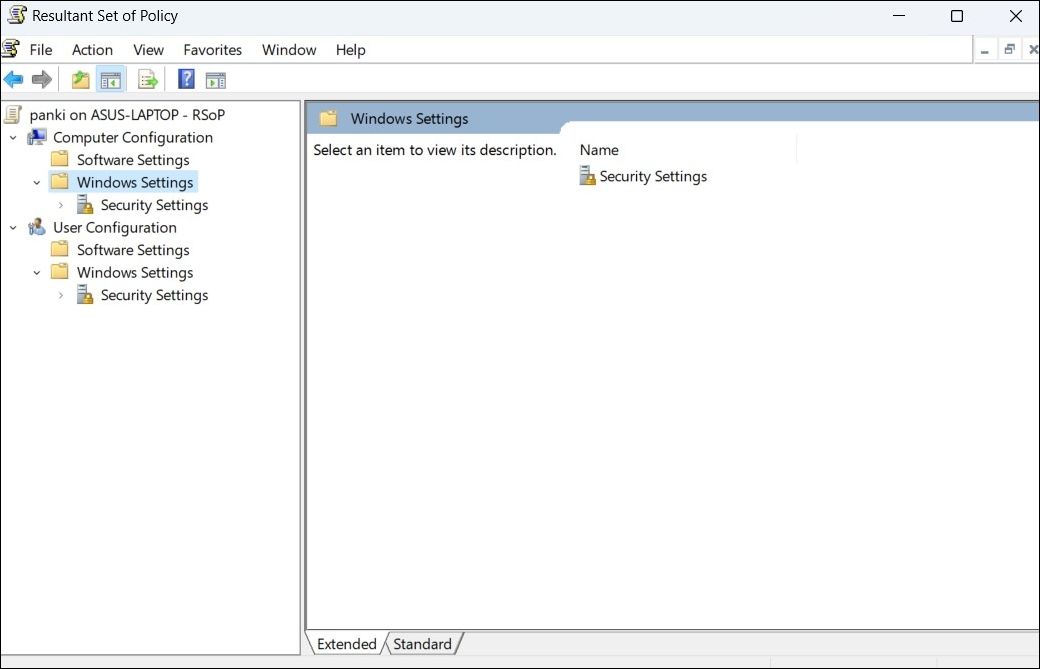
The management console has a similar appearance to the Local Group Policy Editor. However, it will only show policies that have been applied. You can double-click a setting to view more information.
 ZoneAlarm Pro Antivirus + Firewall NextGen
It is important to note that the Resultant Set of Policy tool does not allow you to modify any policies. To do that, you will need to use the Local Group Policy Editor.
3. How to View Applied Group Policies With PowerShell
Another method for determining which policies are applied to a Windows user or computer involves using PowerShell. If you are someone who prefers using command-line tools to interact or make changes to your computer, this method can come in handy.
To view applied group policies using PowerShell, use these steps:
- Press Win + S to open the search menu.
- Type powershell in the text box and select Run as administrator.
- Select Yes when the User Account Control (UAC) prompt appears.
- Type the following command in the PowerShell window and press Enter:
gpresult /Scope User /v

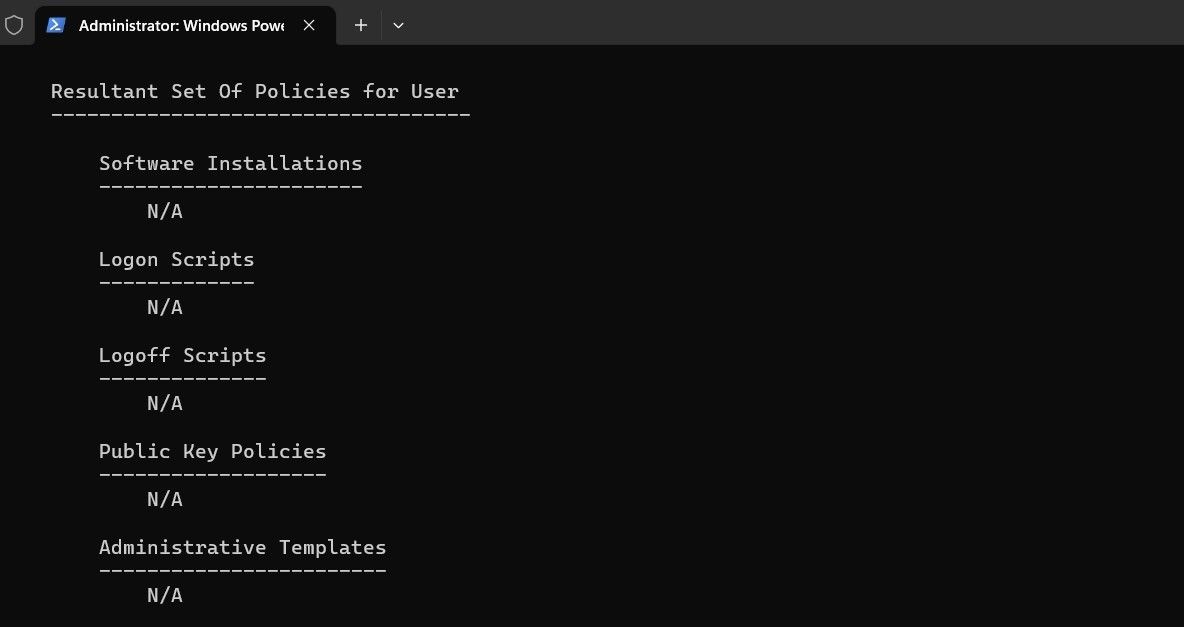
Once you run the above command, you will see all the applied policies under the Resultant Set Of Policies for User section. If you want to view all policies applied to the computer, use the following command instead:
gpresult /Scope Computer /v
For more useful commands, make sure to check our guide on the best PowerShell commands for Windows .
Checking the Applied Group Policies on Windows Is Easy
Knowing how to check the policies applied to your Windows computer can be useful when troubleshooting issues with a program or feature, or when you have concerns about your privacy or security. Fortunately, doing so is a breeze with the methods mentioned above.
This guide will walk you through three quick and easy ways to view applied group policies on your Windows 10 or 11 PC.
- Title: Navigating 3 Windows Group Policy Approaches
- Author: Richard
- Created at : 2024-08-16 02:31:53
- Updated at : 2024-08-17 02:31:53
- Link: https://win11-tips.techidaily.com/navigating-3-windows-group-policy-approaches/
- License: This work is licensed under CC BY-NC-SA 4.0.

 Forex Robotron Basic Package