Navigating Windows 11'S In-Place Update Process

Navigating Windows 11’S In-Place Update Process
Microsoft offers the option to repair or reset your Windows PC from Windows 8 onwards. Before that, you needed an installation media (DVD or USB) to format your system. But what if you don’t want to create an installation media and wipe out everything on your system just to upgrade to a newer Windows version? Well, that’s where Microsoft’s in-place upgrade can help you.
We will elaborate on what exactly is an in-place upgrade and how it differs from a clean installation of Windows 11. Moreover, you will learn about the detailed method to perform the upgrade if the need arises.
Disclaimer: This post includes affiliate links
If you click on a link and make a purchase, I may receive a commission at no extra cost to you.
What Is an In-Place Upgrade on Windows?
An in-place upgrade helps you replace your current Windows installation files with a new copy without removing anything else on your system. So, you can use this feature to upgrade to a new version of windows or fix your current installation.
All of this is made possible by the latest Windows ISO file. You can perform an in-place upgrade or wipe out everything and start with a clean slate. But why do an in-place upgrade when you canReset your PC and keep all your personal files? It is because of the difference between the two methods.
An in-place upgrade doesn’t replace anything other than Windows files. So, in addition to your personal files, all the installed apps and system settings also remain untouched. You won’t need to re-configure those settings after the in-place upgrade completes. But if you go with the Reset option, it can preserve your files but will remove all your installed programs and settings.
The Prerequisites Before Performing a Windows In-Place Upgrade
You will need to do the following things before performing an in-place upgrade:
- Turn off Windows Defender completely (or any other third-party antivirus you have installed).
- Disable BitLocker encryption on your disk.
- Sign in with an administrator account.
- Remove all external peripherals.
- Ensure fast internet connectivity.
How to Perform an In-Place Upgrade on Windows 11
To perform an in-place upgrade, you need to do two things. Firstly, you need to download the latest Windows 11 ISO file. Then, you need to run the setup from the ISO file, pick the appropriate in-place upgrade option, and proceed.
1. Download the Windows 11 ISO Image File
First of all, you need to grab the Windows 11 ISO image file. If you don’t already have one on hand, check outhow to download a Windows ISO without the Media Creation tool for some easy methods.
2. Perform an In-Place Upgrade Using the Windows11 ISO Image File
After the download completes, you need to mount the image file in File Explorer. Repeat the following steps to perform an in-place upgrade:
Open the Windows 11 image file download location in File Explorer. Right-click on the file and select theMount option from the context menu.
Go to the navigation pane in File Explorer and click on the ISO drive.
Click on thesetup.exe file to launch the Windows setup. UAC will pop up. Click onYes to continue.
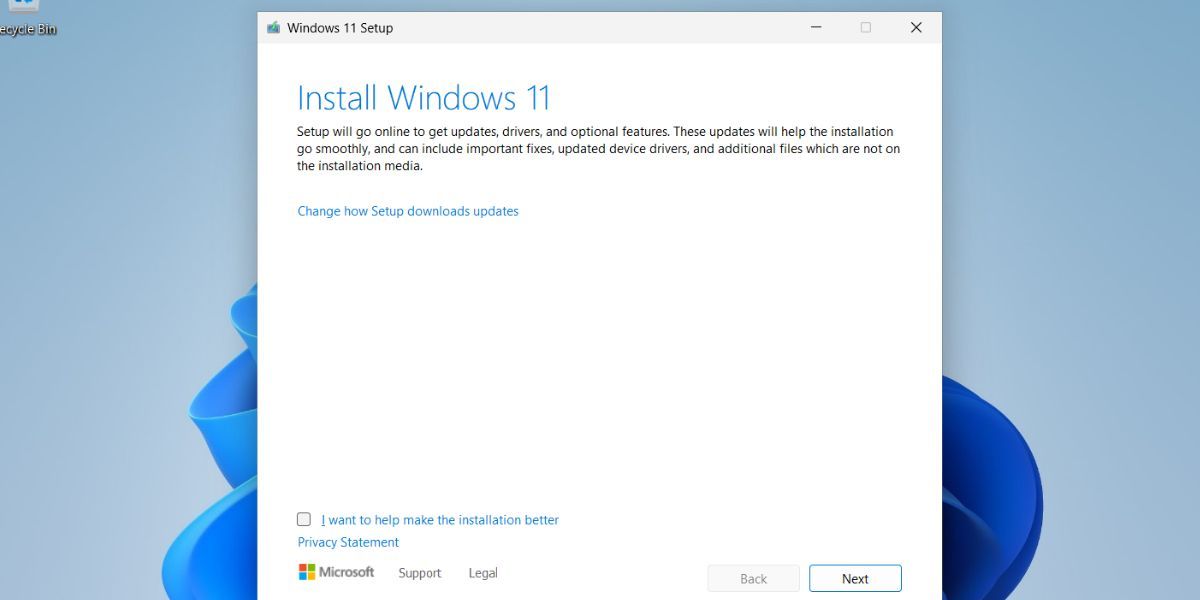
In the Windows 11 setup window, click on theChange how Setup downloads updates option. Select theNot right now radio button and click on theNext button.

Read the EULA page and click on theAccept button.
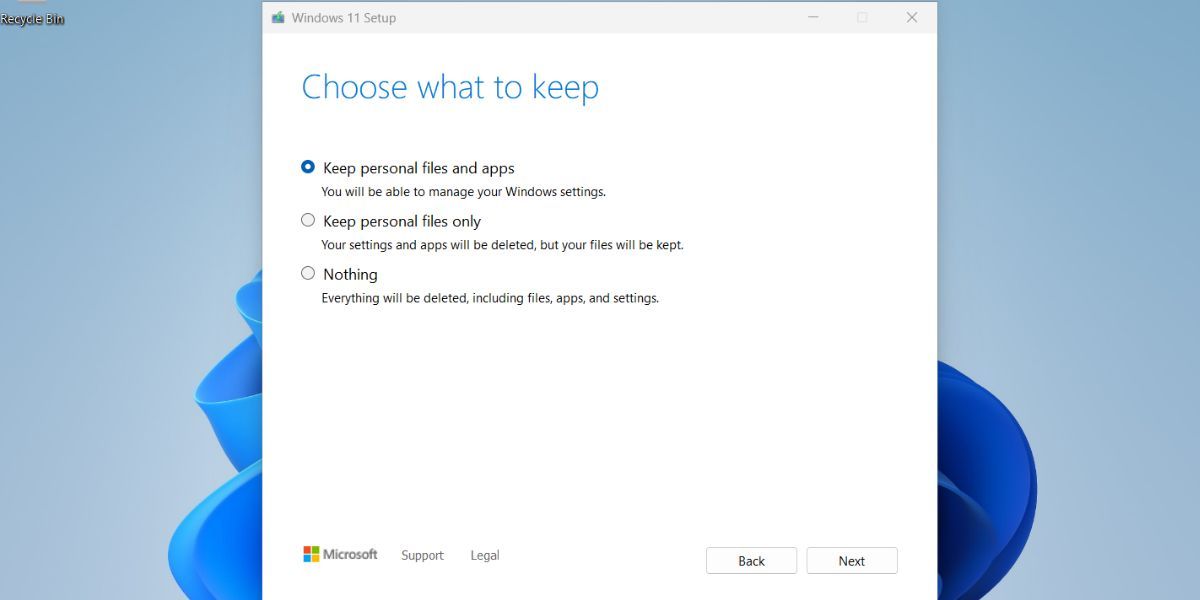
On theChoose what to keep page, select theKeep personal files and apps option. Click on theNext button. Then click on theInstall button.

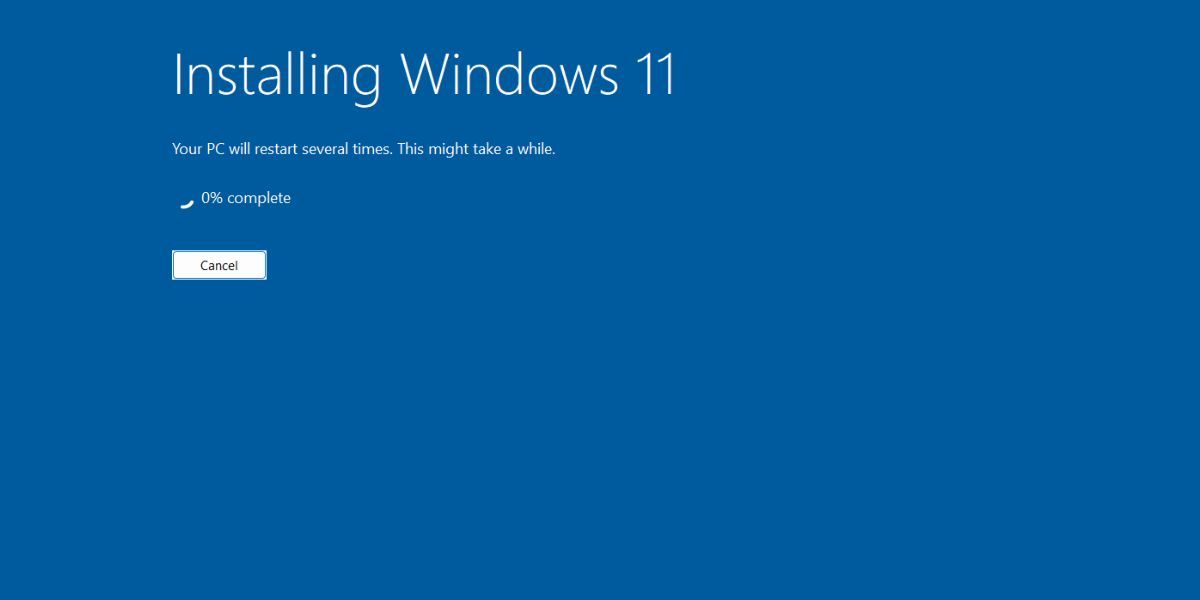
The setup will begin installing a new copy of Windows 11. If you have an SSD, the installation won’t take more than 15 minutes. Your system will restart multiple times during this process.

After the setup finishes installing updates, it will redirect you to the login screen.Input your password and press theEnter key to continue.

4. Wait for the setup to prepare your system for the first boot. You will automatically enter the desktop.
- Check your installed apps list, personal files, and settings. Everything will pretty much be the same.
Don’t Reset Windows 11 Before Trying an In-Place Upgrade
Windows in-place upgrade is perfect when you want to upgrade your system but cannot do so manually. In addition, you can even fix some major issues with Windows 11 that hamper its normal functioning. Use system Reset or format your PC only when the in-place upgrade has little to no effect on your system problems.
Also read:
- [New] 2024 Approved MP3 Creation From Vimeo Streaming Media
- [New] Advanced 3D Viewing on Your Android Device
- [New] Precision in Adding Time Stamps to Images
- 2024 Approved Undetected Consumer of Life Streams (FB)
- Conquering Unpreviews in Windows Outlook for Businesses
- Enter the World of Online Promotion Exclusive Free YouTube Banner Access!
- Exclusive Roundup High-Quality, Zero-Price LiveStream Software List
- In 2024, Two Ways to Sync Contacts from Oppo Reno 11 Pro 5G to Gmail | Dr.fone
- Mastering Contextual Menu Integration: New Folder Placement
- Mastering Education on Windows: 8 Proven Methods
- No Need to Panic - Solve Black Windows Issues Fast
- Preventing Windows-Roblox Conflicts that Force Shutdown
- Strategies to Overcome WinError X709
- Swiftly Resolve 'Unsuited' Interface in Windows
- The Easiest Methods to Hard Reset Samsung Galaxy M34 | Dr.fone
- The Virtual Journey: Understanding the Pros and Cons of Downloads
- Title: Navigating Windows 11'S In-Place Update Process
- Author: Richard
- Created at : 2024-12-04 23:50:19
- Updated at : 2024-12-07 00:04:17
- Link: https://win11-tips.techidaily.com/navigating-windows-11s-in-place-update-process/
- License: This work is licensed under CC BY-NC-SA 4.0.


