Optimal Windows Screenshots: Evaluating Print Screen & Snipping Tools

Optimal Windows Screenshots: Evaluating Print Screen & Snipping Tools
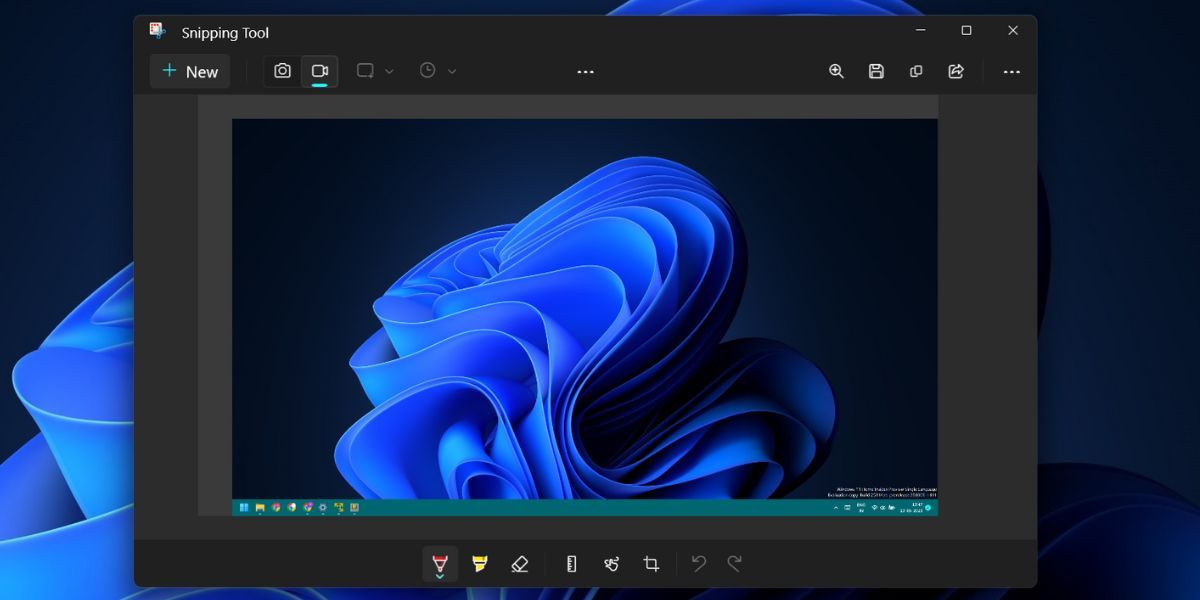
Microsoft changed the way the PrintScreen key works on Windows 10 and 11. It would capture a full-screen shot earlier, but now it opens the Snipping tool. While many users love the Snipping Tool’s ability to capture screenshots in various sizes and formats, it is too much effort for full-screen captures.
You can just use the PrintScreen key to capture a full-screen window. But if the Snipping Tool pops up by pressing the key, don’t worry. We will discuss the advantages of both and how to disable the Snipping Tool if you don’t like it.
Disclaimer: This post includes affiliate links
If you click on a link and make a purchase, I may receive a commission at no extra cost to you.
Why Does the PrintScreen Key Open the Snipping Tool?
The Snipping Tool underwent some pretty big changes in Windows 10. Microsoft even rebranded it to Snip and Sketch and offered it as a separate app before merging both of them into one app. Now the Snipping Tool can take screenshots, capture videos, and apply some annotations to the captured screenshots.

A recent Windows update configures the PrintScreen key to open Snipping Tool’s image capture window. The update introduces a new option in the Accessibility section of the Settings app.
The Snipping Tool vs. Windows PrintScreen: What’s the Difference?
While both the Snipping Tool and the default Windows Printscreen functionalities sound the same, the PrintScreen key works very differently. You use regular PrintScreens to capture the complete screen and then paste or save the snapshot to a document or a location on the computer. If you press the Win + PrintScreen key, Windows will directly save the snapshot in the Screenshots folder.
Opening the Snipping Tool adds multiple steps to capture a screenshot. First, you need to launch the tool. After that, you can pick a capture mode, such as taking a screenshot of a specific hand-drawn region of your screen. Then, you can save the screenshot wherever you like.
The Snipping Tool still copies the screenshot to the clipboard so that you can paste it into a document. But to save it, you must switch to the Snipping Tool window and then click on the Save button. Win + PrintScreen shortcut key does exactly all of that in a one-click.
This makes the Snipping Tool a contentious addition for Windows users. Some like it because it gives you more tools to work with, while others like the faster, less intrusive method of the default PrintScreen key.
Either way, be sure to check out why you should use the Snipping Tool and how to record your screen with the Snipping Tool before making a decision.
How to Stop the PrintScreen Key From Opening the Snipping Tool
If you’ve decided that the Snipping Tool isn’t for you, don’t worry. Check out our guide on how to stop the PrintScreen key from opening the Snipping Tool .
Restore the PrintScreen Key Functionality
Before Snipping Tool came to life, Windows users relied on the PrintScreen key for screenshots. But Snipping Tool introduces capture modes and annotations which improved the screenshot and screen recording experience. However, this new change only ruins the ability to take full-screen captures with just one click.
You can just use the PrintScreen key to capture a full-screen window. But if the Snipping Tool pops up by pressing the key, don’t worry. We will discuss the advantages of both and how to disable the Snipping Tool if you don’t like it.
Also read:
- [New] 2024 Approved Capture Every Detail Advanced Skype Calls Recording Methods
- [New] 2024 Approved Top Visionaries Selecting the #10 Elite Monitors for Macs
- 2024 Approved Digital Artisans Gathering Haven
- Functions Not Working on Win10? Here's What to Do
- How to Change GPS Location on Motorola Edge 40 Easily & Safely | Dr.fone
- In 2024, Reasons why Pokémon GPS does not Work On Motorola Moto G34 5G? | Dr.fone
- In 2024, Spoofing Life360 How to Do it on Honor Magic 6? | Dr.fone
- Leading 3 Platforms for Quick & Seamless Language Learning
- Master Your Desktop: Customization Secrets for Win11
- Overcoming the Common Asana Crashes on Windows Desktops
- Swiftly Reactivate Lost Store Apps on Windows 11
- Time Traveling Through Retro Filmmaking Techniques for 2024
- Unveiling GPTBot: How It Works & Why Some Websites Have Chosen to Block Access
- Title: Optimal Windows Screenshots: Evaluating Print Screen & Snipping Tools
- Author: Richard
- Created at : 2025-02-28 21:49:13
- Updated at : 2025-03-04 23:29:37
- Link: https://win11-tips.techidaily.com/optimal-windows-screenshots-evaluating-print-screen-and-snipping-tools/
- License: This work is licensed under CC BY-NC-SA 4.0.