
Resolving Non-Primary App Uses Computer Audio Devices
Resolving Non-Primary App Uses Computer Audio Devices
The audio device on your Windows computer can simultaneously play audio from multiple sources. However, at times, the audio stops playing with the error “this device is being used by another application”.
This is error is often a case of incorrectly configured Windows Audio service. Other times, the audio issue is due to a corrupt audio device driver. Here we show you how to troubleshoot the “this device is being used by another application” error and restore audio on Windows.
1. Run the Windows Audio Troubleshooter
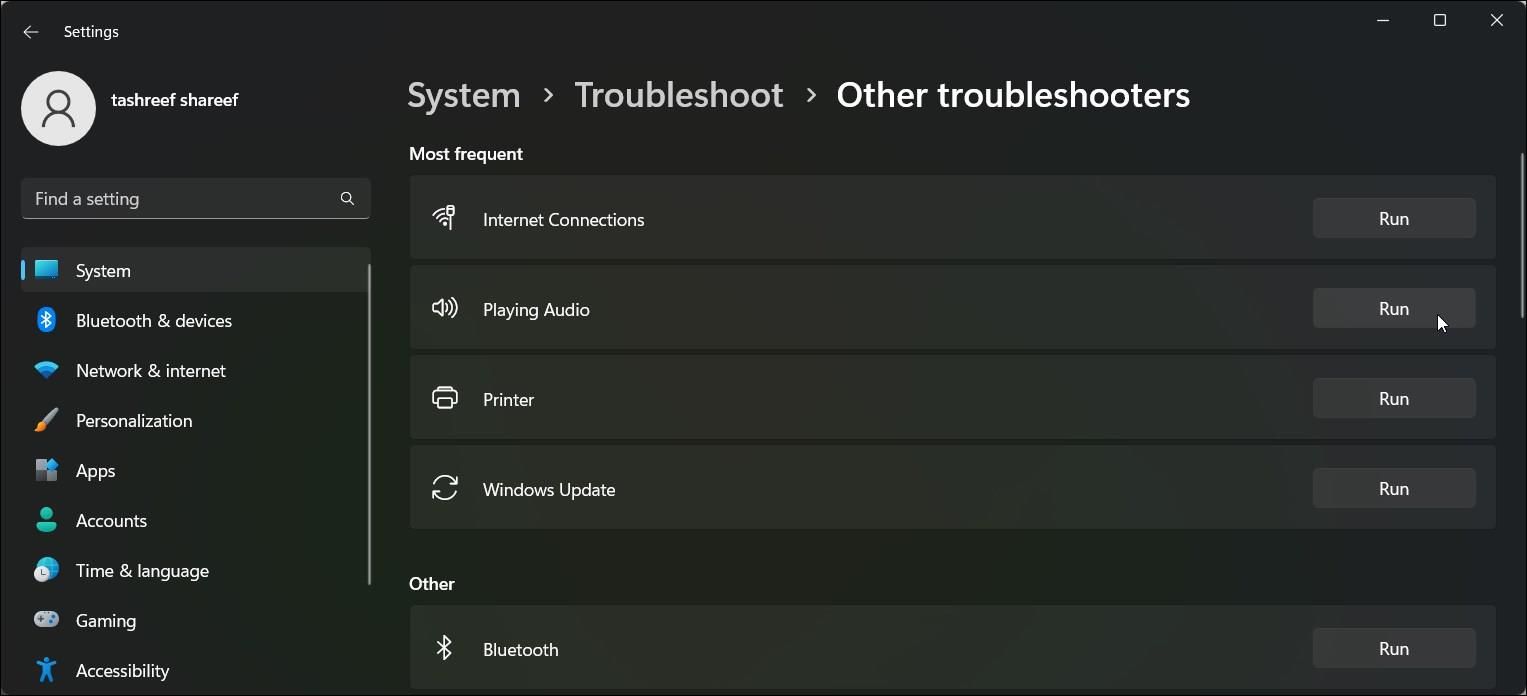
Windows has a built-in audio troubleshooter to find and fix issues with playing audio. The troubleshooter looks for common audio issues and tries to fix them automatically.
To run the audio troubleshooter:
- PressWin + I to openSettings .
- In theSystem tab, click onTroubleshoot .
- Click onOther troubleshooters .
- Next, click theRun button forPlaying Audio . Wait for the audio troubleshooter to scan for issues. Then select the affected audio device and clickNext .
- Follow the on-screen instructions and check if the error is resolved.

2. Disable Exclusive Mode for the Audio Device
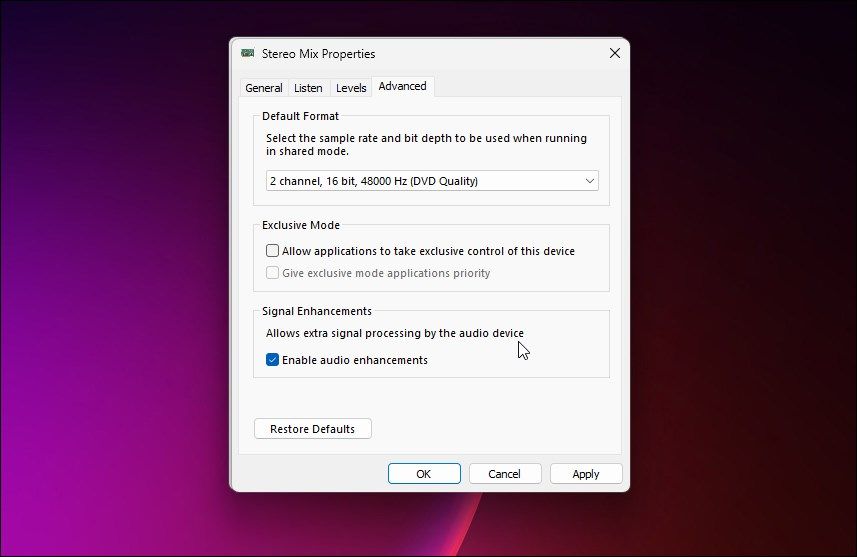
By default, Windows applications can take exclusive control of the audio device. While enabling this option shouldn’t cause any issues, some apps may prevent the device from being used by other audio services. To fix the problem, disable exclusive mode to stop applications from taking exclusive control of the audio device.
To disable Exclusive Mode for the audio device on Windows:
- PressWin + I to openSettings .
- In theSystem tab, click onSound .
- Scroll down and click onMore sound settings .

- Select the audio device in theSound dialog and click theProperties button.
- Open theAdvanced tab in theProperties dialog.
- Uncheck the Allow application to take exclusive control of this device andGive exclusive mode application priority options.
- ClickApply andOK to save the changes.

Restart your computer and check if the error is resolved and if the audio device is working again.
3. Change Windows Audio Service Startup Type
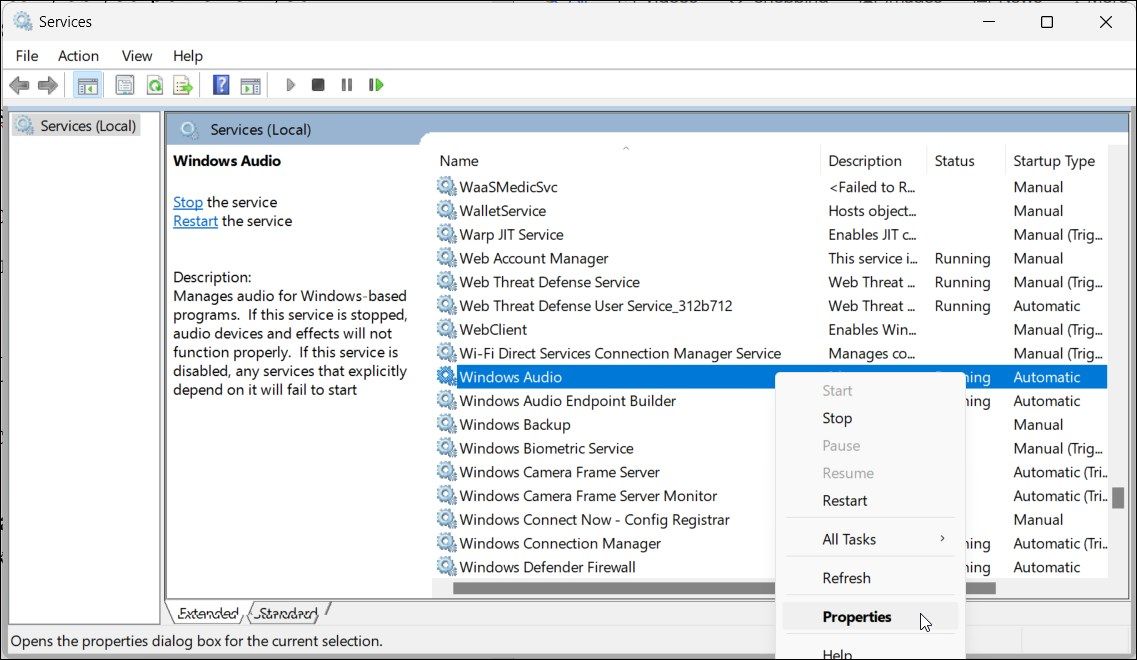
Windows Audio service is responsible for managing audio devices connected to your computer. If the service is disabled or not running, your audio device can stop working.
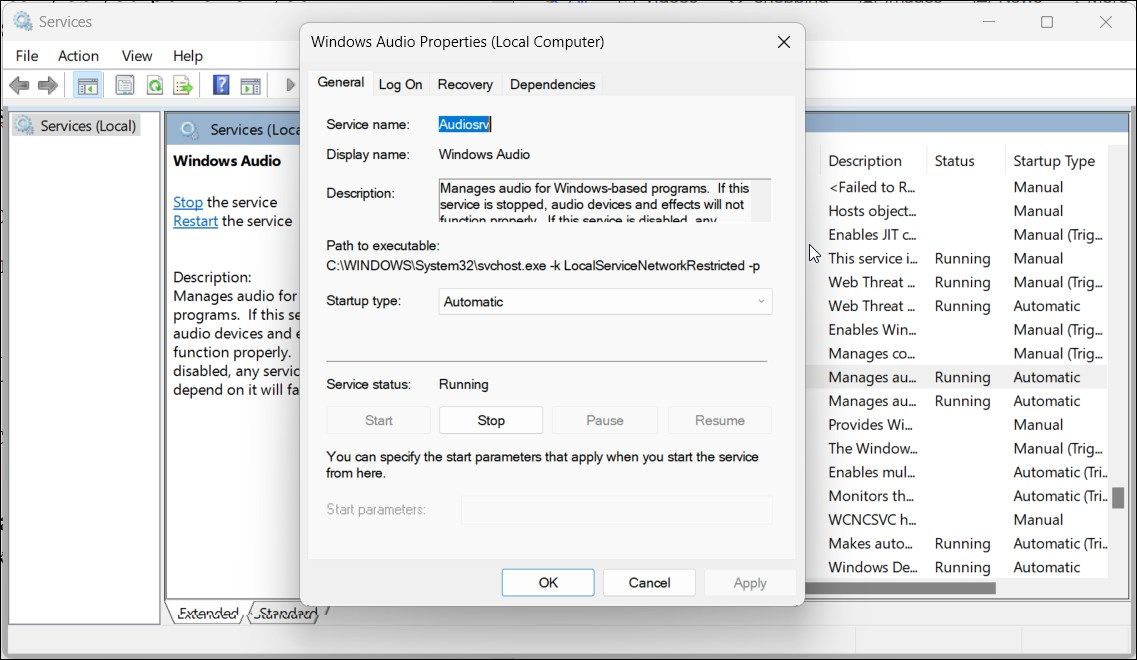
By default, it is set to start automatically as you power on your device. Check if the Startup type for Windows Audio is set to Manually. If yes, reconfigure it to start automatically to fix audio problems.
To change the Windows Audio service Startup type:
- PressWin + R to openRun .
- Typeservices.msc and clickOK to open theServices snap-in.
- In theServices window, locate and double-click onWindows Audio service.
- Click theStartup type drop-down and selectAutomatic .
- ClickApply andOK to save the changes.
- If the service is not running, right-click onWindows Audio and selectStart .
- Close the Services snap-in and restart your PC. After the restart, your audio device should start working again.

4. Disable and Re-Enable the Sound Output Device
You can temporarily disable and re-enable the audio device to fix any glitches causing the device to malfunction. You can disable the audio device using the Settings app and Device Manager.
To disable the audio device, right-click on the audio device and selectDisable device inDevice Manager . Next, right-click on the audio device andEnable Device . Close Device Manager and check for any improvements.
5. Uninstall and Reinstall the Audio Device and Driver
You can also troubleshoot your audio problems by uninstalling the audio device and the associated drivers. Reinstalling the audio device can help if the sound problem is due to corrupt audio drivers.
To uninstall your audio device on Windows:
- PressWin + X to open theWinX menu .
- SelectDevice Manager for the menu.
- In Device Manager, expand theAudio inputs and output section .
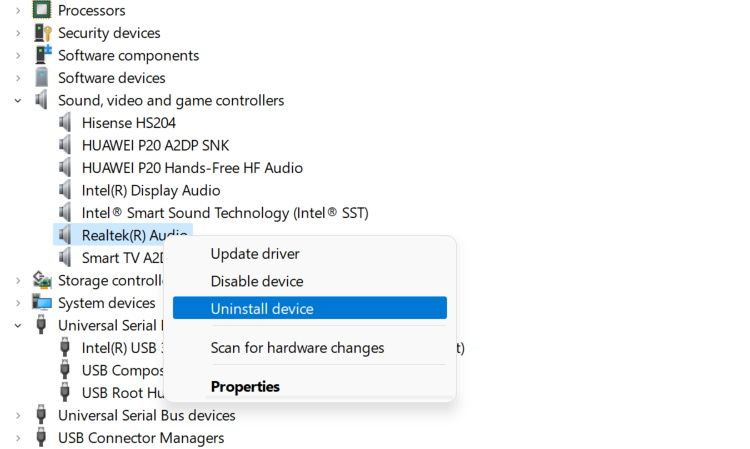
- Right-click on your audio device and selectUninstall device .
- Read the warning and clickUninstall to confirm the action. Wait for the device to uninstall.
You may see a yellow exclamation mark on the uninstalled audio device. To reinstall the driver, click onFile and selectScan for hardware changes . This should reinstall the sound device and driver. If not, restart your computer. As the system restarts, Windows will reinstall the missing audio device driver and restore sound on your computer.
6. Perform a Driver Rollback
If you have an external sound card and have installed an update, try a driver rollback. A new driver update can sometimes create more problems than it intends to fix. You can use the device driver rollback feature in Device Manager to undo the changes and reinstall the older version of the driver.
You can roll back a driver using Windows Device Manager . In Device Manager, expand theSound, Video, and Game Controllers section. Next, access your external sound card properties to perform a rollback.
If the Roll Back Driver option is greyed out, it means the option is unavailable for the selected device. In this instance, uninstall the existing audio device driver and download an older version of the driver from your sound card manufacturer’s website. Your sound card manufacturer may also have a newer driver version available. If available, install the latest version and check for any improvements.
 Lyric Video Creator Professional Version
7. Install Pending Windows Updates
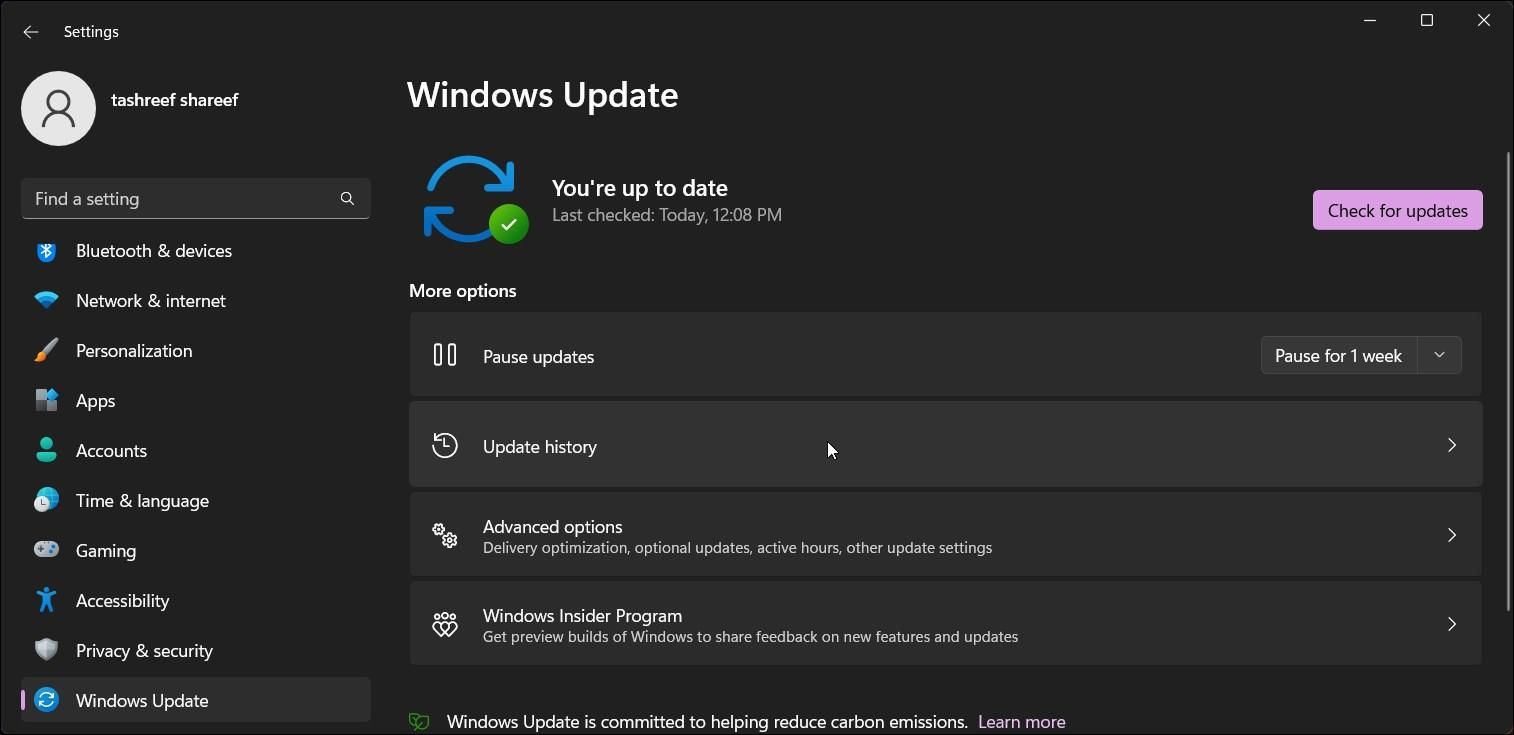
If it is a Windows-specific issue, installing pending Windows updates can fix the problem. Check the Windows updates page for newer updates and install them to see if that helps resolve the issue.
To install Windows update, go toSettings > Windows Update and clickCheck for updates . Windows will populate the screen with all the pending updates. You can install the updates or selectively install any audio device updates.
8. Check for Third-Party App Conflict
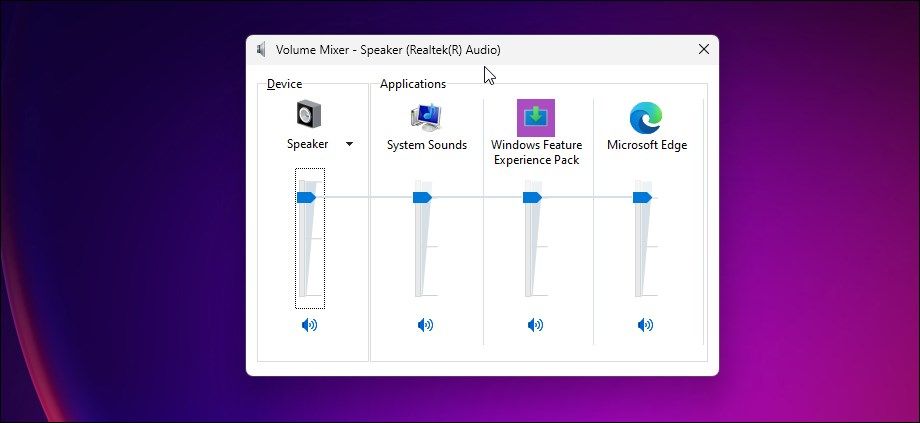
If the issue persists, check if there is a third-party app conflict. You can use Volume Mixer to view applications accessing the audio devices and close the problematic app to fix the problem. Here’s how to do it.
- PressWin + R to open Run.
- Typesndvol and clickOK to open Volume Mixer.
- TheApplication column will show all the apps using your audio device.
To close the app, open the system tray, right-click the app icon, and selectQuit . You can also force close the app using Task Manager. If the issue persists, uninstall the problematic app to restore the audio to your computer.
Fixing the Audio Device in Use By Another Application Error
This error is often the result of an audio device driver problem. To fix the error, check if a new driver is available. If not, perform a rollback to install the previous driver version. Also, disable exclusive application access to audio devices and configure the Windows Audio service to start automatically.
- Title: Resolving Non-Primary App Uses Computer Audio Devices
- Author: Richard
- Created at : 2024-08-16 01:55:15
- Updated at : 2024-08-17 01:55:15
- Link: https://win11-tips.techidaily.com/resolving-non-primary-app-uses-computer-audio-devices/
- License: This work is licensed under CC BY-NC-SA 4.0.